Orange Almond Coffee Cake: Recipes At My Table

Orange Almond Coffee Cake

Orange Almond Coffee Cake

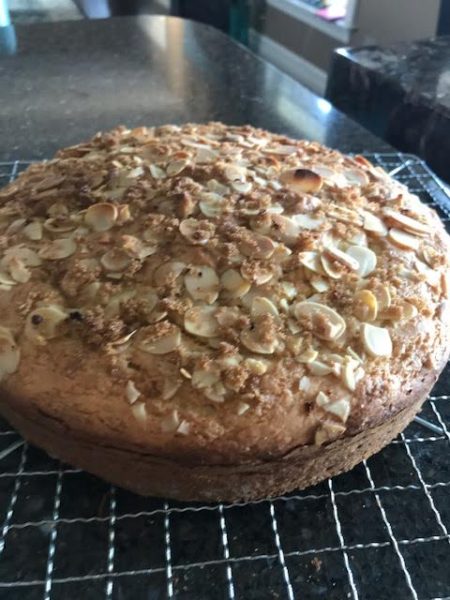
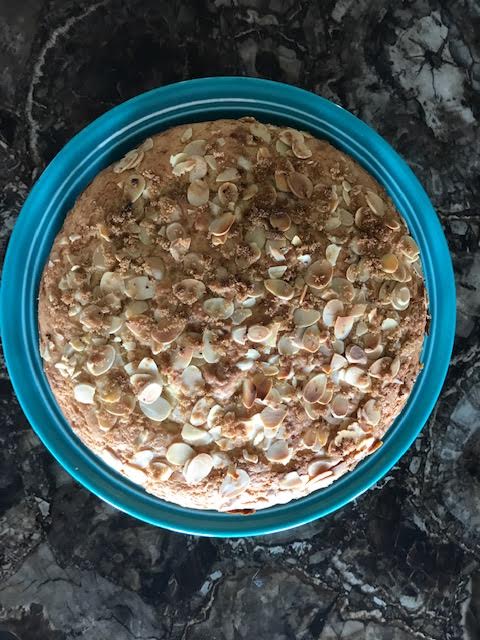
Orange Almond Coffee Cake makes summer cooking easy.  The light batter and smell of the oranges compliments any meal.  It’s lovely with some Greek yogurt and summer berries.  It makes summer living as easy as 1-2-3.

Oranges are a great way of flavouring so many things, but in baking  the peel gives a floral and citrusy accent.  The skin of the orange is very aromatic and can boost any cake.  This cake is light and airy. Served with a side of frozen yogurt or ice cream it is very refreshing.

My nonno Salvatore loved oranges and he loved growing plants.  He started by soaking the seeds of an orange.  Then he planted it and covered it in plastic until the seeds started to grow.  Of course, he kept the plant indoors in a warm and sunny place.  My mother still has the plant and it continues to produce oranges each year.

One of my favourite orange cake recipes https://recipesatmytable.com/sicilian-almond-orange-cake-with-sauce/

Ingredients

  • 2 2/3 cups flour
  • 1 tbsp baking powder
  • 1/2 tsp slat
  • 1/4 tsp ground nutmeg
  • 1/2 cup sugar
  • 2/3 cups butter  ( melted)
  • the peel of a medium orange
  • 1 cup orange juice
  • 1/2 tsp almond extract
  • 2 large eggs
  • 1/2 cup sliced almonds
  • 2 tbsp brown sugar

The Process

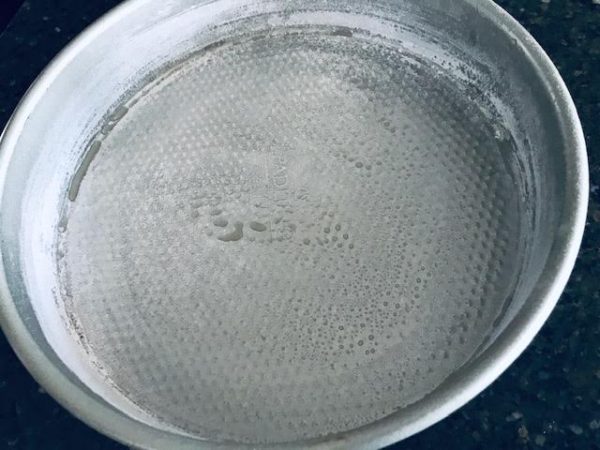
Preheat the oven to 400 F.  Grease a 9 inch round cake pan, dust with flour and tap out the extra.
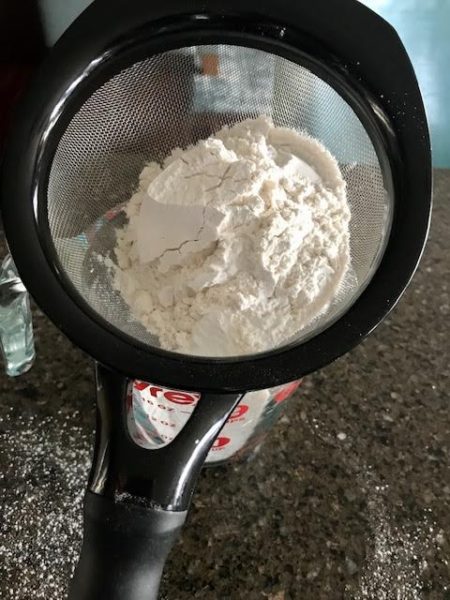
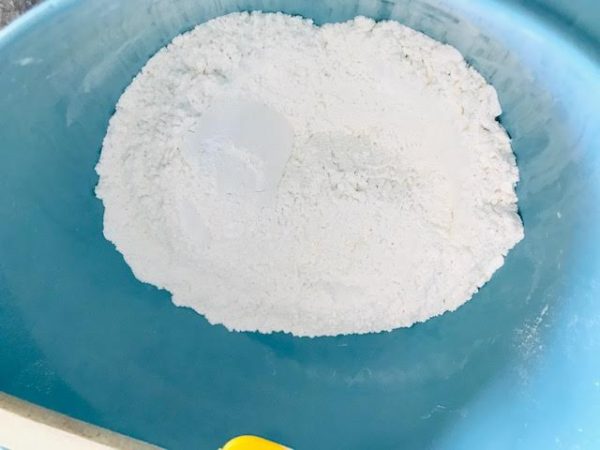
In a medium bowl, sift the flour, baking powder, salt and nutmeg.  Set aside.
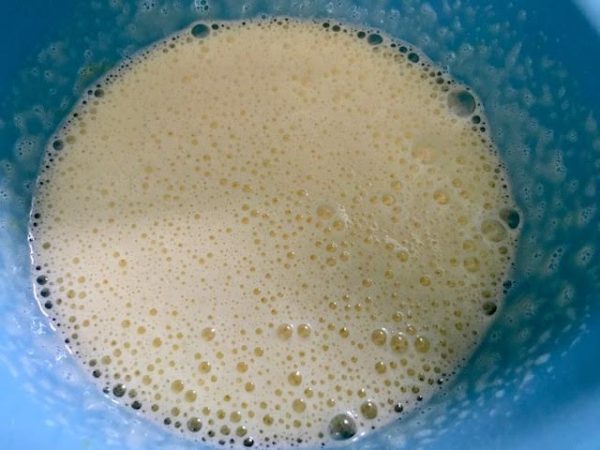
In a large bowl beat the melted butter with the sugar, orange peel and almond extract . Add the eggs in one at a time.

Now with the mixer on low, alternate the flour and orange juice.
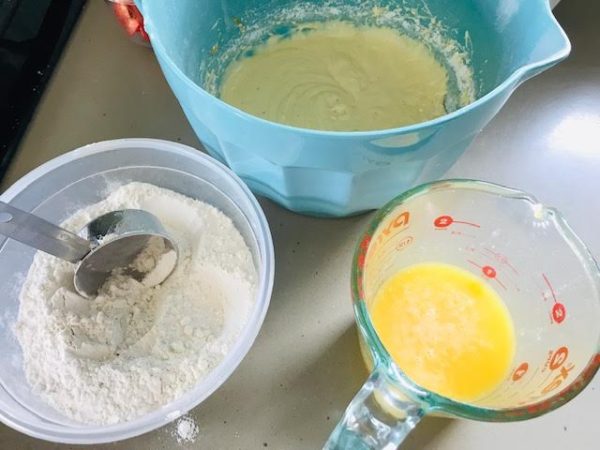
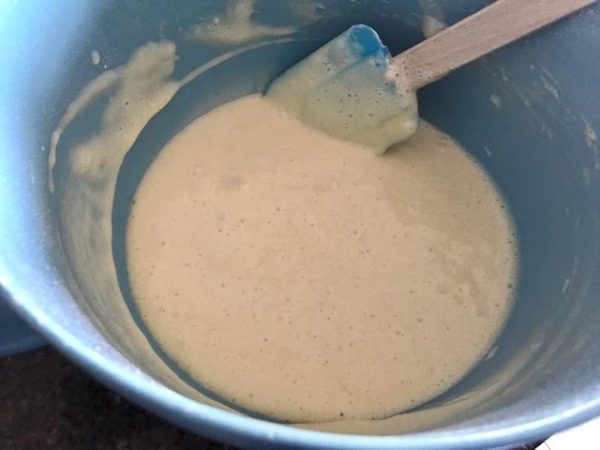
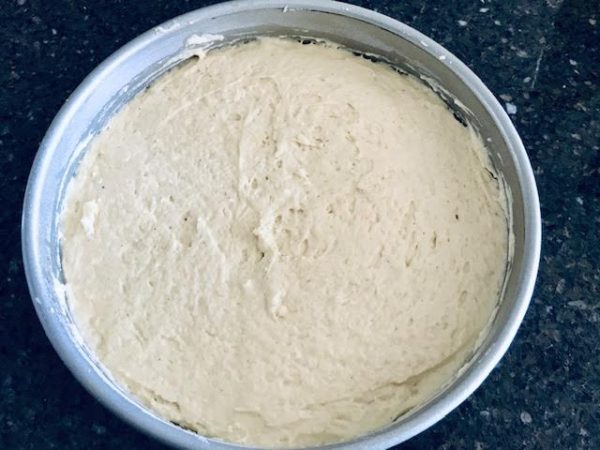
Place the batter into the pan and smooth it out.
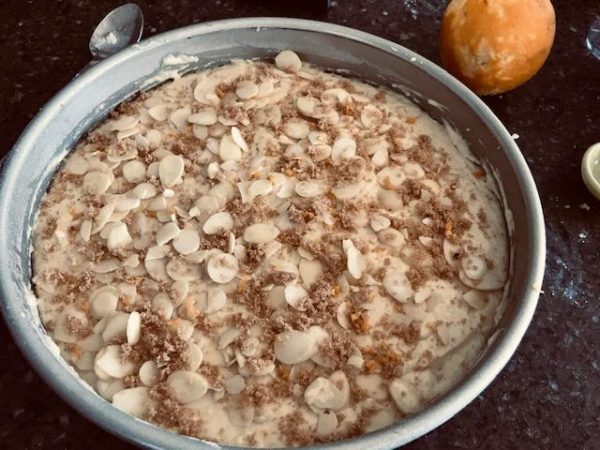
Sprinkle on the almonds and brown sugar.  Place in 400 F oven for 30 minutes.
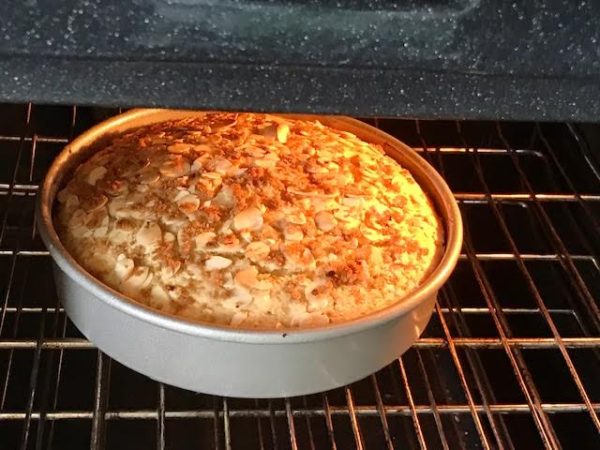
Quick peek as it cooks. 
Orange Almond Coffee Cake: Recipes At My Table

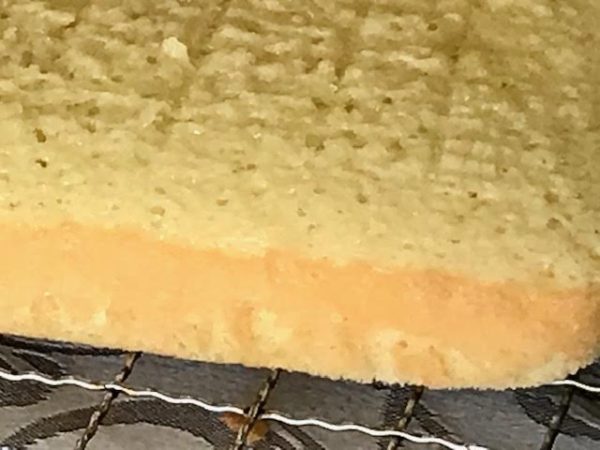
Let it cool.  

Orange Almond Coffee Cake: Recipes At My Table

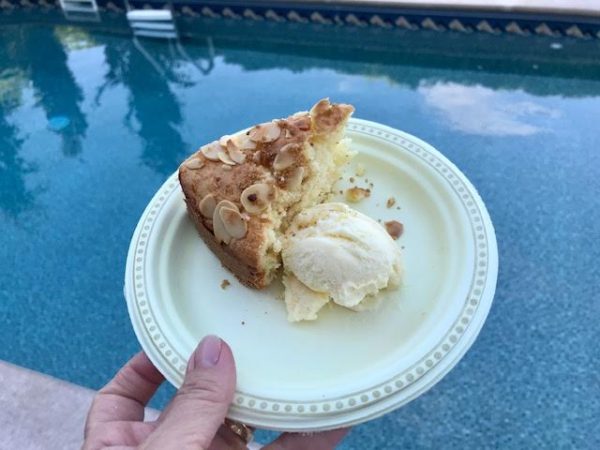
Ready to cut.  Tonight we served it with frozen yogurt. 


LImoncello Cheesecake Blondies: Recipes At My Table

LImoncello Cheesecake Blondies

LImoncello Cheesecake Blondies

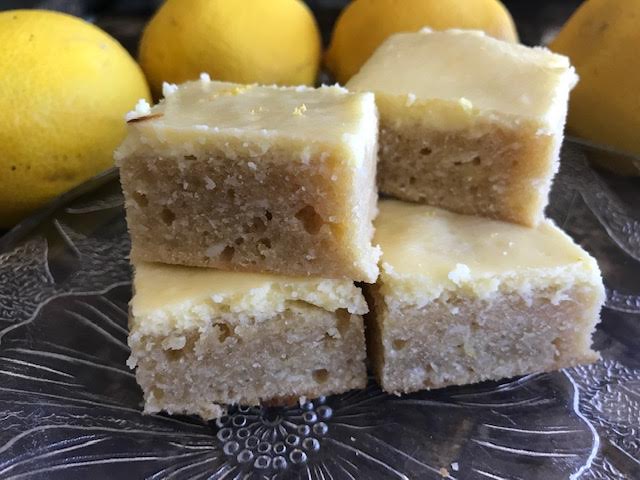
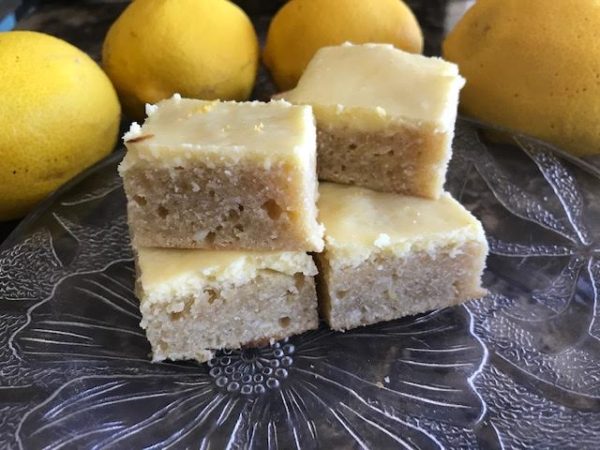
One of my favourite parts of Italy to visit is the Amalfi Coast.  My LImoncello Cheesecake Blondies bring me back to that area where the lemons are succulent.  I love anything lemon.  My son Alex, loves lemon bar, but I am sure this will be one of his favourites.

LImoncello is a lemon liqueur mainly from Southern Italy.  The region around Naples produces some of the best.  Many Italians like to make their own. In Southern Italy, it is the quality of the lemons that makes some of the best Limoncello. My Limoncello Cheesecake Blondies take me back to those cliffside lemon groves as I sit by my pool.

Also good poolside https://recipesatmytable.com/limoncello-no-churn-ice-cream/

Ingredients

Base

  • 1/2 cup butter
  • 1/2 cup white chocolate chips or white chocolate
  • 2 large eggs
  • 1/2  brick of cream cheese
  • 1/2 cup brown sugar
  • 2 tsp limoncello liqueur ( if you don’t have this substitute lemon juice)
  • the zest of half a lemon
  • 1 1/4 cups all purpose flour

Topping

  • 1/2 brick cream cheese
  • 1 egg yolk
  • 1/4 cup sugar
  • zest of half a lemon

The Process

I greased an 9 inch square pan and lined it with parchment paper. In a small pan I placed the butter and white chocolate on low heat.

Make the topping by combining the cream cheese, egg yolk, sugar and lemon zest.  Beat until smooth and set aside.

To make the bottom combine the cream cheese, eggs, brown sugar, Limoncello and beat. 

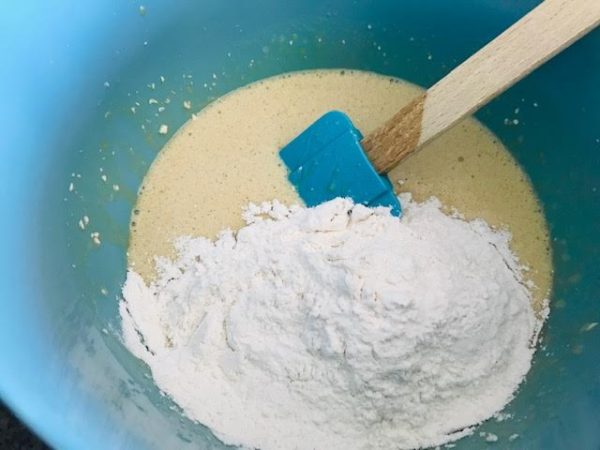
Add the flour and mix with a spatula.

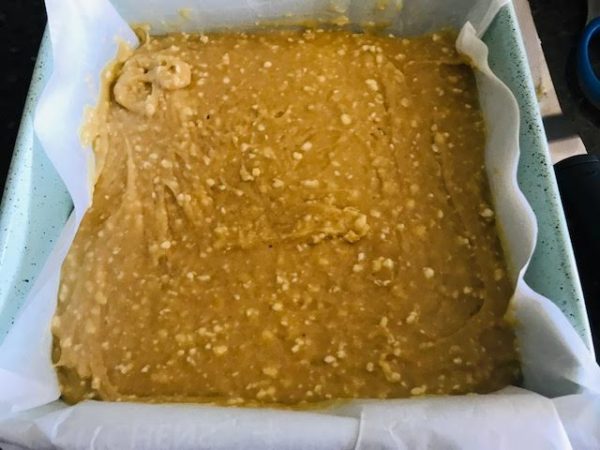
Pour the batter into the prepared pan and smooth it down.

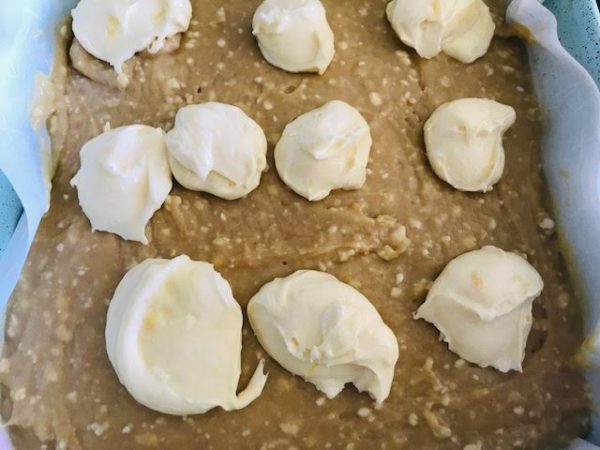
Dot on the  topping and smooth evenly over the bottom crust. 

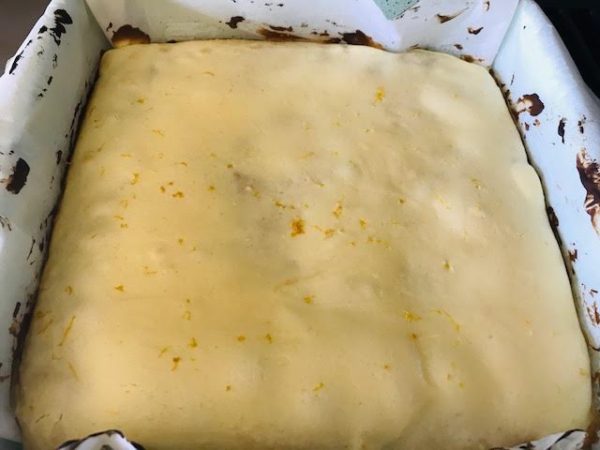
Place in a 400 F oven for 17 minutes.

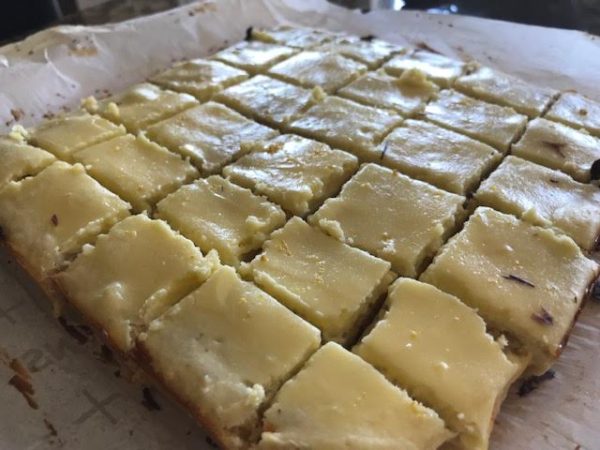
Let it cool.

Cut into squares.

LImoncello Cheesecake Blondies: Recipes At My Table

Perfectly refreshing. 

LImoncello Cheesecake Blondies: Recipes At My Table

Here I am in Sorrento last year dressed in lemons and surrounded by them.  LOL


Strawberry Sponge Cake: Recipes At My Table

Strawberry Sponge Cake

Strawberry Sponge Cake

Any sponge cake brings back memories of my nonna’s kitchen.  Every Wednesday we baked. Strawberry Sponge Cake is just as easy and quicker than going to the store to get cake.  Sponge cakes are at the heart of every Italian kitchen and we change them with the seasons.  I just received some fresh strawberries and they will do nicely in this cake.

Sponge is light and airy.  It is a nice way to end a summer meal.  Don’t overthink it and keep the cream or icing very light.  Today I use whipped cream packages to make an easy icing.  Baking has never been my specialty, and I always decorate with simplicity.  To make it pretty I finish it off with a few strawberries and their leaves.

I am experimenting a little with the chemistry of baking.  Did you know that adding hot water at the end to your batter lightens the cake?  Well, I tried it and it works.  Once leavened, you create a lighter batter by adding boiling water.  I also love almond extract with fruit and added some in.  Nonna is smiling I am sure; she knows that her basic sponge lives on in a variety of ways in my kitchen.

Enjoy summer!!  Don’t forget to also try https://recipesatmytable.com/special-occasion-sponge-cake/

Ingredients for Cake

  • 4 eggs ( room temperature)
  • 3/4 cups superfine sugar
  • 1 cup all-purpose flour
  • 1/4 tsp almond extract
  • 1/2 tsp baking powder
  • 1 tbsp melted butter
  • 2 tbsp boiling water

Icing

  • 1 envelope dream whip
  • 1/2 cup cold milk
  • 1/2 tsp vanilla extract
  • 1/4 tsp cream of tartar
  • 1/2 cup powdered sugar
  • strawberries ( sliced)

The Process

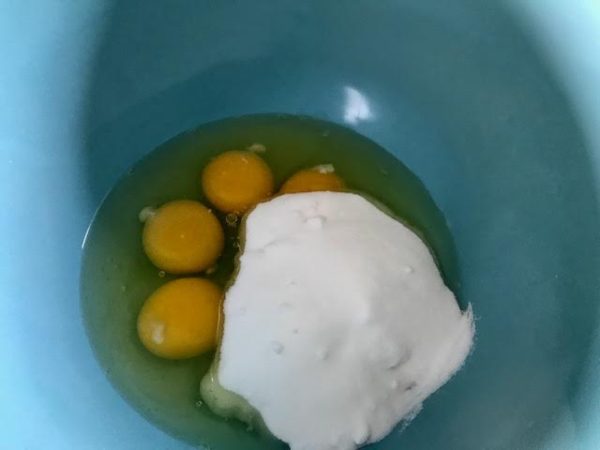
Beat the sugar and eggs until frothy.  

Sift the flour and baking powder and fold into the egg mixture. 

Add in the melted butter and mix.  Lastly add the boiling water

Pour into an 8 X 8 well greased pan and into a 320 F oven for 20 minutes.

Let the cake cool. Then slice it in half.  I find an easy way to do that is with a piece of dental floss.  

Strawberry Sponge Cake: Recipes At My Table

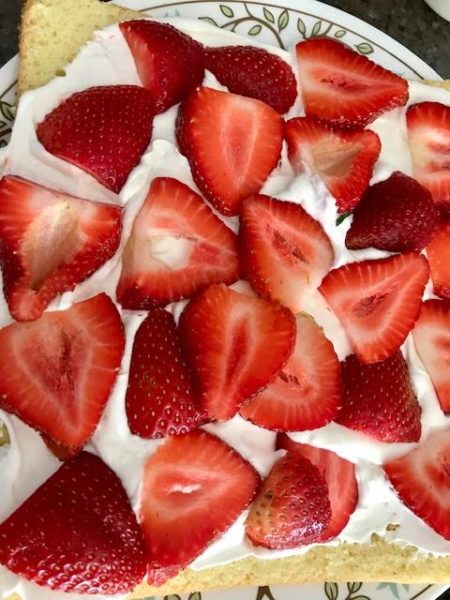
For the icing prepare the whipped cream as per directions on the package.  I used Dream Whip and to the powder I added 1/4 tsp cream of tartar. The milk was already at the bottom of the bowl with the vanilla.  Once the peaks formed, I added the powdered sugar.I spread 1/2 the icing over the cake and placed about 1 cup of sliced strawberries over the icing.  

Strawberry Sponge Cake: Recipes At My Table

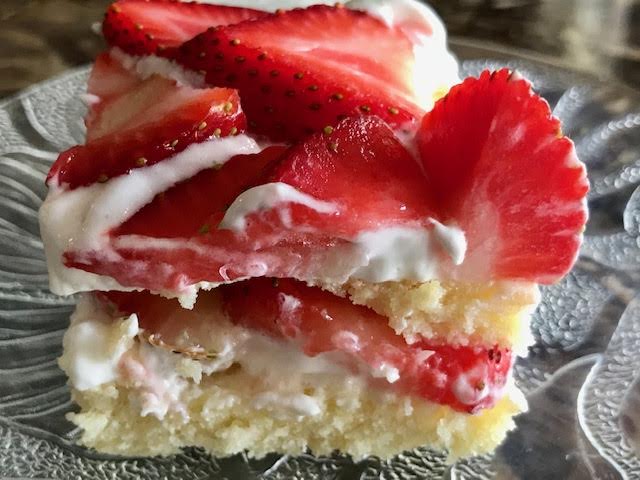
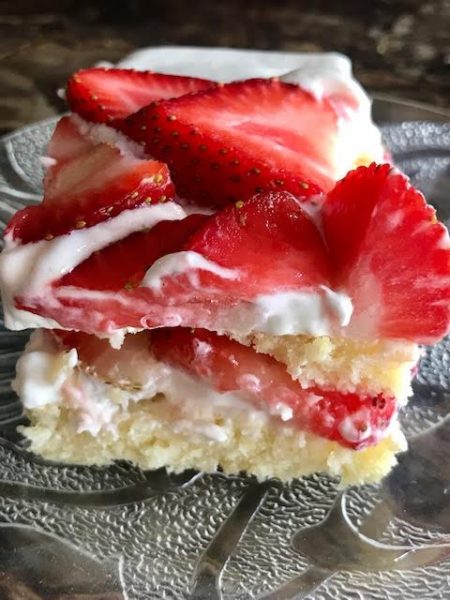
Then I put the second piece of cake over it and used the remainder of the icing.  As stated, I am a simple decorator.  LOL

Strawberry Sponge Cake: Recipes At My Table

The first slice is for me. 

Strawberry Sponge Cake: Recipes At My Table


Coconut Cream Dream Pie

Coconut Cream Dream Pie

Coconut Cream Dream Pie takes me back to a time when life was a dream.  Growing up in little Italy, I would dream of going to Woolworth and sitting at the lunch counter to eat this pie.  It took me years to master the crust and another few years of sifting through recipes to find the right custard for this pie.  I will share it with you for your sweet dreams.

The custard is the tricky part.  If you have never mastered the art of tempering eggs, don’t worry.  At first it takes a few tries, but it is all worth it.  By pouring some of the hot milk into the eggs, you will bring up the temperature of the eggs.  If you don’t do this you will end up with scrambled eggs, and I have done that. LOL  Remember, cooking like anything else is all about the process.
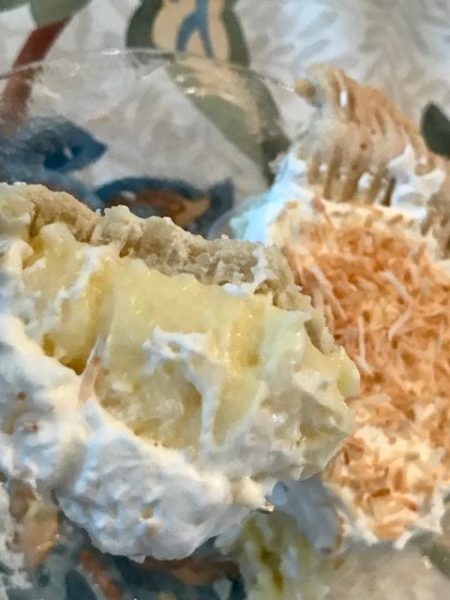
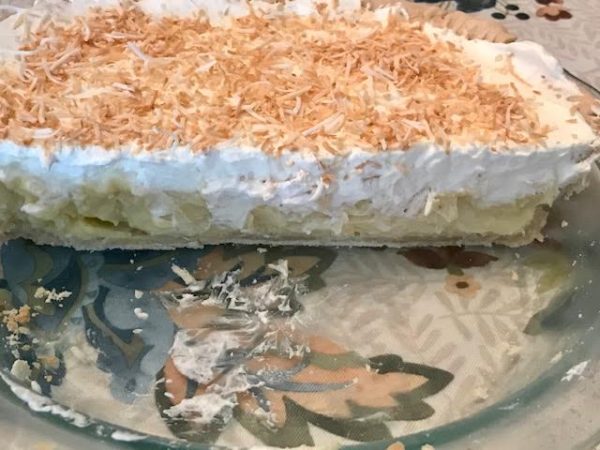
There is also a question of whether to use whipped cream or meringue and to me it isn’t a choice.  Meringue is for lemon pies, but coconut requires the frothy, pillowy texture of cream to adorn it. This trick helps to stabilize the cream and gives it a longer life.

Thinking back on my childhood, it was the little things that created the memories.  However, no matter where I look my mind’s eye focuses on gatherings.  It was the food on the table and the people in the chairs that made us smile.  I recently had to write about my childhood for a grandparent journal, and i talked about the noise.  Our houses were and are noisy.  Everyone talks and you have to talk louder in order to be heard.  It is the best sound ever.  I cherish that noise.

Today our table comes to life with my grandson.  What I cherish most is the time set aside for grace at supper time.  We are all present and we are all thankful, and maybe that is what he will remember from this quarantine.  Wishing you all special memories as you gather around your tables.

If you like bananas try https://recipesatmytable.com/chocolate-dipped-banana-cream-pie/

Ingredients

The filling ( cream/custard)

  • 4 egg yolks
  • 3/4 cups sugar
  • 1/2 cup flour
  • 3 cups milk
  • 2 tbsp butter
  • 2 tsp vanilla extract
  • 1 cup coconut

Topping

  • 2 cups whipping cream
  • 2 tbsp powdered sugar
  • 1/2 tsp cream of tarter
  • 1tsp vanilla extract
  • 1/3 cup toasted coconut

Pie crust

  • I precook the crust at 425  for 8 minutes

https://recipesatmytable.com/pie-crust/

The Process

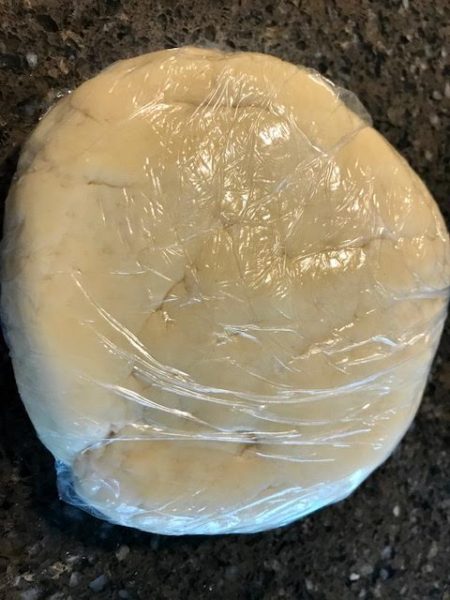
I start by preheating the oven to 425 because this pie crust comes together easily.  I wrap it in some plastic wrap for a few minutes. Meanwhile I can assemble by custard ingredients.

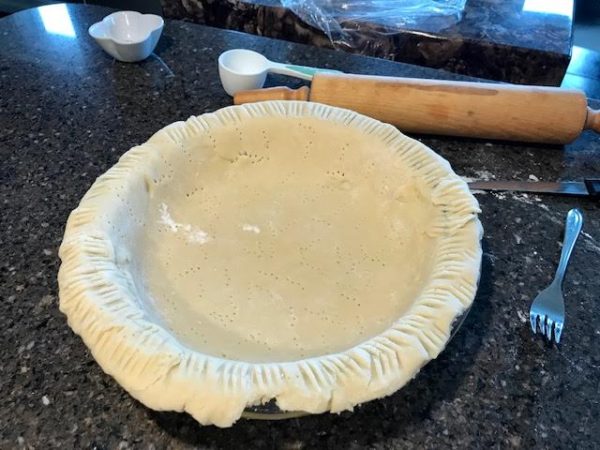
This dough roles out easily and it is ready for the oven.  Prick it all over with a fork and in it goes for 8 minutes.

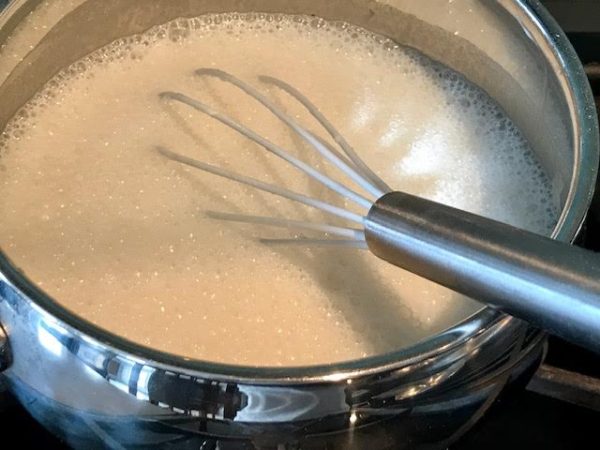
For the custard I begin by whisking the flour and sugar.  Then I add the milk in and it all goes over medium heat.  I continue to whisk until it gets warm.

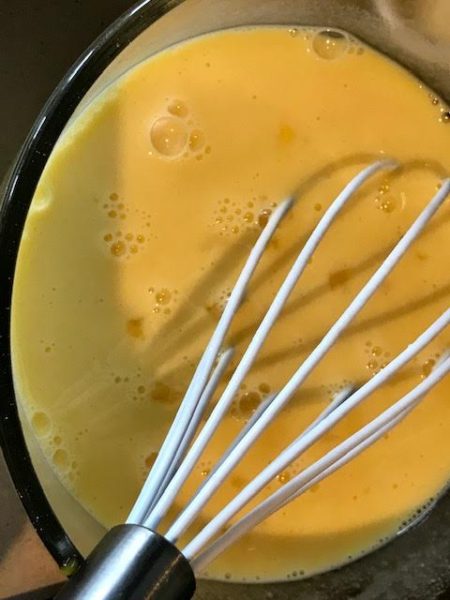
I beat the egg yolks and now it is time to temper them.   Now add a little hot milk to the yolk, about a ladle full.

You can see how rich the egg yolks look with the milk.

Coconut Cream Dream Pie: Recipes At My Table

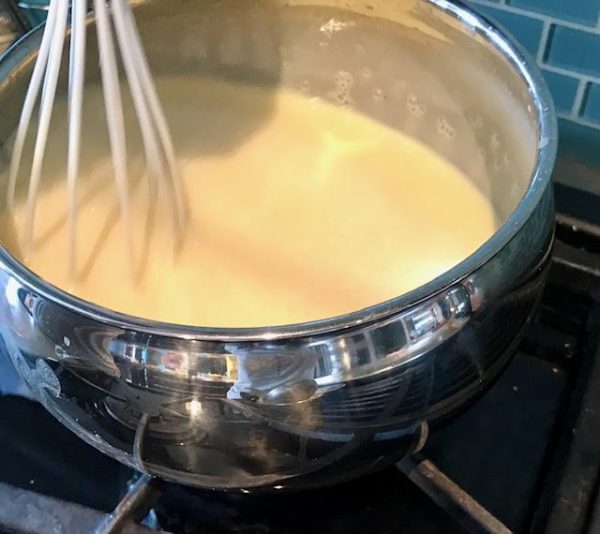
And now it all goes back into the pot and continue to whisk until it comes to a boil.  It will thicken and then it is time to remove it from the heat.

Coconut Cream Dream Pie: Recipes At My Table

Now it is time to add in the butter, vanilla extract and the 1 cup of shredded coconut. Pour it into the baked pie shell and return it to the oven.  Set the oven to 325 F for 30 minutes.  When it comes out of the oven, cool and then place into the refrigerator for at least 5 hours.

Coconut Cream Dream Pie: Recipes At My Table

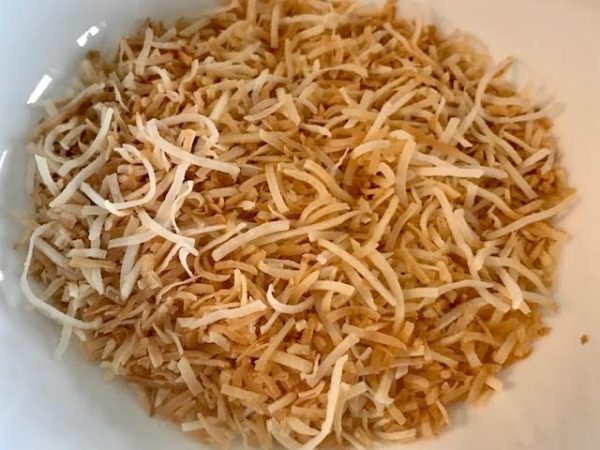
I toasted 1/3 cup of coconut  in a pan.  Then beat the whipping dream until it forms peaks.  Combine the powdered sugar with the cream of tartar and add to the cream.  Beat again and then add the vanilla and beat some more.

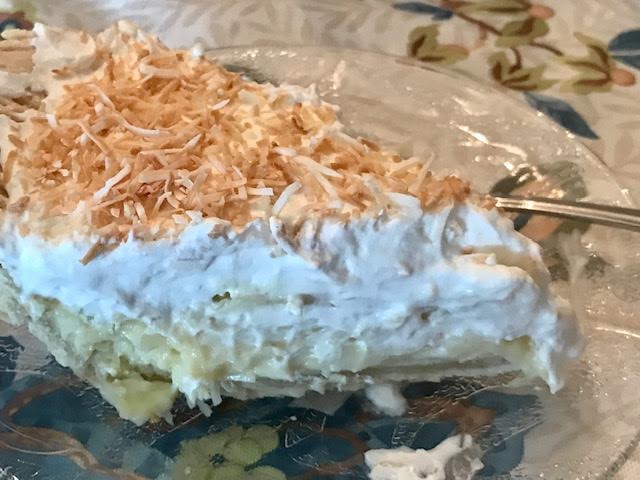
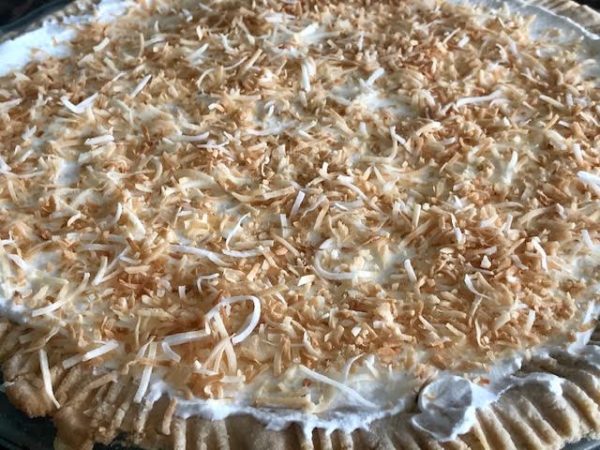
Spread the whipping cream over the pie and sprinkle with the coconut.

Coconut Cream Dream Pie: Recipes At My Table

A forkful of heaven!

Coconut Cream Dream Pie: Recipes At My Table

Half a pie left.

Coconut Cream Dream Pie: Recipes At My Table