Balsamic Glazed Chicken Thighs

Balsamic Glazed Chicken Thighs

I love Balsamic Vinegar and this is a go-to recipe anytime of the year.  Sometimes I use it on steak just before it goes on the grill.  It’s sweet-tart flavour helps to tenderize any meat and makes a light little sauce.  Used by many chefs worldwide, there is always a discussion on its use.  Once again, it depends on what part of Italy you visit.  Ask many chefs from Modena, where the vinegar originates and they would not marinade with it.  I like it and ask you to judge for yourself. My Balsamic Glazed Chicken Thighs deserve the best vinegar.

I do agree that less is more and some recipes call for up to one cup of balsamic.  Using 1/4 cup of this vinegar goes a long way. It will add depth to the dish without being invasive.  Balsamic Glazed Chicken Thighs makes a delicate and elegant dish for your family or entertaining.  Easy to make, the vinegar does all the work for you.

Sometimes I feel guilty cooking with chicken thighs, but they are just as nutritious.  A chicken thigh has 13. 5 grams of protein, while breast meat has 54 grams of protein.  https://www.healthline.com/nutrition/protein-in-chicken

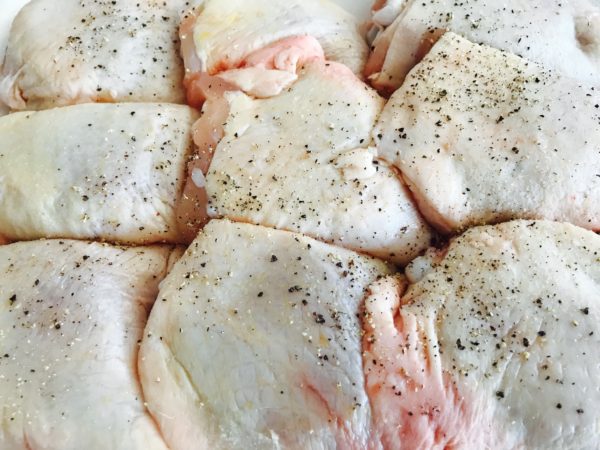
First salt and pepper the chicken thighs and leave the skin on for extra flavour.
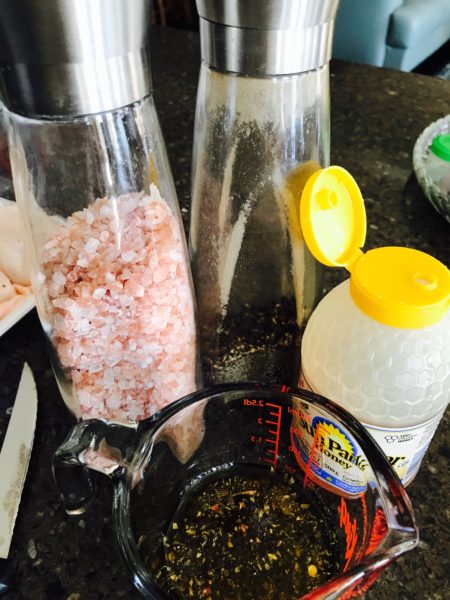
A few ingredients make a good marinade.
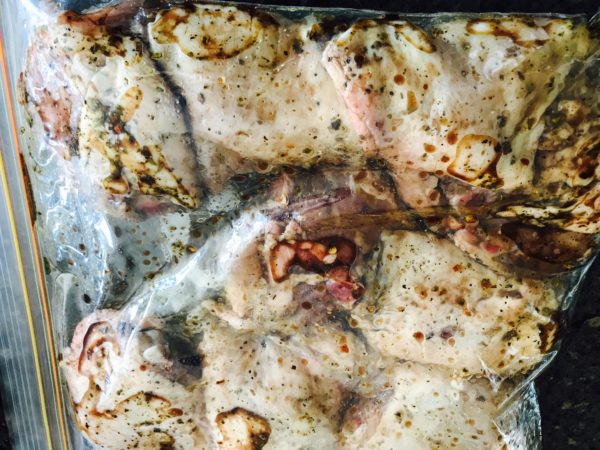
Put the chicken in a bag and pour in the marinade.
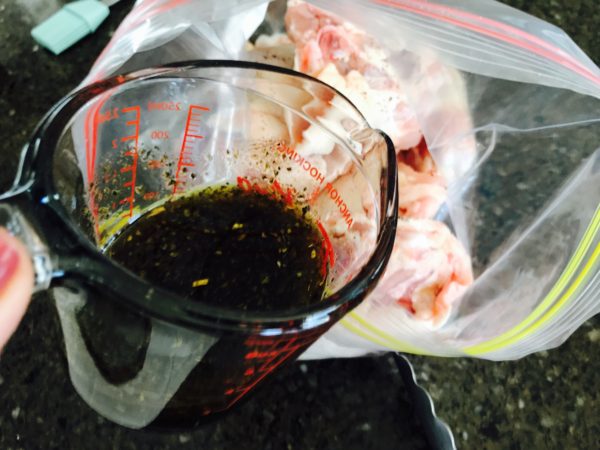
Pouring the balsamic marinade

Give it a good massage; remember that less is better and use good ingredients.
My side dish is broccoli and this is the bread topping.
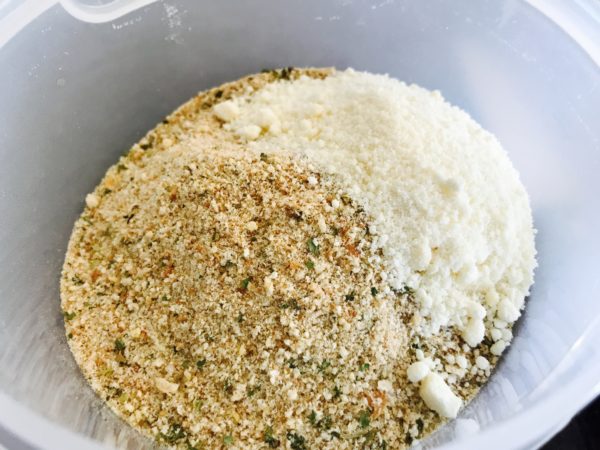
Mixing a bread topping

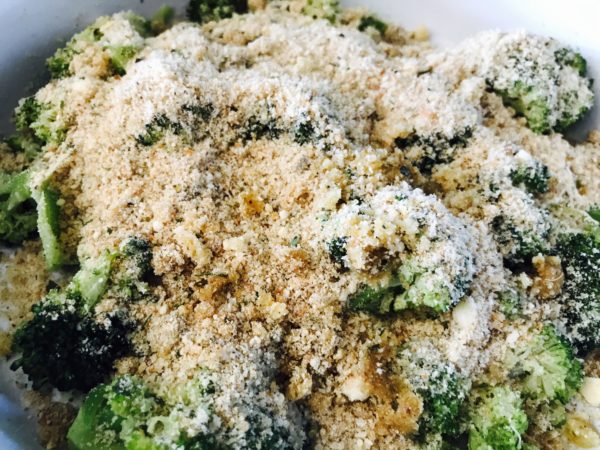
I steam the broccoli, grease the dish and spread on the topping.
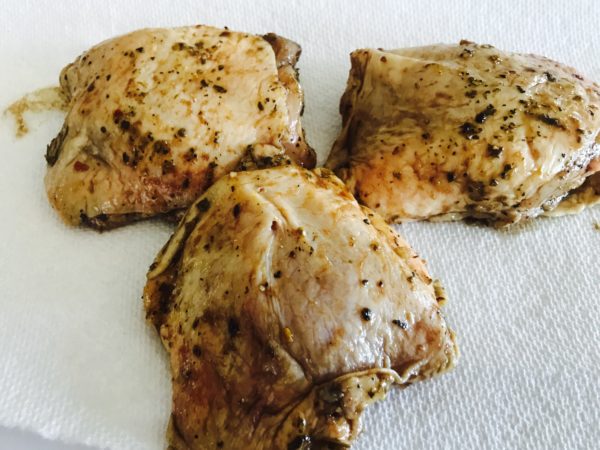
Before pan searing the thighs ensure that you pat them dry.
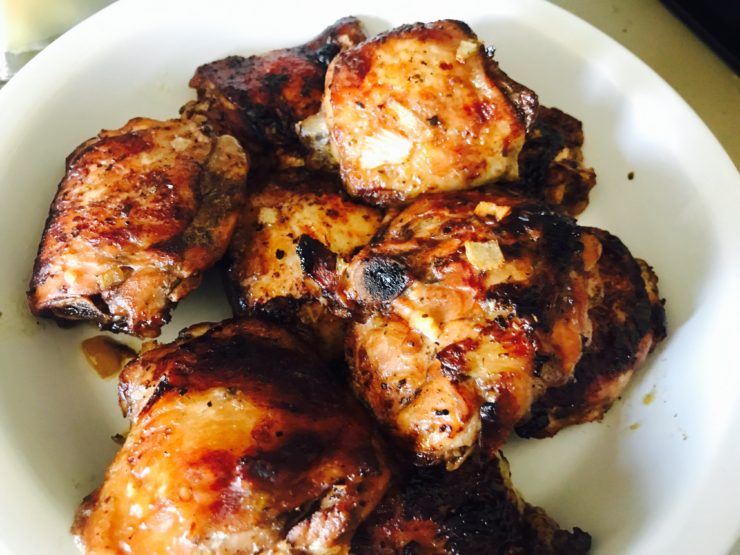
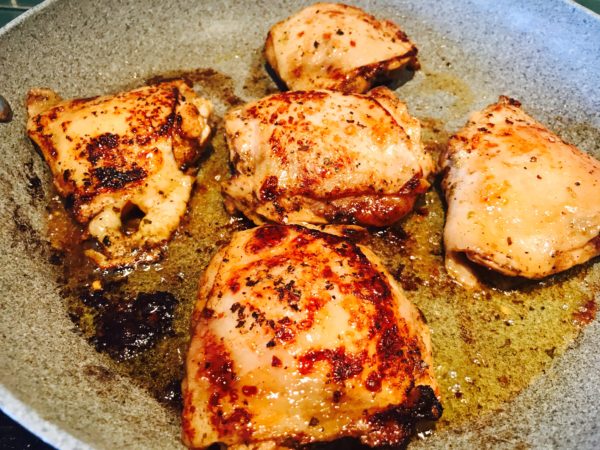
Look at the colour from the vinegar.
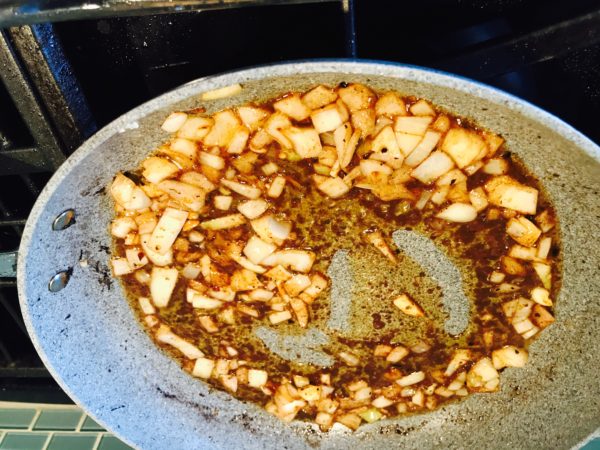
Brown the onions and garlic in the pan before adding the wine and the chicken stock.
I place the thighs in a large pan for the oven.
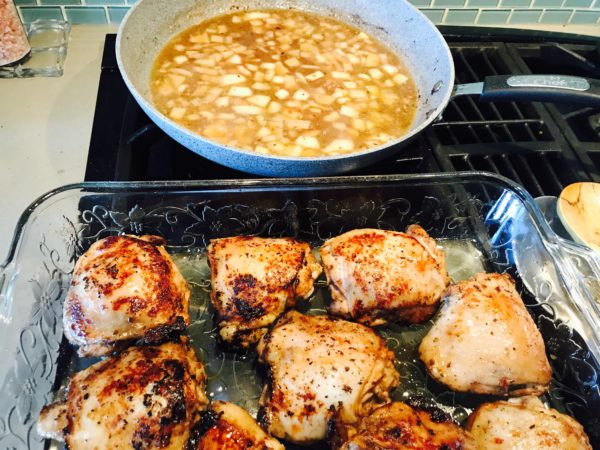
You know how I love to peek into the oven.
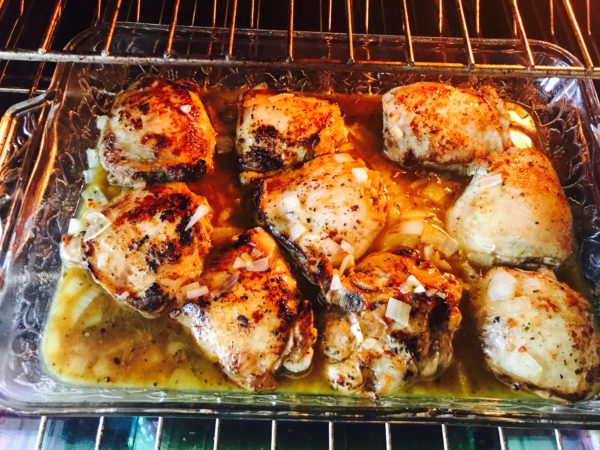
After 45 minutes, remove the thighs and reduce the sauce.
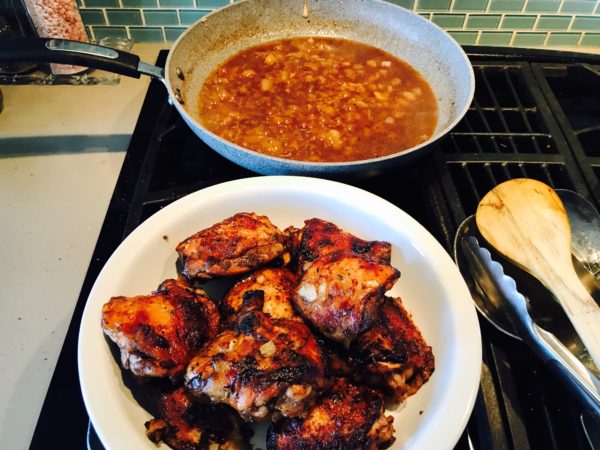
All plated: I also made homemade fries.
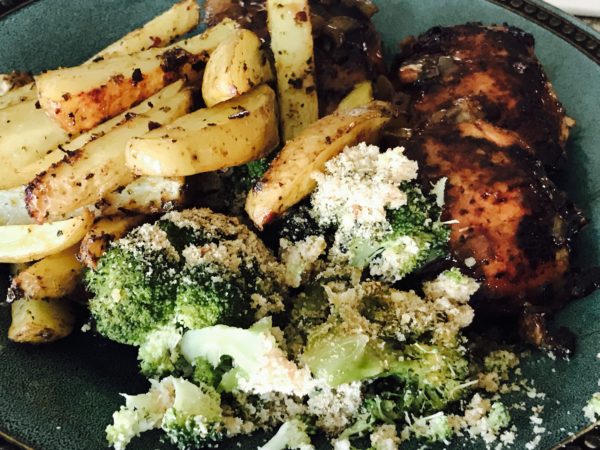
 

Balsamic Glazed Chicken Thighs

Easy to make and wonderful for entertaining.

Prep Time 5 hours 35 minutes
Cook Time 45 minutes
Servings 4
Author Renata Solski

Ingredients

The Marinade

  • 1/4 cup balsamic
  • 1/8 cup olive oil
  • 1 tbsp honey
  • 1 tbsp Italian Seasoning

The Chicken Thighs

  • 9 chicken thighs skin on
  • salt and pepper
  • 1 large onion
  • 2 cloves garlic

Instructions

The Marinade

  1. Remove chicken from package and generously salt and pepper.

    Whisk all the marinade ingredients together.

    Place Chicken in a plastic bag.

    Pour marinade over chicken and refrigerate for at least 5 hours.

The cooking

  1. Remove chicken from bag.

    Do not discard the marinade.

    Pat the chicken dry with some paper towels.

    Place chicken in a hot pan with 1 tbsp olive oil.

    Brown chicken and remove.

    Pulse the onion and garlic in a food processor and add to the pan.

    Cook for 5 minutes.

    Add the chicken into the baking pan and pour in any marinade. Pour the marinade around the sides and not on top of the chicken.

    Add 1/2 cup of white wine around sides.

    Cover and place pan in a 325 oven for 30 minutes.

    Remove cover and cook for another 15 minutes.

    The sauce will thicken. If you want it thicker. Add 1 tsp of cornstarch with 2 tbsp of water to make a slurry. Pour into the pan with the existing sauce after you remove the chicken.

    Serve with a side of veggies.

    I made a steamed broccoli with a bread/parmesan topping

Recipe Notes

For my broccoli side dish:

Steam some broccoli. Place in a greased oven dish.  Generously salt and pepper. Combine 4 tbsp seasoned breadcrumbs, 2 tbsp grated parmesan and 1 tsbp olive oil.  Place in a 375 F oven for 15 minutes.  
Coconut Fish Sticks:Recipes at My Table

Coconut Fish Sticks

Coconut Fish Sticks

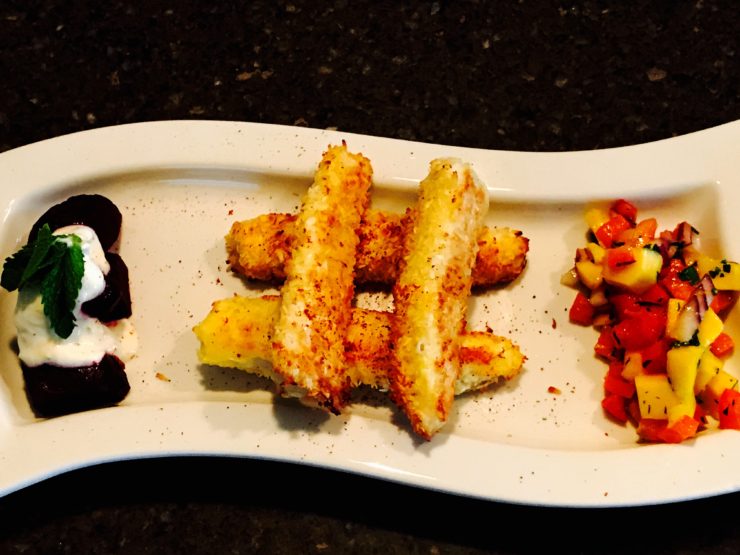
Who doesn’t remember fish sticks as a kid? But these are fish sticks for grown-ups. Coconut Fish Sticks come with a little bit of sophistication.  Served with my mango salsa and beets with fresh yogurt cream, this dish is one for entertaining.

I watch a lot of Food TV and Gordon Ramsay is one of my favourite chefs for techniques that work.  My technique for this fish comes from him.  The secret to a good fish stick is in the salting of the fish.  I use a firm fish; today it is basa.  After I cut and dry the fish, I salt it an let it sit in the refrigerator of 20 minutes.( Gordon’s technique) It firms up the fish and allows it to become more durable in the pan.  Then I take it out of the refrigerator and roll it in flour and shake off the excess flour by rolling it between my hands. ( Also his technique)

The Mango salsa brightens the dish and the red of the beets with the little splash of yogurt sauce add more colour.   There is no starch with this dish, but it is more than satisfying. Leftover Salsa is nice on other sandwiches or as a side.

If you like Basa, check this out: https://recipesatmytable.com/basa-fillets-with-olives/

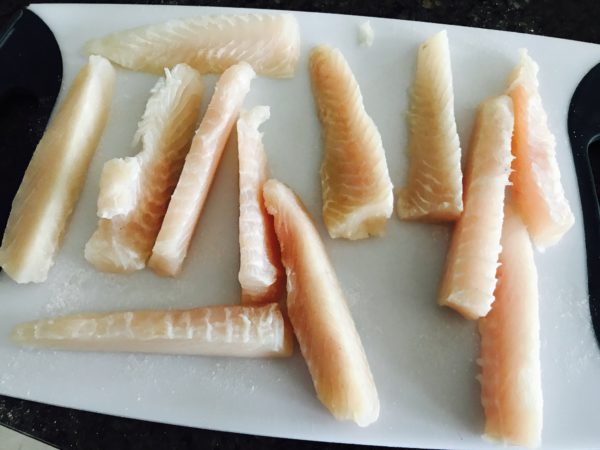
I use a firm Bassa fish for this dish.

I cut the fish into little strips.

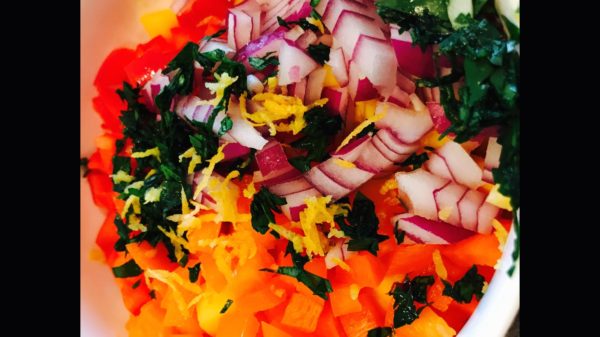
The salsa needs some onions.

Such a colourful salsa and then that lemon zest hits the top.

I roll the fish sticks into the flour first and then between my hands to remove the excess flour.

A healthier version of this dish, because we all need to be healthier. 

A little yogurt sauce with orange juice, orange zest and some fresh mint.

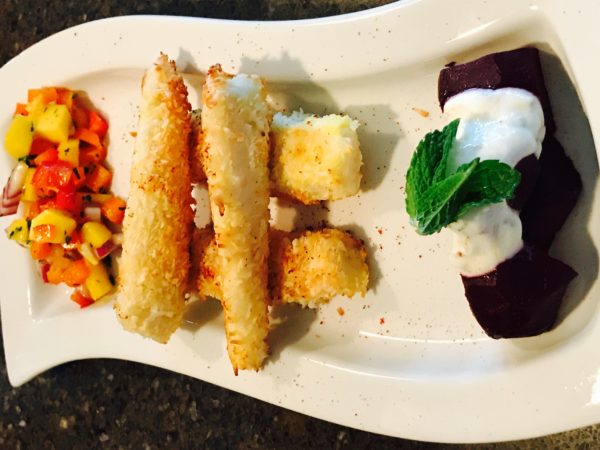
It all looks so inviting on the plate.

Coconut Fish Sticks

Course Main Course
Cuisine Home Cooking in Canada, Italian
Keyword Coconut Fish Sticks
Prep Time 30 minutes
Cook Time 6 minutes
Total Time 36 minutes
Servings 2
Author Renata Solski

Ingredients

The Fish

  • 1 lb firm fish I used basa fillets
  • 1/2 cup flour
  • 1 tbsp olive oil
  • 1 1/2 cups flaked coconut

Mango Salsa

  • 1 whole mango
  • 1/4 cup each yellow and red bell peppers
  • 1/2 sweet onion finely diced
  • 2 tbsp parsley or cilantro

The Beets

  • rosted beets
  • 2 tbsp greek yogurt
  • 2 tbsp freshly squeezed orange juice
  • zest of half an orange
  • 1 tsp fresh mint leaves

Instructions

The Fish

  1. Cut the fish into fingers.

    Dry the fish.

    Salt the fish and place it into the refrigerator for 20 minutes to firm. 

    Dip into the flour and roll between your hands to remove the excess flour.

    Break the egg into a bowl and beat with salt and pepper. 

    Place the coconut into another bowl.  

    Dip the fish into the egg and then into the coconut.

    Place on a large cookie sheet lined with parchment paper.

    Drizzle some olive oil over the fish.

    Place in a 400F oven for 20 minutes.
    Serve with the Salsa on the side.  

The Mango Salsa

  1. Cut the mango in half and score it. 

    Remove all the little pieces with a spoon into a medium bowl.

    Chop the onion finely and add.

    Dice the peppers into uniform pieces.

    Add the olive oil.

    Salt and pepper.

    Add the parsley and toss together with the parsley.

The Beets

  1. After roasting the beets, cool and peel.

    Mix the yogurt with the orange juice, the zest and the mint leaves

    Drizzle over the beets.

Recipe Notes

You can also deep fry this fish.


PIzzelle Cannoli

Pizzelle Cannoli

Pizzelle Cannoli takes the shell from pizzelle and the filling from cannoli.  It’s an easier way to make a crispy shell and a healthier version.  When I make the pizzelle, I roll them up as soon as I take them off the iron.  I place them on a wire rack to harden.  Like regular cannolli, I do not fill them until just before serving.  If you have never made cannolli, don’t be afraid.  This recipe is an easy version.

Now there is no mistaking these for the authentic Sicilian treat that I eat every year.  The best place for me is The Duomo in  Cefalu.  Their cannoli are to die for and I look forward to them every summer.  However, that said, when I crave these little crunchy shells with ricotta goodness, I am not prepared to fry up the shells.  I remember making the authentic cannoli with my aunt Maria, and the real ones are tedious.  But now, even if you aren’t Italian, you can make these PIzzelle Cannoli.

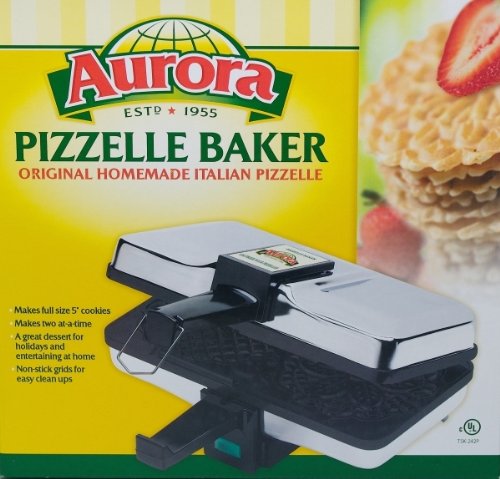
Pizzelle irons are easy to find and easy to use.  Mine is an Aurora make and I bought it at an Italian shop.  Amazon carries it and I placed a picture in the recipe notes. Pizzelle are the world’s oldest cookies.   A good read https://www.udecatering.com/catering-blog/2018/4/19/history-of-the-pizzelle-the-worlds-oldest-cookie

If you love cannoli don’t forget to try https://recipesatmytable.com/laurens-cannoli-cupcakes/

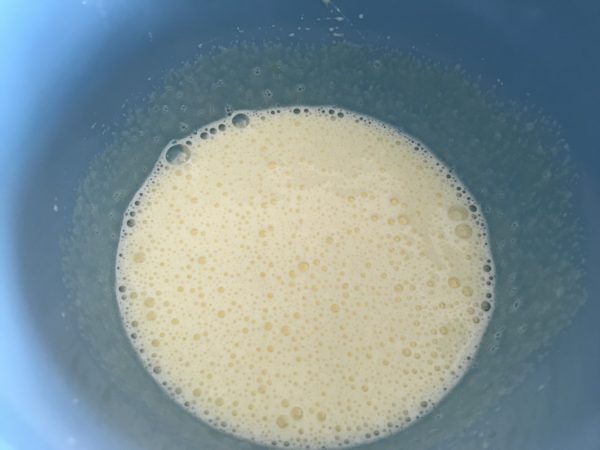
Always froth the eggs and sugar.

Frothy eggs and sugar

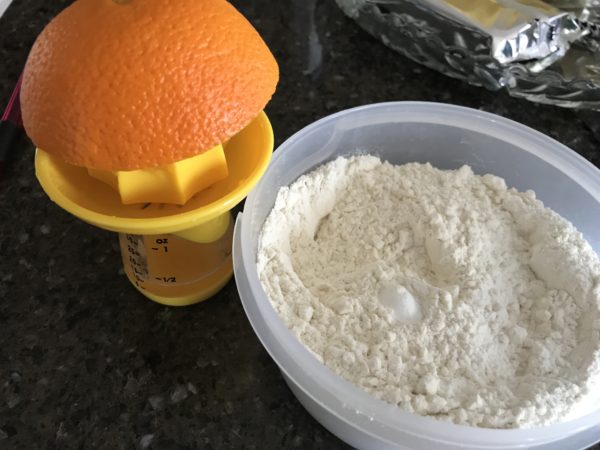
Fresh fruit is always best.

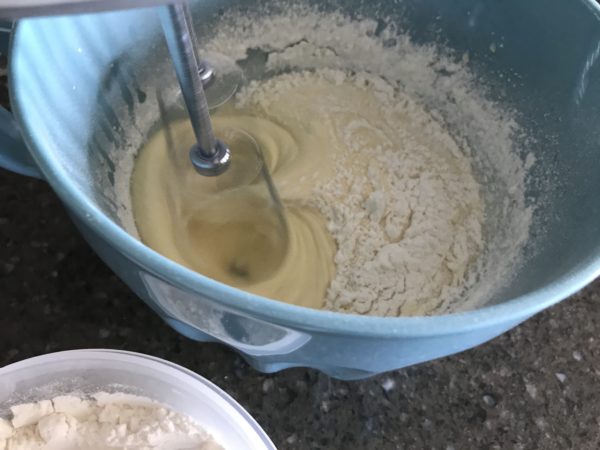
The beaters do the work.

Adding the flour

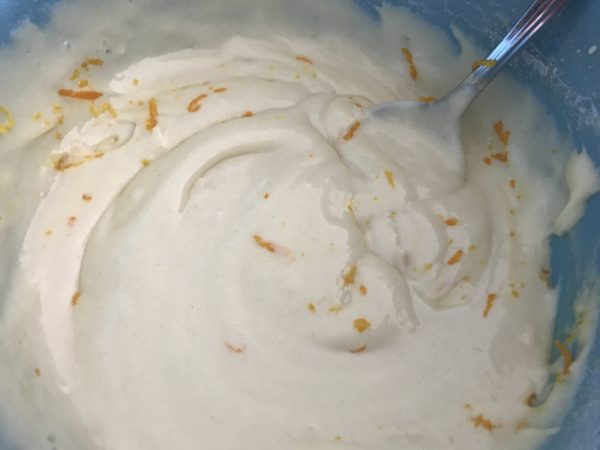
Loving the little specks of orange zest.

Orange Zest

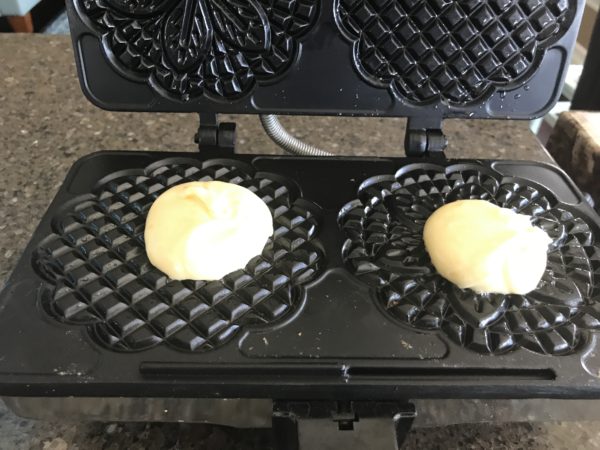
I Put a tablespoon of mix into each iron.

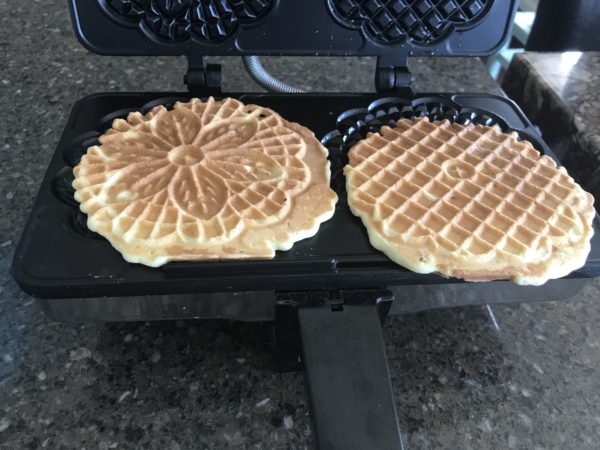
Open the iron and roll quickly.

Hot Pizzelle Iron

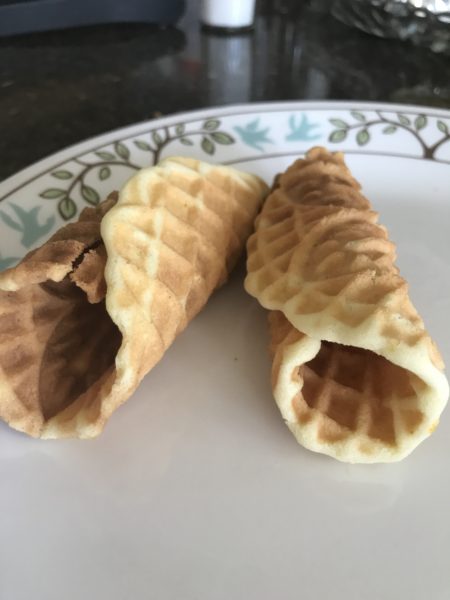
Perfect and easy little shells.

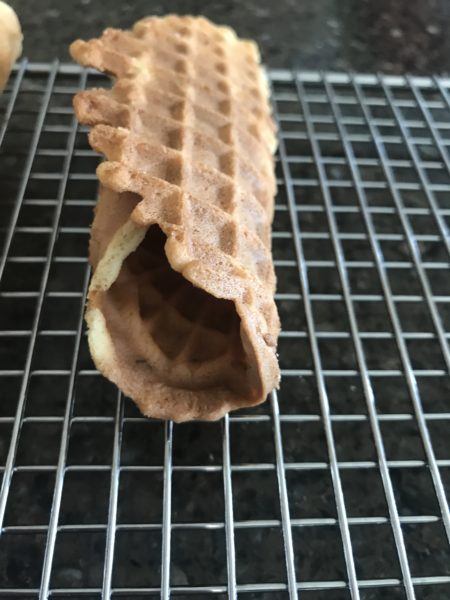
Put them on a rack to cool.

Rolled up Pizzelle

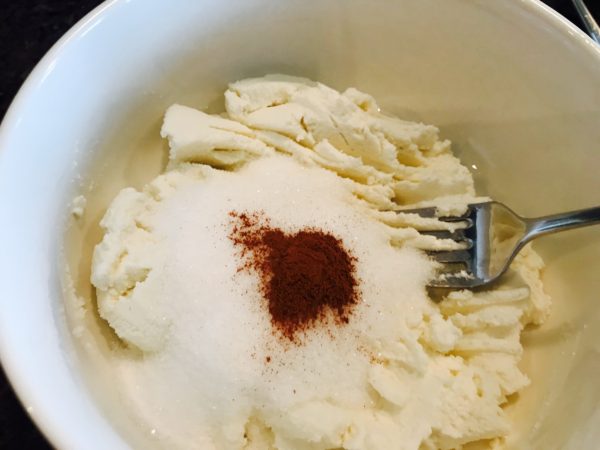
I mix the ricotta, sugar and cinnamon.

a little sugar and cinnamon

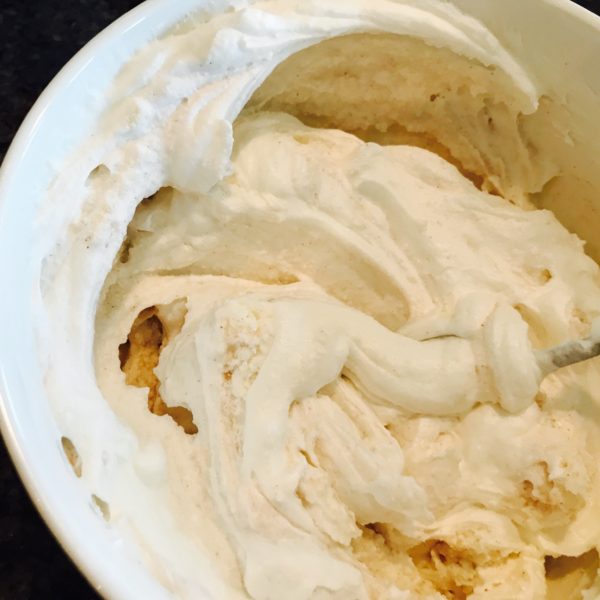
Then I add the cream.

ricotta and cream come together

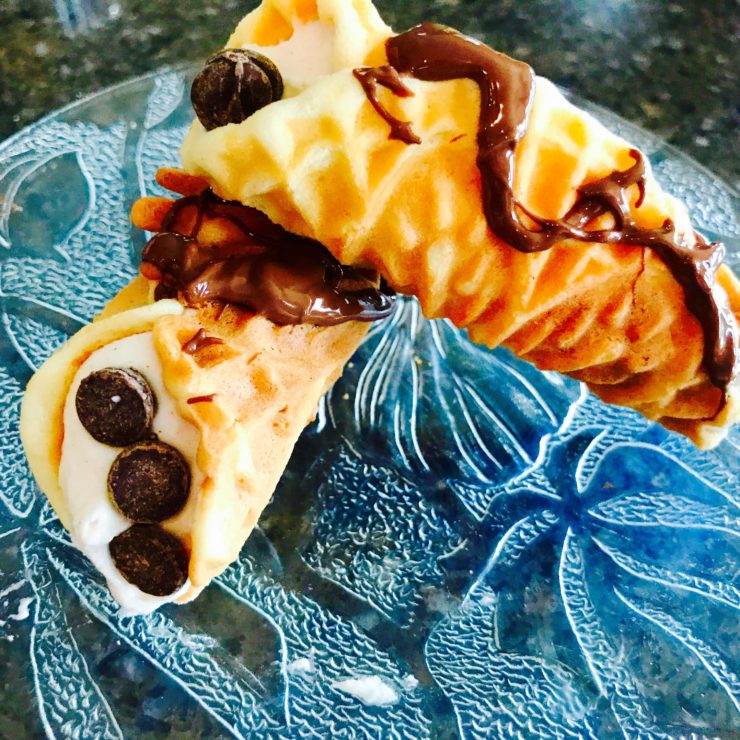
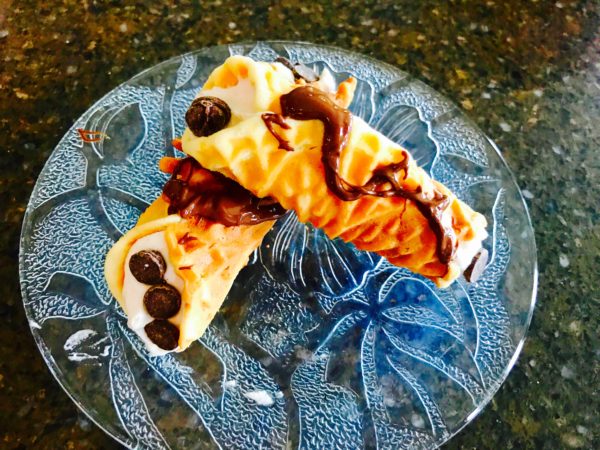
Pizzelle Cannoli Plated and I used lots of chocolate.

5 from 1 vote
Print

Pizzelle Cannoli 

An easy version of the traditional cannoli

Prep Time 1 hour 10 minutes
Cook Time 16 minutes
Servings 37
Author Renata Solski

Ingredients

The Pizzelle Shells

  • 2 large eggs
  • 1/2 cup sugar
  • 1/4 cup canola oil
  • 1 tbsp anise
  • 1 tbsp orange juice I use a fresh orange for this and the zest
  • 1/4 tsp baking powder
  • orange zest
  • pinch salt
  • 1 1/4 cups all purpose flour

The Filling Group

  • 1 cup full fat ricotta strain it
  • 1 cup whipped cream
  • 1/2 cup sugar
  • 1/4 tsp cinnamon

The garnishes

  • chocolate chips
  • pistachio nuts or your favourite
  • Melted chocolate to drizzle over the cannoli
  • Powdered sugar to sprinkle over the cannoli

Instructions

The Pizzelle Shells

  1. Beat the eggs until frothy and then add the sugar.

    Follow with the oil.

    Next add the anise and orange juice.

    Mix the flour, baking powder and salt.

    Add the dry ingredients a few tablespoons at a time and continue beating.

    Now stir in the orange zest.

    Place one tablespoon of batter on each hot pizzelle iron and follow the cooking instructions.

    As soon as the pizzelle come off the iron, roll them and place them on a cooling rack.

    If you have cannoli moulds, you can wrap them around the pizzelle to roll.

    You can also pinch the tops of the pizzelle shells to create a little half moon basket.

The Filling

  1. I like to put the cup of ricotta in a strainer and let it sit to strain any liquid.

    Place the ricotta, sugar and cinnamon in a bowl and mix.

    Add the whipped cream.

The assembly

  1. Place the filling into a piping bag.

    I use a plastic bag and I snip the tip off.

    I place the bag into one end of the shell and press, I repeat this on the other end.

    Then dip your ends in chocolate chips or nuts.

    I drizzled melted chocolate over mine.

    You can use powdered sugar over them.

    Whatever you do, only fill the shells just prior to serving or they will soften.

Recipe Notes

White Wine Chicken Scallopini: Recipes at My Table

White Wine Chicken Scallopini 

White Wine Chicken Scallopini

White Wine Chicken Scallopini is one of my favourite dishes.  The coating has a mixture of flour, polenta (corn flour) and bread crumbs making it crispy all over.  I pour wine into the bottom of this dish, it steams it slowly in the delicate flavour of the white grapes.  Any meat breaded and slowly cooked in white wine is delicious.

This dish is different than nonna Emilia.  She used marinara sauce in her layers and no wine.  I did take her idea of the parmesan cheese between the layers.  This adds a little nutty flavour to the dish.  Of course, I like to brighten it up in the true Sicilian way by spritzing lemon juice on it at the end with some fresh lemon zest. My white wine chicken scallopini has a delicate flavour.

A scallopini dish consists of any meat thinly sliced and dipped in flour and then sauteed.  In traditional dishes, it comes to the table with some lemon and parsley.  I like to add the red and yellow bell peppers for colour.  Sometimes, I add mushrooms.

My other favourite chicken recipe is https://recipesatmytable.com/sweet-and-spicy-chicken-breasts/

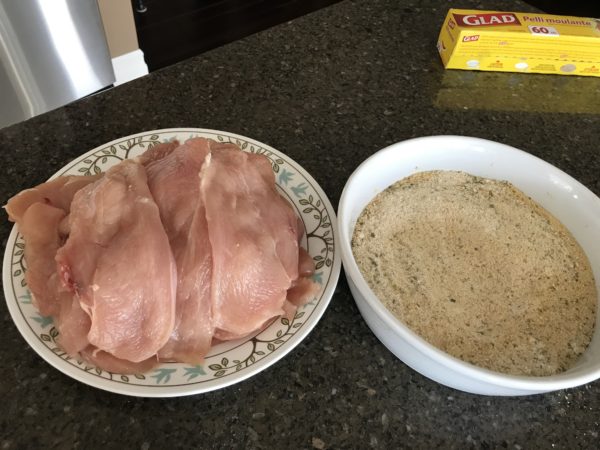
I assemble the chicken and bread crumbs.  Plastic wrap helps when I pound and tenderize the chicken breast.  

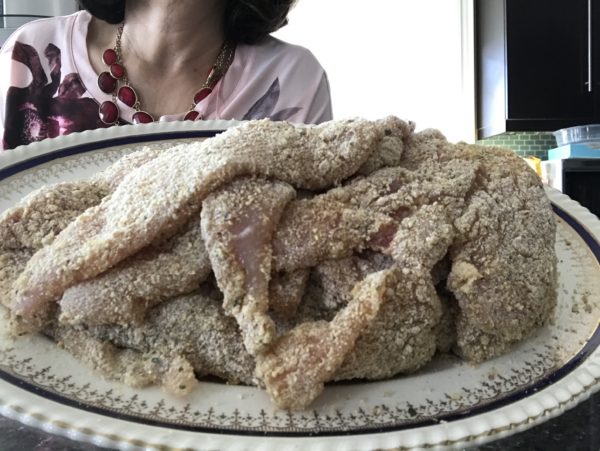
The cutlets before I fry them in some canola oil.

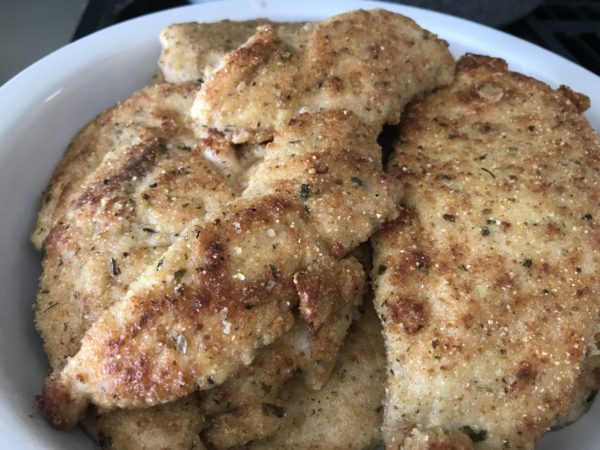
Fried and golden brown.

Step One

[videopress PAZieDkh]


Step Two

[videopress MqXEV5sh]

The Assembly

[videopress ApGrF5v1]

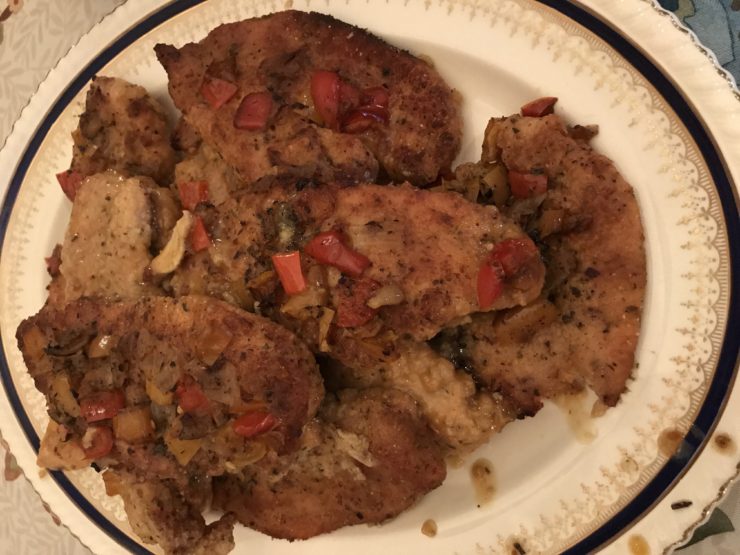
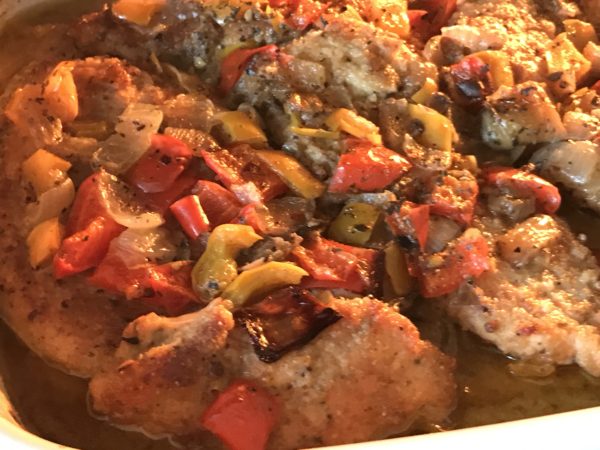
So good when it comes out of the oven. 

White Wine Chicken Scallopini: Recipes at My Table


White Wine Chicken Scallopini

A delicate chicken breast dish cooked in white wine.  

Course Main Course
Cuisine Home Cooking in Canada, Italian
Keyword White Wine Chicken Scallopini
Prep Time 28 minutes
Cook Time 1 hour 30 minutes
Total Time 1 hour 58 minutes
Servings 10
Author Renata Solski

Ingredients

The coating

  • 1 1/2 cups Italian Seasoned bread crumbs
  • 1/4 cup polenta (corn meal)
  • 1/4 cup all purpose flour

The egg whites

  • 2 large eggs
  • 3/4 cup milk
  • 1/2 tsp each salt and pepper

The Meat

  • 8 chicken breasts

The vegetable layer

  • 1 large vidalia onion
  • 1 red pepper
  • 2 tbsp olive oil
  • 1 yellow pepper

Other

  • 1/2 cup Canola oil for frying
  • 1/2 cup parmesan cheese assembly
  • 1 tbsp Italian seasoning assembly
  • 1/2 to 1 cup white wine
  • 1 whole lemon for the assembly

Instructions

  1. Use two pie plates.

    In one combine the breadcrumbs, corn meal and flour. 

    In another place the eggs, milk, salt and pepper and whisk. 

    Cut each chicken breast lengthwise.

    Place a piece of plastic wrap over the chicken and pound with a mallet. 

    Dip each piece into the egg and then into the bread crumbs.

    Place about 1 tablespoon of canola oil for each batch of chicken when frying.

    Fry for about a minute on each side on medium high heat and place in a pan.

    After all the chicken is fried, dice the onion, red and yellow pepper and fry until soft.

    Now you are ready to assemble. Use a 9 X 13 pan.

    Place a layer of the chicken, 1/2 the fried vegetables and sprinkle with some Italian seasoning.

    Repeat with the second layer of chicken.  

    Pour the white wine around the rectangular shape of the dish.

    Cover with foil and place in a 325 F oven for one hour.  

    Remove from oven and spritz with the juice of the lemon and grate some lemon zest over the whole dish.