Simple Ice Cream Cake Recipes At My Table

Simple Ice Cream Cake 

Simple Ice Cream Cake

If we can make it, why buy it?  That is the Italian philosophy and one that works for me more and more.  My nonna’s desserts were simple.  She often served a sponge ice cream cake; we make the sponge and then put ice cream and liqueur down the centre and then roll it all up.  It is one of my favourite desserts to make; however, it involves cooking the sponge.  Simple Ice Cream Cake involves no cooking and your imagination can change the taste.

Today I use chocolate chip cookies as the base.  My sister-in-law Kim hates butter; and so, this crust comes together with canola oil.  We all love Baileys’ as you can tell from my recipes.  With a few walnuts and some Skors, this cake comes together for my brother Rollie’s Birthday celebration. I use a plain French Vanilla ice cream for this cake.  You can change up the crust and ice cream.  Try an amaretto cookie crust and pistachio ice cream.

If you like frozen treats, don’t forget:  https://recipesatmytable.com/orange-with-fruit-semifreddo/

I start by warming the water and sugar.

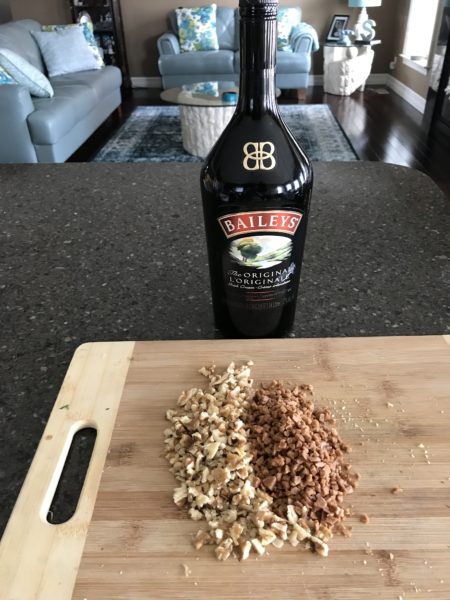
Some of the ingredients that make the cake great.
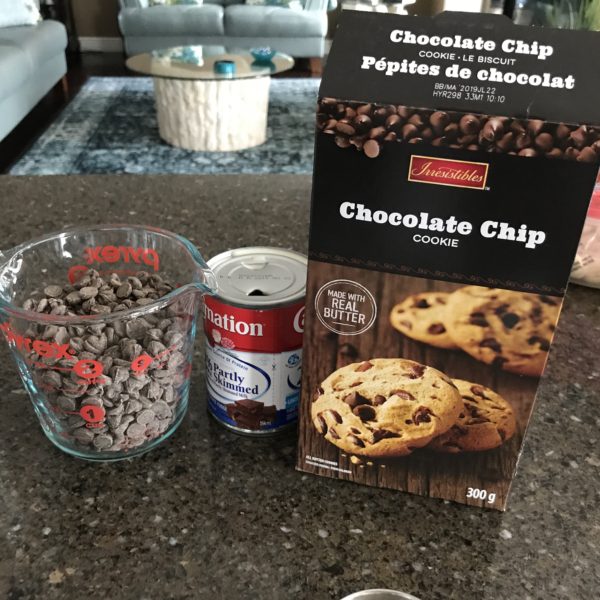
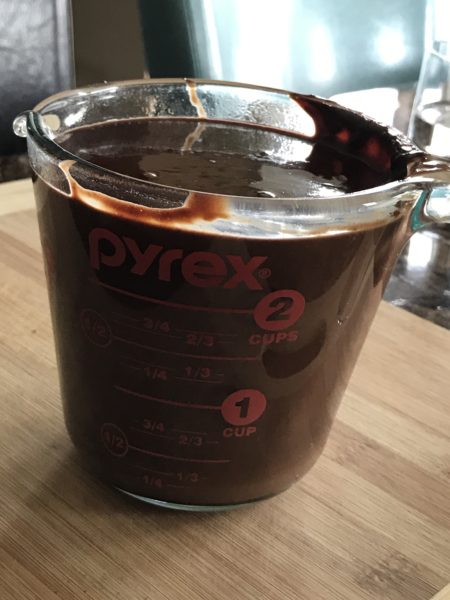
It is so easy to make a chocolate sauce.
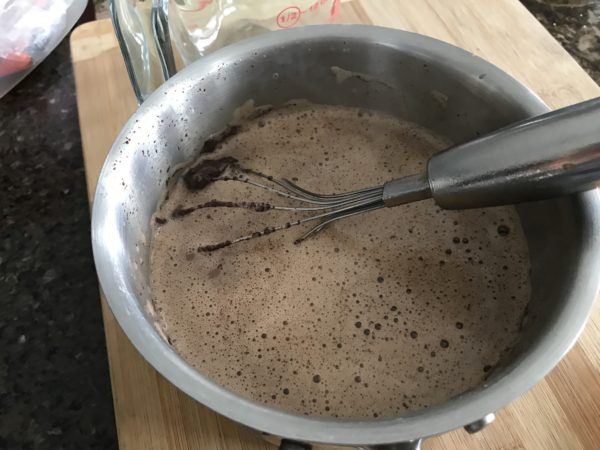
Soon it is foamy, rich and thick. This will last in the refrigerator for a few weeks.

This recipe makes a little over 2 1/2 cups.
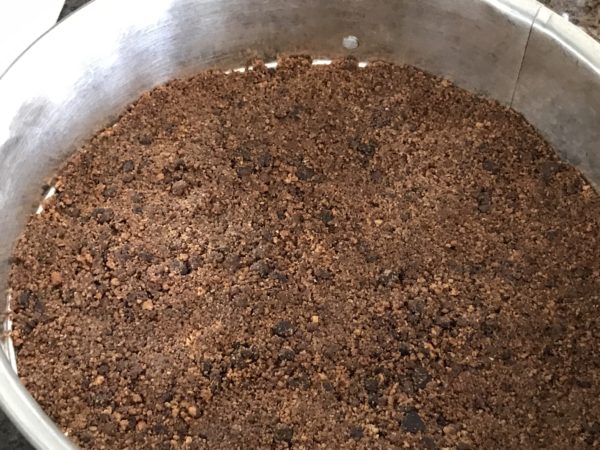
This crust is hearty, delicious and comes together easily with the canola oil.
Simple Ice Cream Cake Recipes at My Table

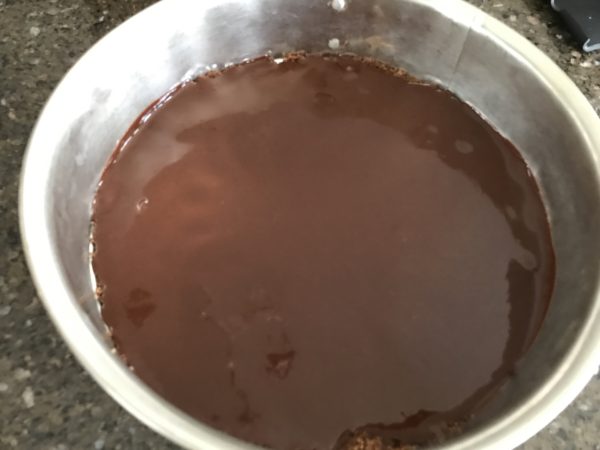
I pour a layer of sauce over the crust and then it goes into the freezer.
Simple Ice Cream Cake Recipes At My Table

I prepare the Baileys’, nuts and Skors.
After 30 minutes, it comes out of the freezer and i scoop tablespoons of the the soft ice cream over the chocolate.

Now it is time to smooth it out.
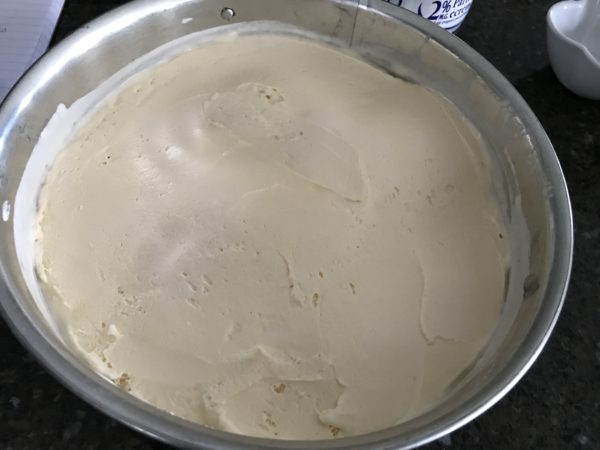
I pour the Baileys’ over the ice cream.

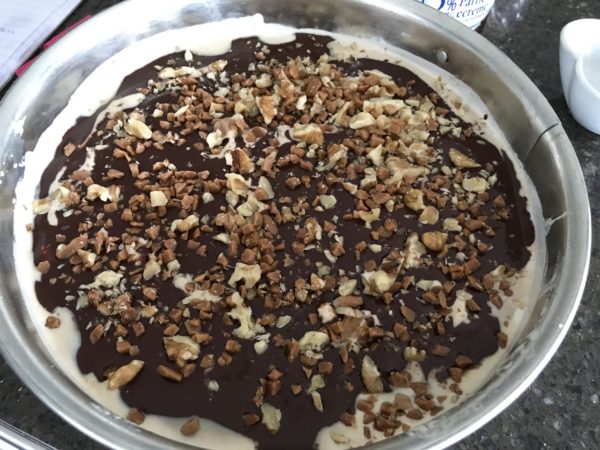
Then more sauce, nuts and Skors go over the ice cream. Back into the freezer it goes and then we bring it out for another layer. 
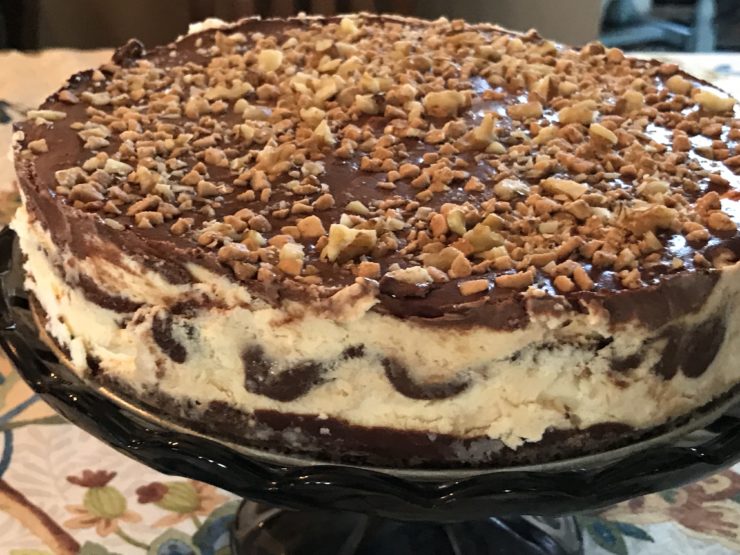
The finished product ready to serve.
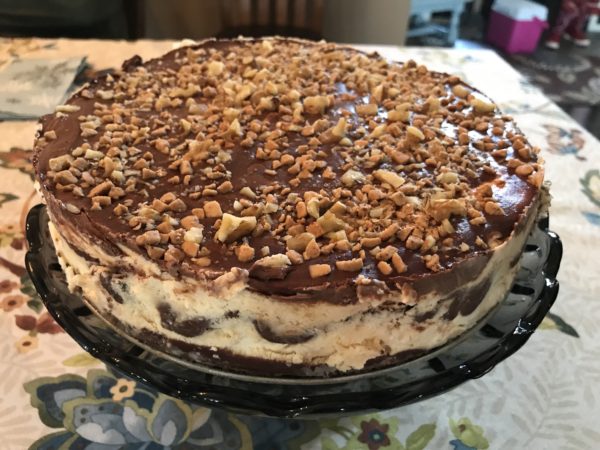
Simple Ice Cream Cake Recipes At My Table

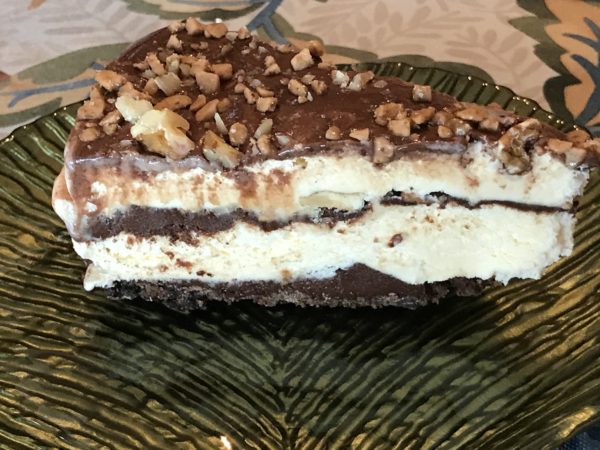
Perfect slices.

Simple Ice Cream Cake Recipes At My Table

Simple Ice Cream Cake 

Your imagination and change of ingredients yields many different cakes with this recipe.  

Course Dessert
Cuisine Home Cooking in Canada, Italian
Keyword Simple Ice Cream Cake
Prep Time 2 hours 26 minutes
Servings 12
Author Renata Solski

Ingredients

The crust

  • 14 Chocolate Chip Cookies
  • 1/3 cup canola oil you can use melted butter

The ice cream and other stuff

  • 1.5 litres French Vanilla ice cream
  • 1/4 cup Baileys'
  • 1/2 cup Skor
  • 1/2 cup chopped walnuts

The Sauce

  • 1 cup carnation milk 2 %
  • 1/3 cup water
  • 1/3 cup sugar
  • 2 cups dark chocolate chips
  • 1 tsp vanilla extract

Instructions

The Sauce

  1. Place the sugar and water in a small pot.

    When the sugar is dissolved, add the milk and bring to a boil.

    Remove and stir in the chocolate chips.

    Add in the vanilla.

Assembling the cake

  1. In a food processor pulse the cookies and add in the oil.

    Turn it all into the bottom of a 9 inch springform pan and press.

    Spread about 1/2 of a cup of the chocolate sauce over the crumb crust and place in the freezer for 30 minutes.

    Leave the ice cream out to soften.

    After 30 minutes, take out of the freezer.

    Put half the ice cream over the crust and spread the Baileys over it.

    Follow with another 1/2 cup of chocolate sauce and sprinkle on half the nuts and Skor.

    Place it back in the freezer for another 30 minutes.  

    Remove from freezer and add the remaining ice cream.

    Place 3 tbsp of the chocolate sauce over the top and smear with the back of a spoon.

    Sprinkle with the remaining walnuts and Skor. 

    Place in the freezer overnight.

    Remove from freezer 30 minutes prior to cutting.

    Decorate top with more chocolate or broken pieces of chocolate chip cookies.  

    Have a bowl of warm water handy to dip knife into for easy cutting and plating. 
 

Roasted Red Pepper and Mozzarella Meatloaf

Roasted Red Pepper and Mozzarella Meatloaf

Roasted Red Pepper and Mozzarella Meatloaf

Sometimes recipes emerge from our favourite ingredients.  Growing up in an Italian home, we always had red peppers in the cupboard.  Nonna often roasted them in the garage, and canned them for the winter.  Today I use store-bought ones, but they are just as fragrant.  They have a little bit of char on them that gives them a smokey flavour. Roasted Red Pepper and Mozzarella Meatloaf is comfort food at its best.

Roasted Red Pepper and Mozzarella Meatloaf has red peppers and mozzarella in the middle, but the glaze made with Red Pepper Jelly makes this a comfort food.  I like to experiment with all types of foods; and today, tradition meets a twist of Italian. The truth is that I love anything that resembles a meatball, and this is one giant meatball for everyone to share.  In the traditional Calabrese way, I used solid ground pork for this one, but you can use beef, chicken or a combinations of meats.

My other stuffed meatloaf recipe:  https://recipesatmytable.com/meatloaf-italiano/

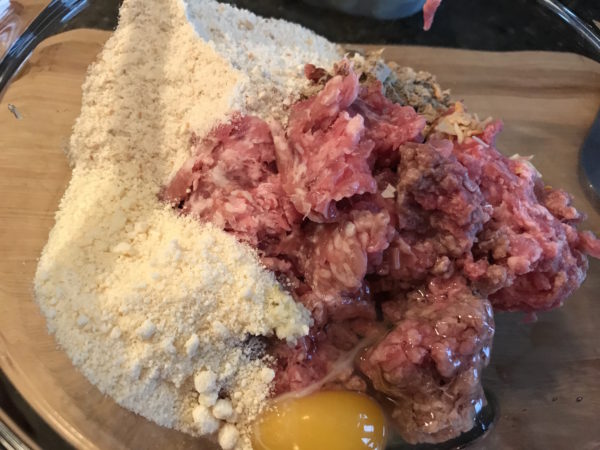
Gather the ingredients for the meatloaf.

Roasted Red Pepper and Mozzarella Meatloaf

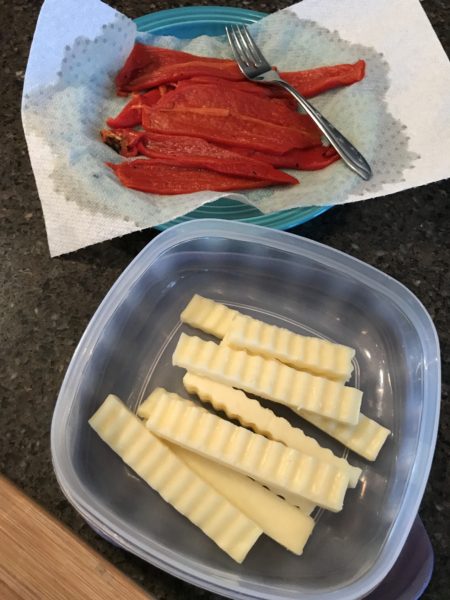
Drain and dry the red peppers and cut the mozzarella into strips.

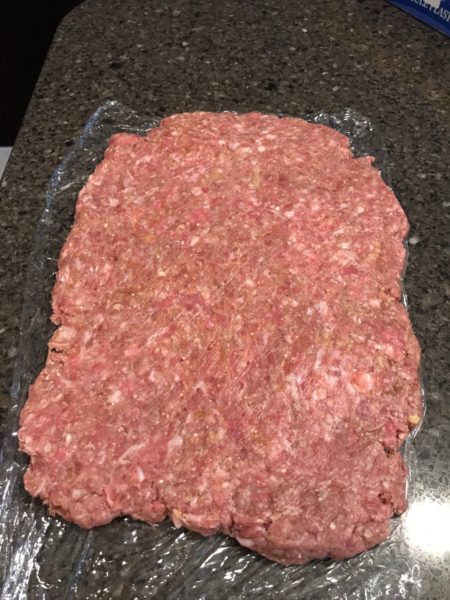
Roll Pork into a 12 X 8 inch rectangle. I love the flecks of good fat in this meatloaf.

Roasted Red Pepper and Mozzarella Meatloaf

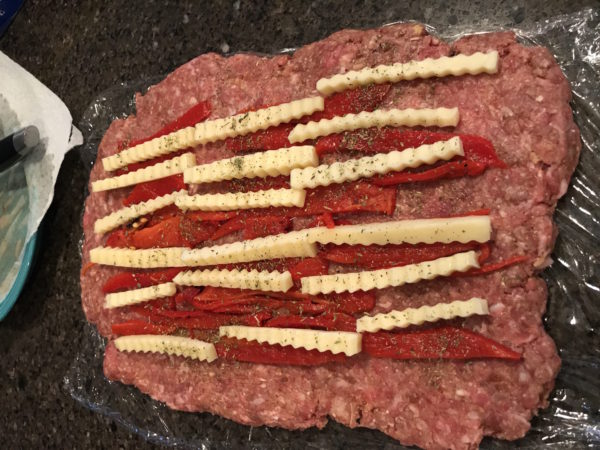
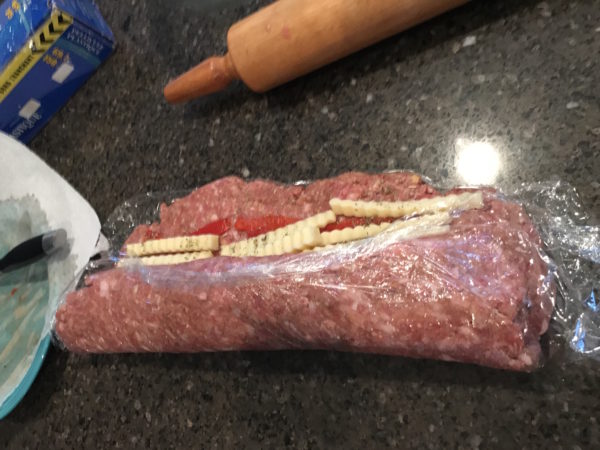
Leave a one inch border around the stuffing.

Roasted Red Pepper and Mozzarella Meatloaf

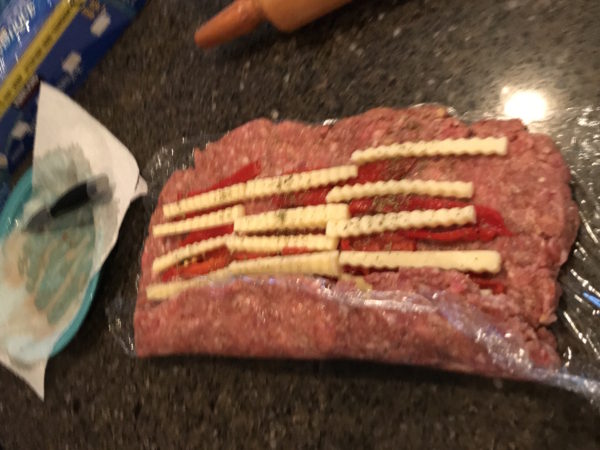
Use the wrap to help you roll.

Roasted Red Pepper and Mozzarella Meatloaf

Rolling is so easy.

Roasted Red Pepper and Mozzarella Meatloaf

Put onto a cookie sheet lined with parchment and pinch all the ends and the top.

Roasted Red Pepper and Mozzarella Meatloaf

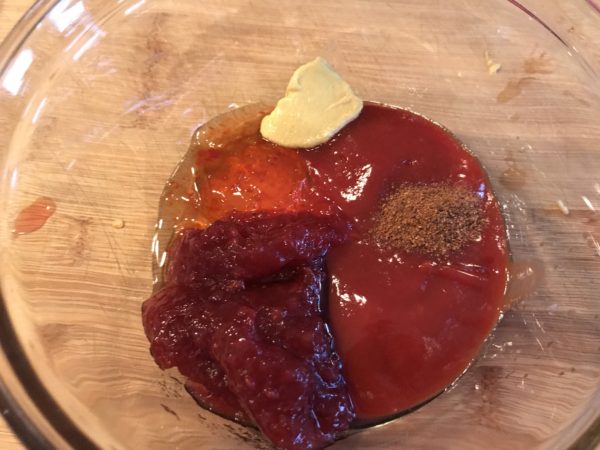
All the ingredients for the sauce pop right at you!!

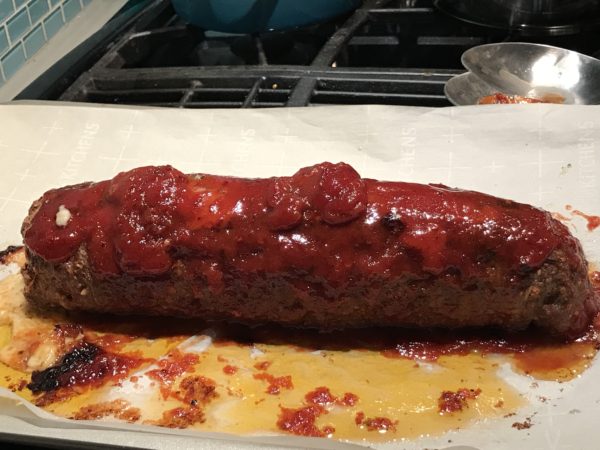
Roasted goodness!!

Roasted Red Pepper and Mozzarella Meatloaf

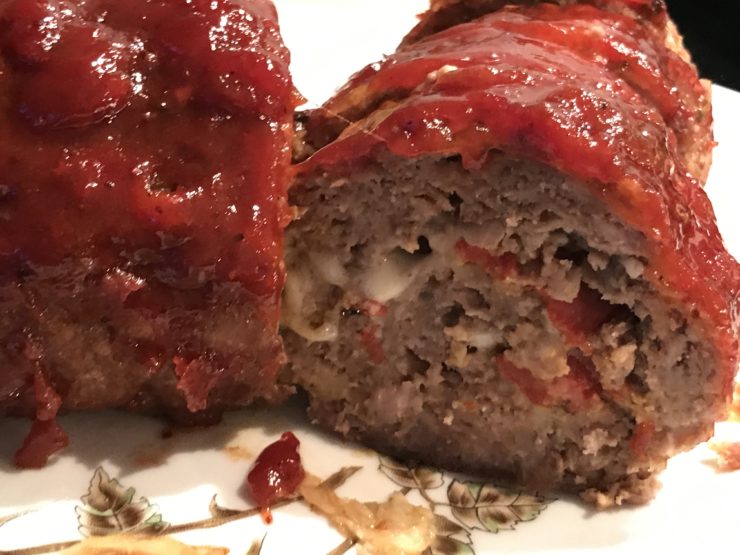
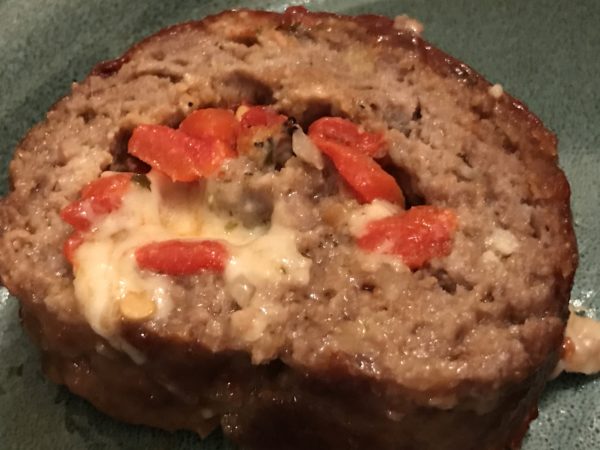
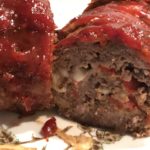
Sliced and plated!!

Roasted Red Pepper and Mozzarella Meatloaf


Roasted Red Pepper and Mozzarella Meatloaf
5 from 1 vote
Print

Roasted Red Pepper and Mozzarella Meatloaf

Made with pantry ingredients, this is a keeper. 

Course Main Course
Cuisine Home Cooking in Canada, Italian
Keyword Roasted Red Pepper and Mozzarella Meatloaf
Author Renata Solski

Ingredients

The meatloaf

  • 1 lb lean ground pork chicken or beef
  • 1 large egg
  • 1/4 cup Parmesan Cheese
  • 1 envelope Lipton Onion Soup Mix
  • 1/2 cup bread crumbs plain
  • 1 clove garlic pressed
  • 1 tsp salt
  • 1/2 tsp black pepper
  • 1 tbsp Italian seasoning reserve for after rolling

Filling

  • 2 large roasted red peppers dry
  • 12 1/4 inch mozzarella strips
  • 1/2 tsp oregano

The Sauce

  • 1/2 cup Ketchup
  • 1/4 cup Red Pepper Jelly
  • 1/2 tsp Dijon Mustard
  • 1/4 tsp nutmeg
  • 1/4 cup peach jam

Instructions

The Meatloaf

  1. Mix all the ingredients together until everything is absorbed.

    Spread over a large piece of plastic wrap.

    Use another piece of plastic wrap over the mixture to roll out into a 12 X 8 rectangle.

    Cut the roasted red peppers into small strips and make sure they are dry.

    Line the rectangle with the peppers and the mozzarella leaving a one inch border on the rectangle.

    Sprinkle in the oregano. 

    Use the plastic wrap to help your roll the rectangle into a log.

    Pinch the top and the ends. 

    Sprinkle the Italian seasoning over the meatloaf.  

    Place on a cookie sheet lined with parchment paper.

    Bake at 350 F for 30 minutes and then top with the sauce.

    Place in the oven for another 20 minutes.

The Sauce

  1. Whisk all the ingredients together and set aside.  

Recipe Notes

For a nice flavour try half pork and beef.  


Aranacini Pie

Aranacini Pie

If you are Sicilian, Arancini Pie will bring you back to Sicily, walking down the streets and eating an arancini.  I love making arancini; and so, I thought of a way to make a healthier and easier version. This pie does not fall short on flavour and makes a wonderful dish when entertaining.

I make arancini a few times a year, and the photos are gathered for that recipe.  I will begin with an easier version that we can all make.  Years ago, my aunt Maria and I made arancini.  She took the whole day and it was a labour of love.  I make them the same way and the pie follows the basic recipe.  Instead of rolling them and frying them, we are making a pie in layers.

Arancini are Italian street food and very popular anytime of the year.  In Sicily, we often ate them going home from the beach or on our way down to the beach after our Siesta.  There are two types; one is round and filled with ragu “alla carne”, the other is pear shaped and filled with mozzarella and prosciutto ” al burro”.   Any way you prefer them, they are the ultimate comfort food in Sicily.  I hope this pie brings me back to my favourite Island.

For a good read visit:  http://www.visitsicily.info/en/arancino-and-arancina/


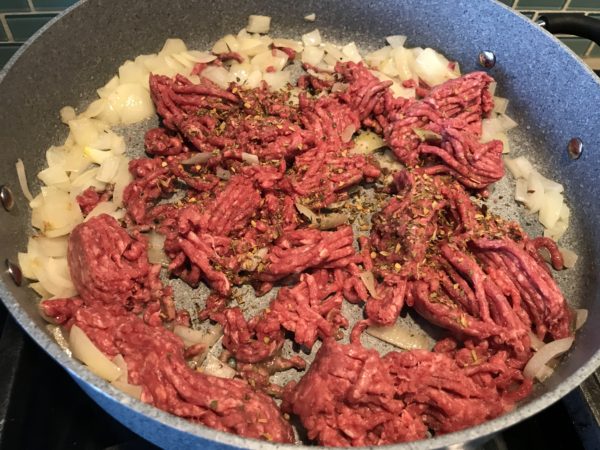
 brown the meat and the onions.

Arancini Pie: Recipes at My Table
Arancini Pie

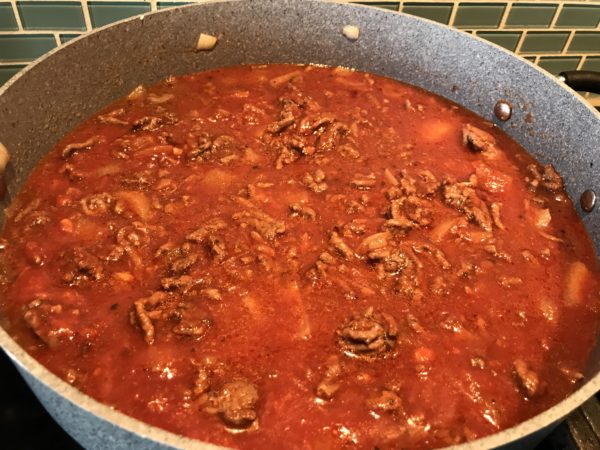
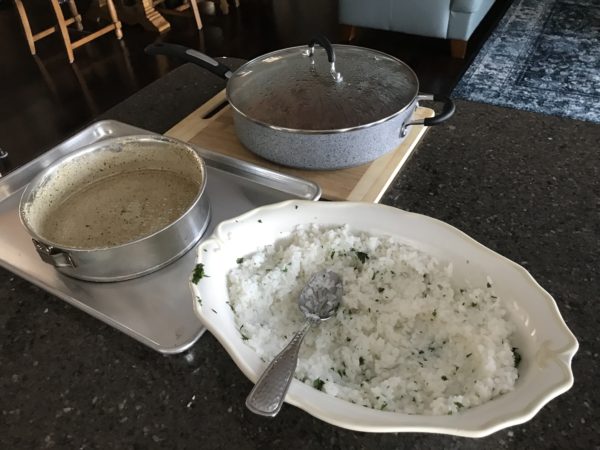
The Sauce is the base of this pie.

Grease the pan and sprinkle with breadcrumbs. cool the rice before adding the egg.

The layers are made and the video will show you the way.

Arancini Pie: Recipes at My Table

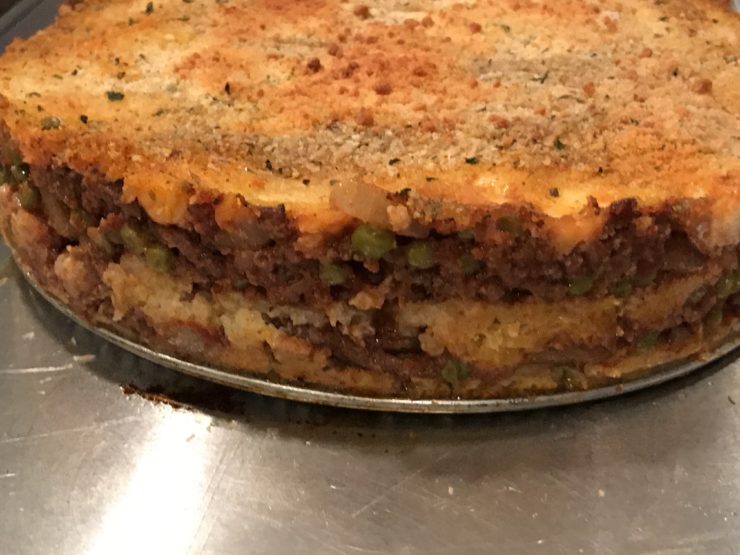
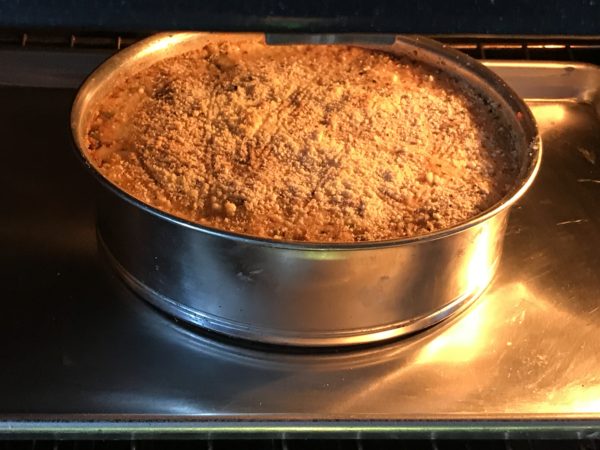
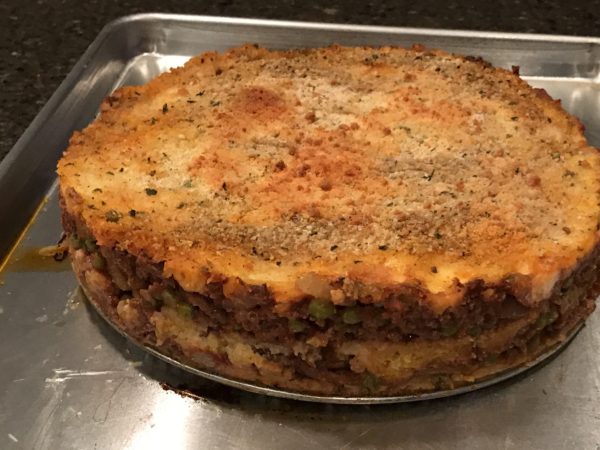
It needs resting when it comes out of the oven and then the rim comes off.

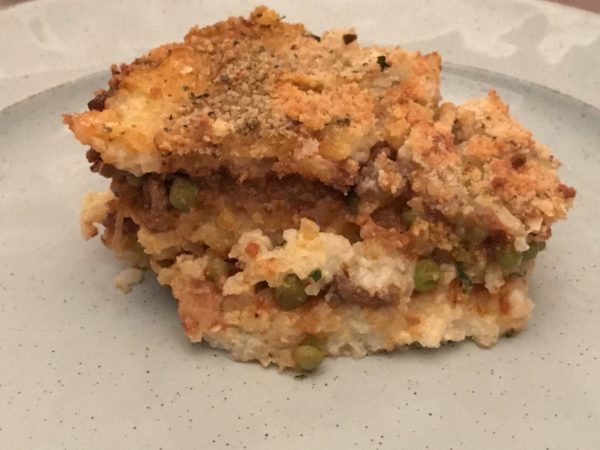
Sliced and plated, this is so delicious.

[videopress 46bHUX47]

5 from 1 vote
Print

Arancini Pie

A pie version of the famous Arancini!

Course Main Course
Cuisine Home Cooking in Canada, Italian
Keyword Arancini Pie
Prep Time 45 minutes
Cook Time 45 minutes
Total Time 1 hour 30 minutes
Author Renata Solski

Ingredients

The Sauce

  • 1 lb ground beef
  • 1 large onion
  • 1 tbsp Italian seasoning
  • 2 cups green peas
  • 4 cups marinara sauce
  • 1 tsp salt

The Rice

  • 1 1/2 cups Arborio Rice
  • 1 tsp salt
  • 2 eggs
  • 1/2 cup grated Parmesan
  • 2 tbsp chopped parsley

The assembly

  • 2 cups cubed mozzarella
  • 1/2 cup grated Parmesan
  • 1/4 cup breadcrumbs
  • 1 tbsp canola oil
  • 1 tbsp olive oil

Instructions

  1. In a large pan brown the onion with the beef with the Italian Seasoning and salt.   

    Add the sauce, and cook until the mixture is very thick.

    Meanwhile boil the rice by adding it to a large pot of water.  When it begins to boil, add the salt and cook for about 10 minutes.  

    Drain and set aside to cool.  

    Add in the frozen peas to the sauce when it is thickened. 

    When the rice is cooled, add the egg, Parmesan cheese and parsley.  Mix together. 

    Use a springform pan and smear the canola oil all over the bottom and sides.

    Sprinkle with bread crumbs and set aside.  

    Start with rice, add meat sauce, parmesan and mozzarella.

    Repeat this step one more time and finish with a layer of rice.

    Sprinkle with bread crumbs and drizzle with some olive oil.  

    Set oven to 350 F.  

    Cook for  45 minutes and let cool 15 minutes before taking the rim off. 

    Serve with a salad. 

    You might like extra Marinara sauce for serving.  

Italian Flavoured Yogurt Chicken Recipes at My Table

Italian Flavoured Yogurt Chicken

Italian Flavoured Yogurt Chicken

Yogurt is a healthy alternative in the kitchen. When used in marinades it adds moisture and is a good way to tenderize the meat.  Italian Flavoured Yogurt Chicken adds tomato paste to the yogurt to give it colour. The Italian seasoning adds a little punch of flavour and heat.

We eat chicken at least 3 times a week and I am always looking to add flavour and develop new recipes.  This one came about by accident; I had a recipe that called for buttermilk.  Having run out of buttermilk, I remember reading somewhere that you can make buttermilk from yogurt.  I used yogurt as a substitute and it worked better.

To make buttermilk from yogurt use 3/4 cup yogurt and 1/4 cup milk.  I omitted the milk in this recipe and was happy with the results.

To complement this dish, I make a little Italian salad, and we have many versions of these.  It’s really easy to get creative with your salads.  Try anything that you like and add your favourite dressing.  I like to mix it up; salads don’t need to bore you at the table.  They can be quite complex and the texture should vary.  Simple homemade dressings are the best.

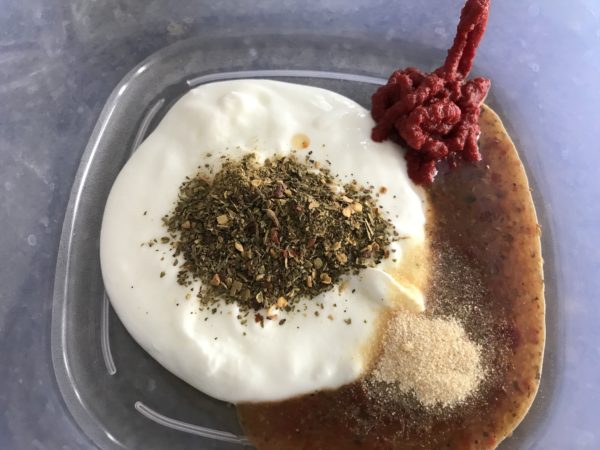
Everything looks happy in the dish.

Italian Flavoured Yogurt Chicken Recipes at My Table

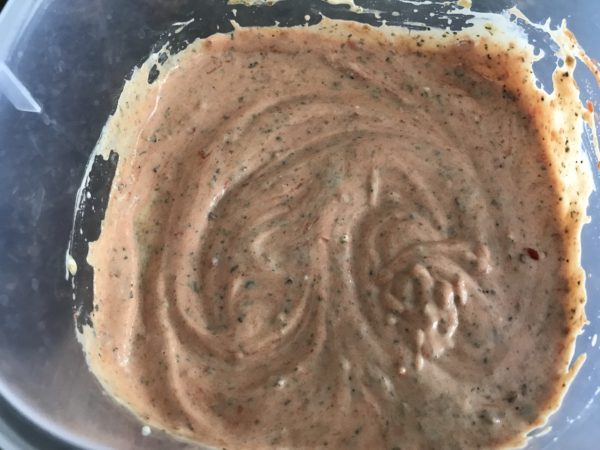
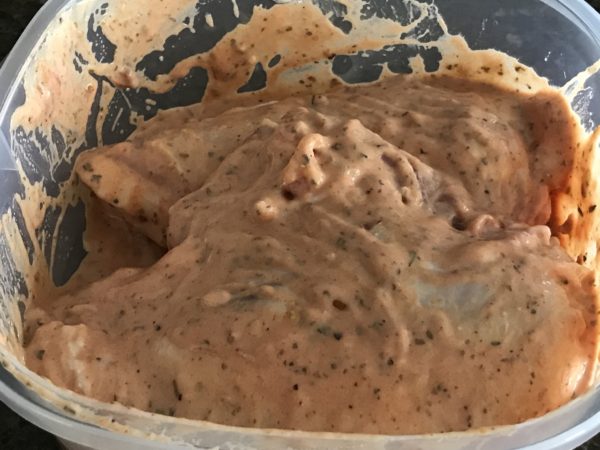
All mixed up and it smells good and tangy.

Italian Flavoured Yogurt Chicken Recipes At My Table

Make sure to totally coat the chicken.

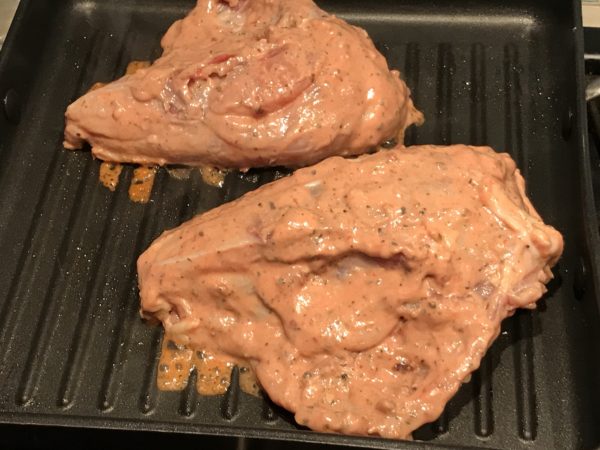
Take the chicken out of the sauce and place on a hot grill.

Italian Flavoured Yogurt Chicken

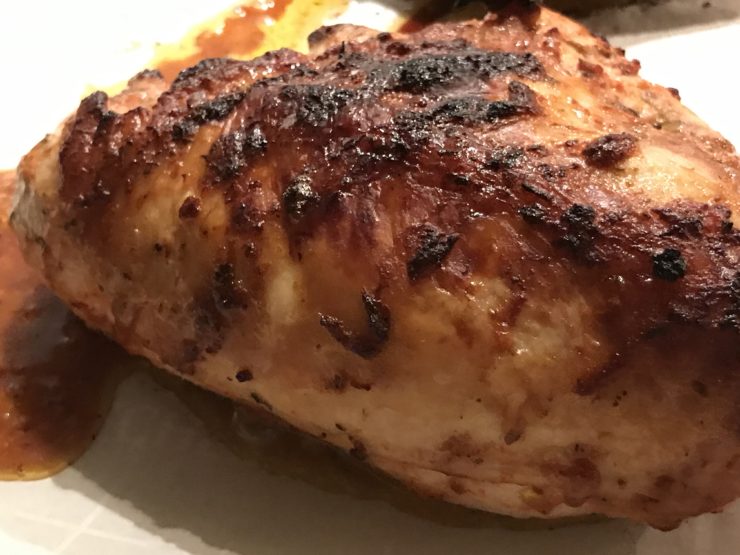
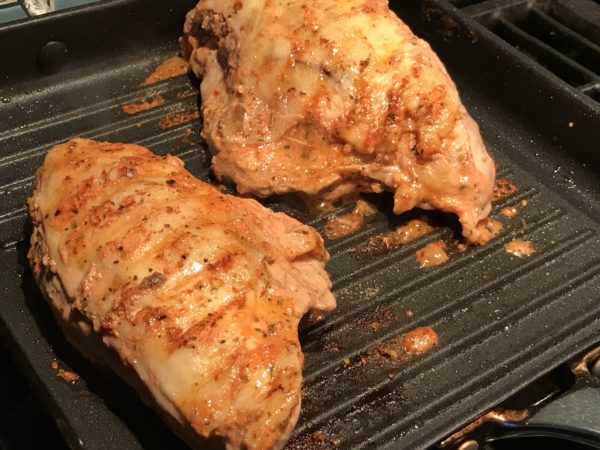
I want nice grill marks on the chicken before placing it in the oven.

Italian Flavoured Yogurt Chicken

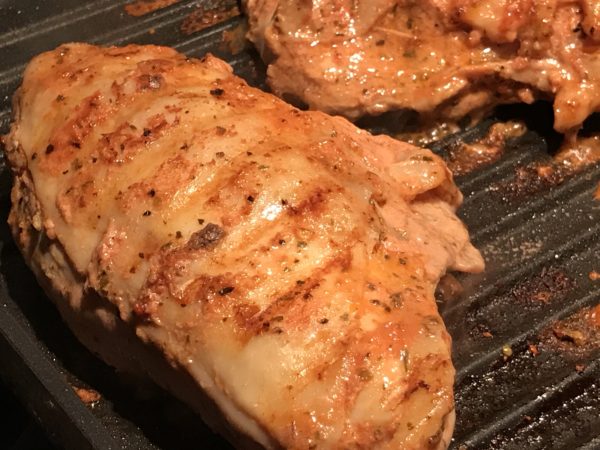
The sauce and searing help keep the juices intact and these chicken pieces will be moist and succulent.

Italian Flavoured Yogurt Chicken

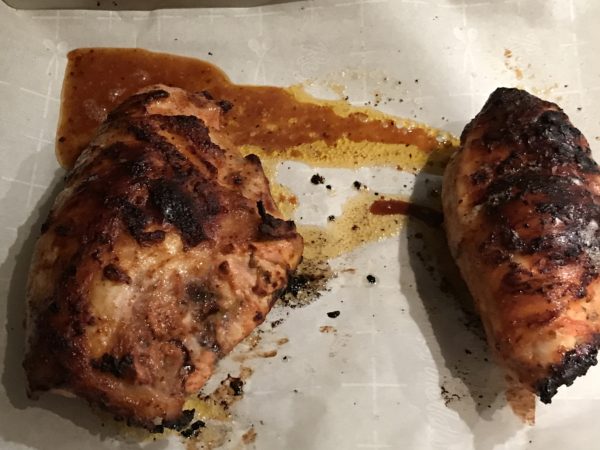
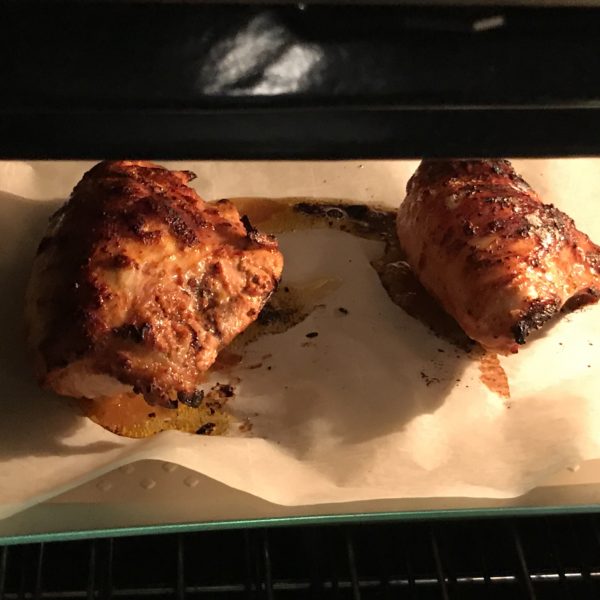
Peeking in the oven.

Out of the oven and ready for plating.
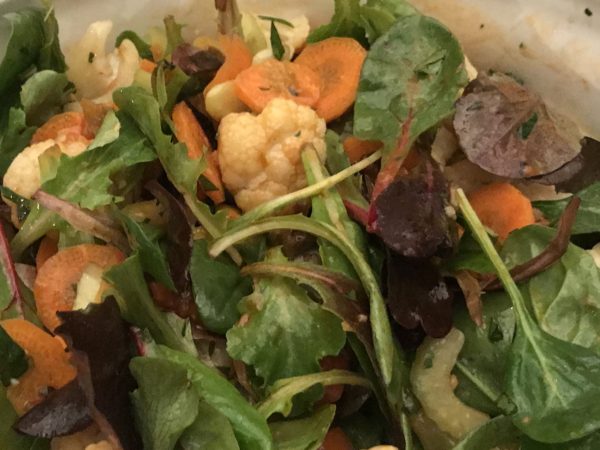
I serve this with a quick little Italian side of salad.

The dressing perks up all the vegetables.

Italian Flavoured Yogurt Chicken

The marinade for this chicken is a good one to keep on hand in the kitchen.  

Course Main Course
Cuisine Home Cooking in Canada, Italian
Keyword Italian Flavoured Yogurt Chicken
Prep Time 10 minutes
Cook Time 40 minutes
Total Time 50 minutes
Servings 4
Author Renata Solski

Ingredients

The marinade

  • 1/2 cup yogurt
  • 2 tbsp tomato paste
  • 2 tbsp sun-dried tomato salad dressing
  • 1 tsp Italian dressing
  • 1 tsp red pepper chilli flakes optional
  • 1/2 tsp garlic powder

The chicken

  • 2 large whole chicken breasts or 4 small

The Salad

  • 1 carrot sliced on mandolin
  • 2 cups mixed greens
  • 1 cup cauliflower steamed
  • 1 celery stalk sliced on mandolin
  • 1/2 cup Italian Antipasto with olives and onions
  • 2 tbsp olive oil
  • 1 tbsp red wine vinegar
  • salt and pepper
  • 1/4 tsp dried oregano
  • 1 clove garlic pressed

Instructions

The chicken

  1. Mix all the ingredients and place in a bowl.  

    You can also use a plastic bag.

    Place in the chicken breasts and toss them. 

    Let the chicken sit in the refrigerator for at least 2 hours.

    Pull out of the refrigerator for at least 15 minutes before cooking.

    I lined a cookie sheet with a piece of parchment. 

    I grilled each side for a few minutes and then put it into the oven for 40 minutes at 350 F. 

    You can also cook this on your barbecue.

    Serve hot with a nice salad. 

The Salad

  1. Put the mixed greens on the bottom and layer all the other vegetables on top ending with the antipasto. 

    Mix the olive oil, red wine vinegar, salt and pepper (to taste) dried oregano and garlic. 

    Pour over salad before serving.

Recipe Notes

I used very large chicken breasts, but this recipe will do 4 small ones.  You can easily double the sauce for a whole chicken.  

The salad serves two, but may be doubled or tripled.