Refrigerator Corn Relish:Recipes At My Table

Refrigerator Corn Relish

Refrigerator Corn Relish

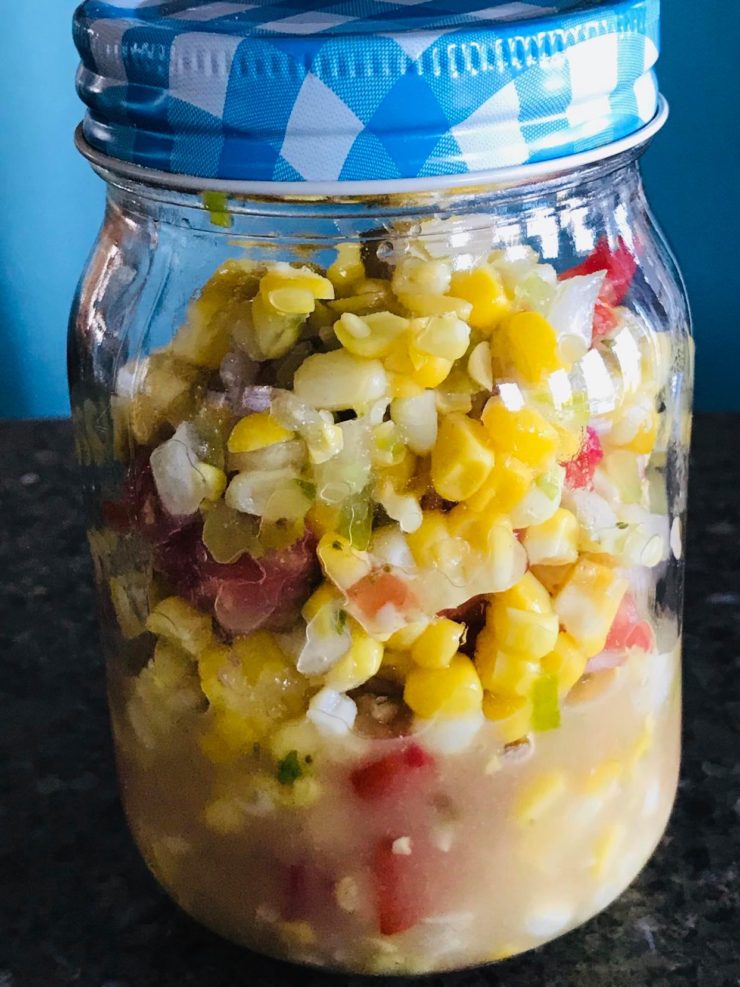
In the summer, I always have an abundance of corn. Refrigerator Corn Relish is easy to make and freshness up any meat dish.  Its sweet and sour taste enhances a good grill.  In the winter, I often make it with frozen corn.  You can add roasted red peppers to it or some red pepper chilli flakes for heat.  As I always say, make it your own.

Growing up we didn’t eat a lot of corn.  My father didn’t like it.  In Italy it was  generally a food fed to pigs. It is ground for polenta.  For some reason corn on the cob was considered peasant food and city folk would definitely not eat it.  In fact Italians didn’t know how to cook it.  I remember my nonna putting a pot of corn to coil right after lunch to eat for supper.  They believed that uncooked corn would give you a bad stomach ache.  Even when I visit Italy today you don’t see corn on the cob.  You might see some kernels in salads.  Sometimes you might see it in the grocery stores ready to eat and it may be sold on some beaches.

Relish in cooking usually was made from leftovers.  Mostly they were preserves for the winter months; they were special and treasured. Used more as a condiment, a relish enhances a meal and adds flavour.  A relish requires some type of acid, which is usually vinegar. You can make a relish from many vegetables.  The relish you use on your hamburgers and hotdogs is thought to be a version of an Indian Chutney recipe.

Leftover corn is also great in my https://recipesatmytable.com/roasted-tomato-and-corn-soup/

Ingredients

  • 1/4 tsp ground cumin
  • 3 tbsp apple cider vinegar
  • 2 large ears of corn
  • 1 large tomato juiced and seeded
  • 2 tbsp chopped onion
  • 2 tbsp prepared green relish
  • 1 tbsp chopped celery leaves
  • salt and pepper
  • 1/2 tsp red pepper chilli flakes (optional)

Process

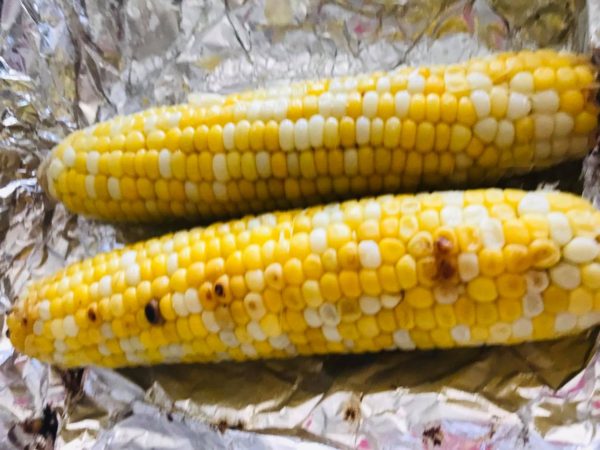
I roasted the corn and then removed it from the cob.  If you have never done this before try this https://www.youtube.com/watch?v=YOJrREMXBYo
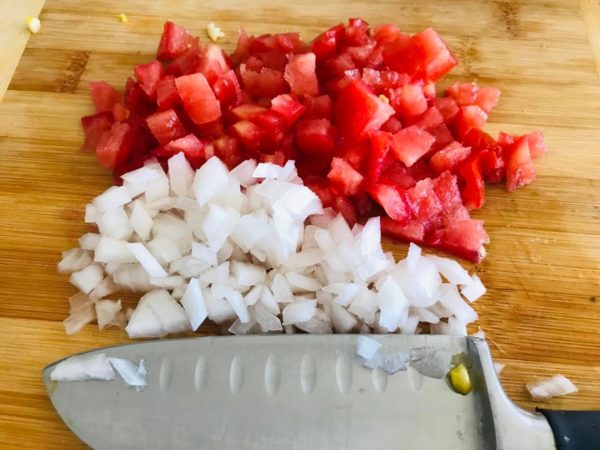
Core, seed and chop your tomato.  Finely chop your onion.  
Refrigerator Corn Relish:Recipes At My Table

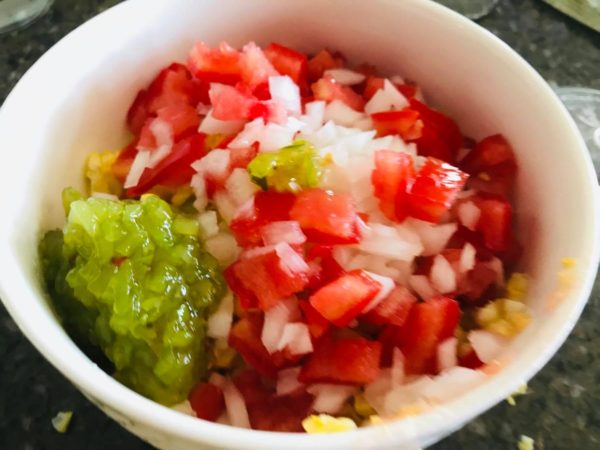
Add the green relish, onions, tomato, salt and pepper into the bowl and mix. 
Refrigerator Corn Relish:Recipes At My Table

Meanwhile toast the ground cumin in a pot before adding the apple cider vinegar and sugar to the pot. 
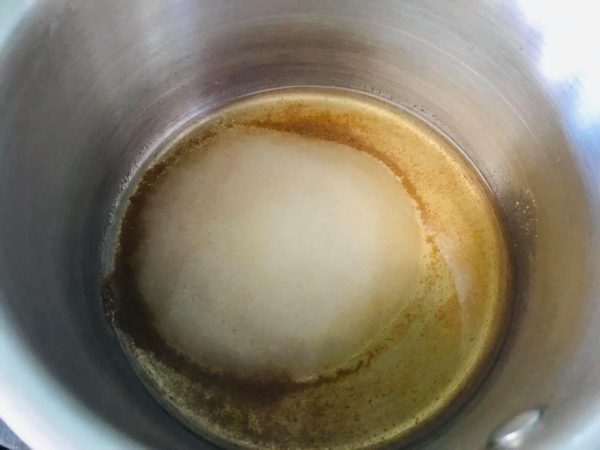
Place the diced celery leaves over the other ingredients, pour the vinegar mixture over all and toss. Refrigerate and serve with your favourite dishes.  
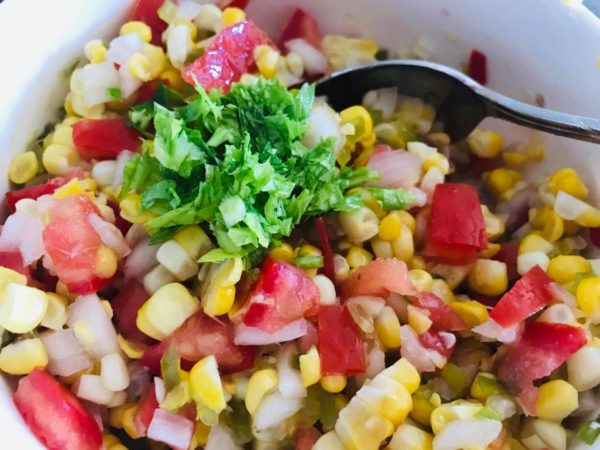
Refrigerator Corn Relish:Recipes At My Table

This will keep in your refrigerator for up to a week.  You can also double the batch. tonight we served it with barbecued pork chops. 


Pickled Rhubarb On The Side

Pickled Rhubarb On The Side

I am always looking for quick and easy sides in the summer. Pickled Rhubarb On The Side is a little twist on this  vegetable. It is technically a vegetable, but many of us treated as a fruit.  Rhubarb is common in a lot of desserts and does well as a jam, but I like to pickle it.  I have also blanched it and tossed it with olive oil and balsamic.  The trick is removing all the little strings.

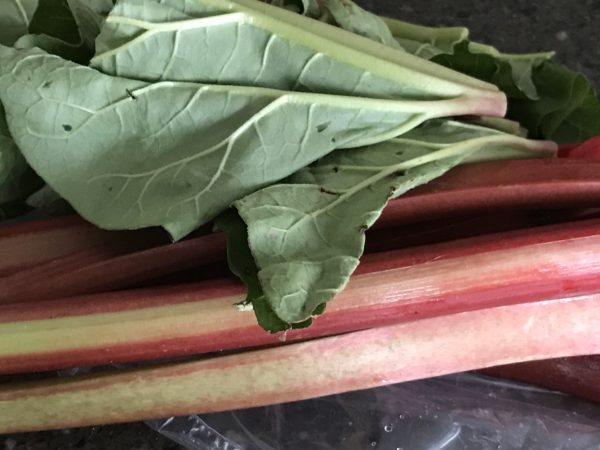
There is something about an outdoor market that makes me want to buy everything.  Today I brought home this rhubarb and you can see how the vibrant colour pops.  I cut the leaves off and can’t get enough of the smell coming from the whole plant.  The leaves are poisonous:  do not eat.  The stalks require stringing.  Wit a sharp knife I take most of the red off by making a small slit under the outer edge of the skin of each stalk. I grasp that edge of each slit and pull down on it.  I peel away the stringy fibres of the rhubarb stalks.  You don’t want to leave these on the stalks for cooking.

If you like rhubarb, don’t forget to check out https://recipesatmytable.com/rhubarb-upside-down-cake/

The leaves cut and into the trash they will go.

Fresh rhubarb

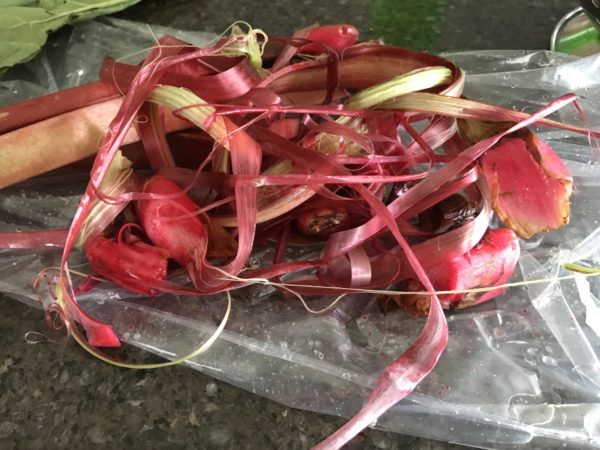
The strings are very pretty.

Rhubarb peels

I cut the stalk into small pieces.

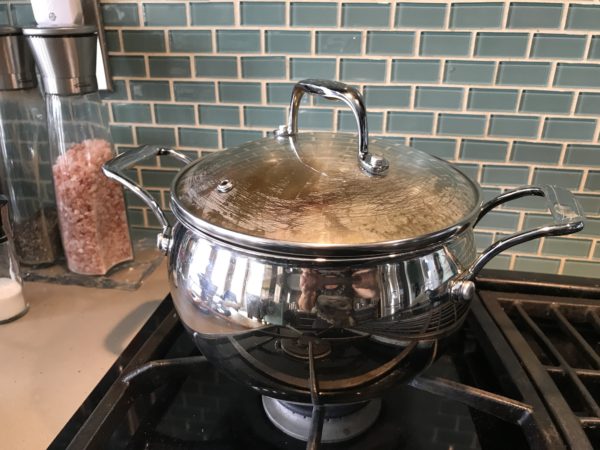
Once the brine goes into the pot it comes to a boil and then in goes the rhubarb. 

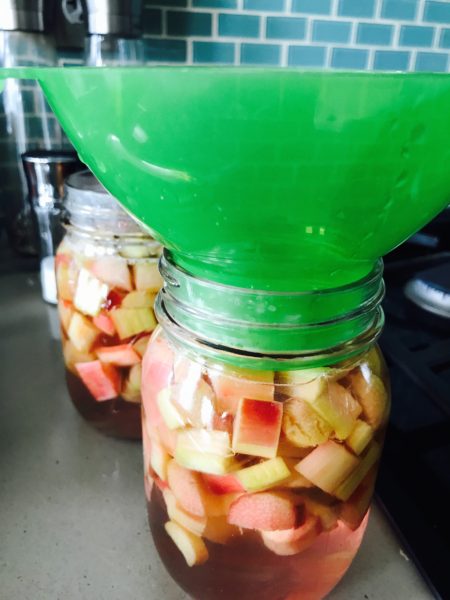
The rhubarb goes into the jars with the brine.

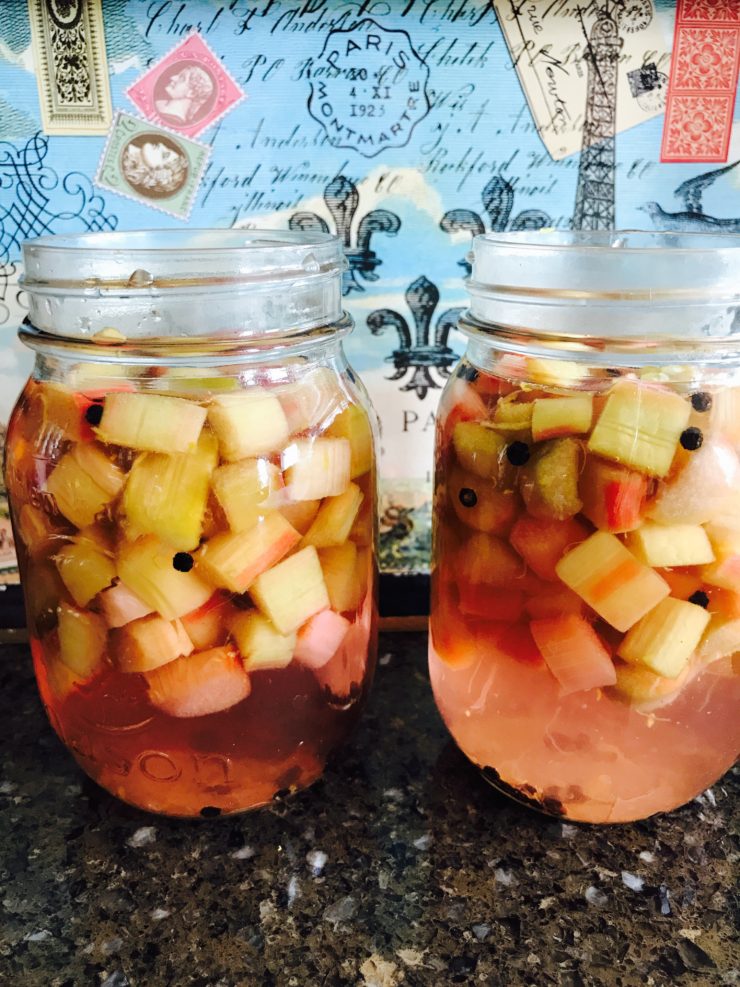
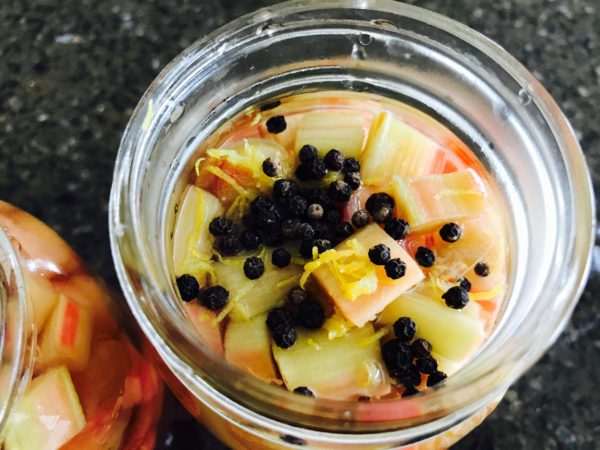
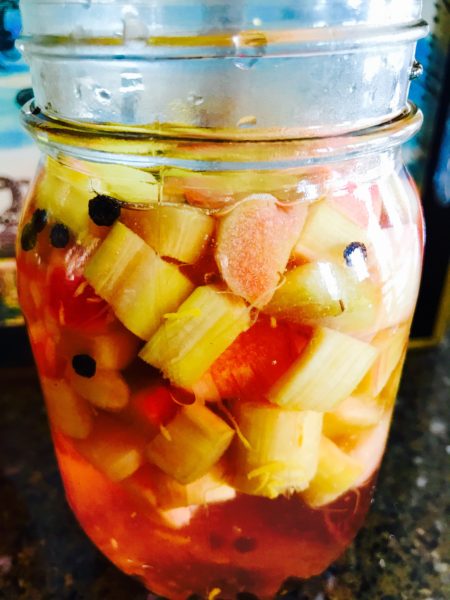
It looks pretty in the jars and now I zest some lemon into each jar.

1/4 teaspoon of peppercorns goes into each jar.

the beauty of peppercorns

The brine takes on a pink hue.  So pretty!!!

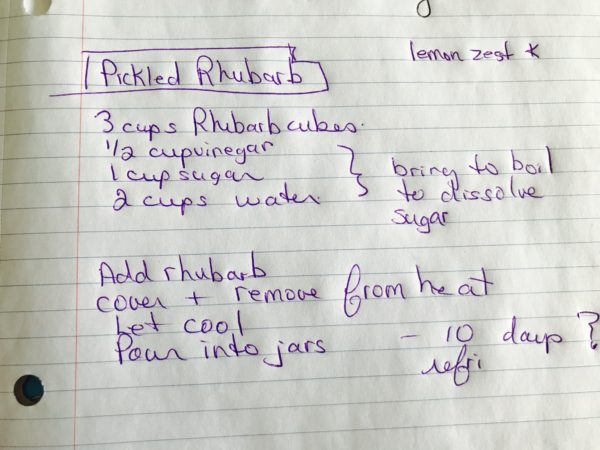
My little blue recipe book.  This is how I work the recipes.

My little blue book of recipes


Pickled Rhubarb On The Side

A nice side for bbq time

Prep Time 30 minutes
Cook Time 5 minutes
Servings 4
Author Renata Solski

Ingredients

  • 3 cups diced rhubarb stalks
  • 1/2 cup vinegar
  • 1 cup sugar
  • 2 cups water
  • 1/2 tsp black peppercorns
  • zest of half a lemon

Instructions

  1. Wash and clean the rhubarb.

    Cut into 1/2 inch slices.

    Place the vinegar, sugar and water to boil.

    Once boiling put in the rhubarb and simmer for a few minutes.

    Cover the pot and let the rhubarb cool. It will continue to cook.

    When cooled ladle into jars.

    Top with lemon zest and 1/4 tsp peppercorns per jar.

    Seal and place in refrigerator.

    Keeps for 10-14 days.


Instant Pickled Cucumbers and Peppers: Recipes at My Table

Instant Pickled Cucumbers and Peppers

Instant Pickled Cucumbers and Peppers

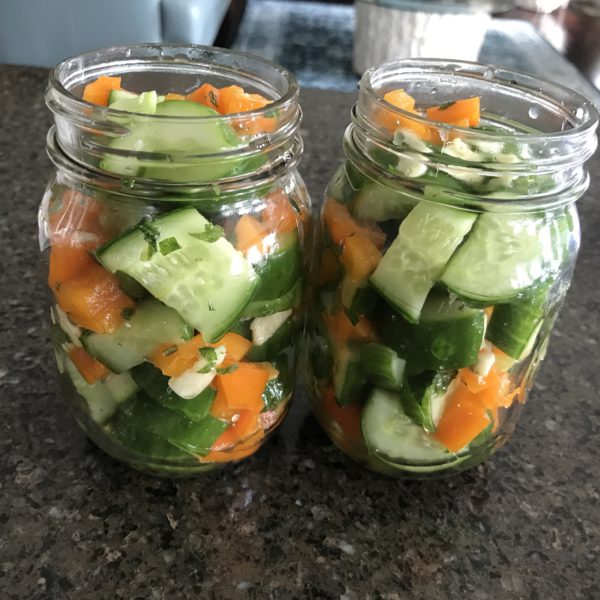
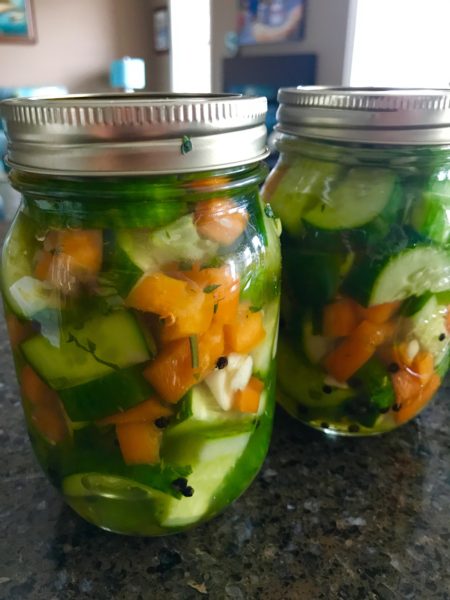
When I think of pickling vegetables, the old method seems archaic.  It involved hours and hours of preparation, cooking and then preserving. Today with vegetables readily available any time of year, this quick method allows fresh pickled products. Instant Pickled Cucumbers and Peppers are great for appetizer trays or a nice topping for hamburgers.  They keep in the refrigerator for 2 weeks and you have the satisfaction of knowing that everything in them is fresh. Made by you, these are a keeper for your table or a gift.

I am blessed with loving friends and my yoga sisters are no exception.  My friend Rolla is one of the kindest and most genuine woman I have met.  She is sincere and we share the immigrant experience together.  Anyway, last week she came to visit for tea and brought me the brightest greenest cucumbers and most vivid orange peppers ever seen. Some went to my daughter Lauren who loves fresh veggies and the others ended up pickled. LOL

This is such an easy method that I do it often with many vegetables.  For another quick pickled recipe check out: https://recipesatmytable.com/dilly-green-beans-and-carrots/

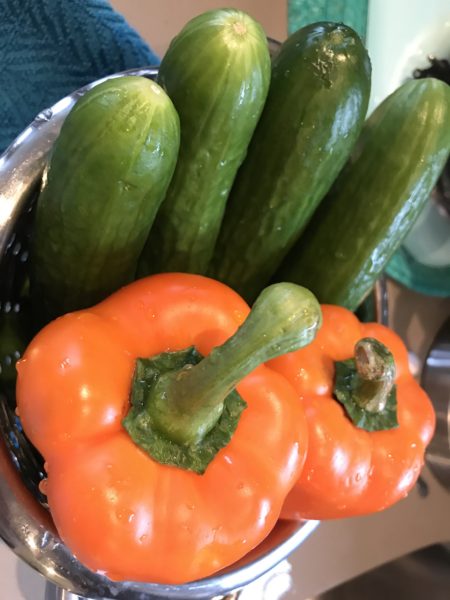
Farm Fresh cucumbers and peppers make this pickling extra special!!

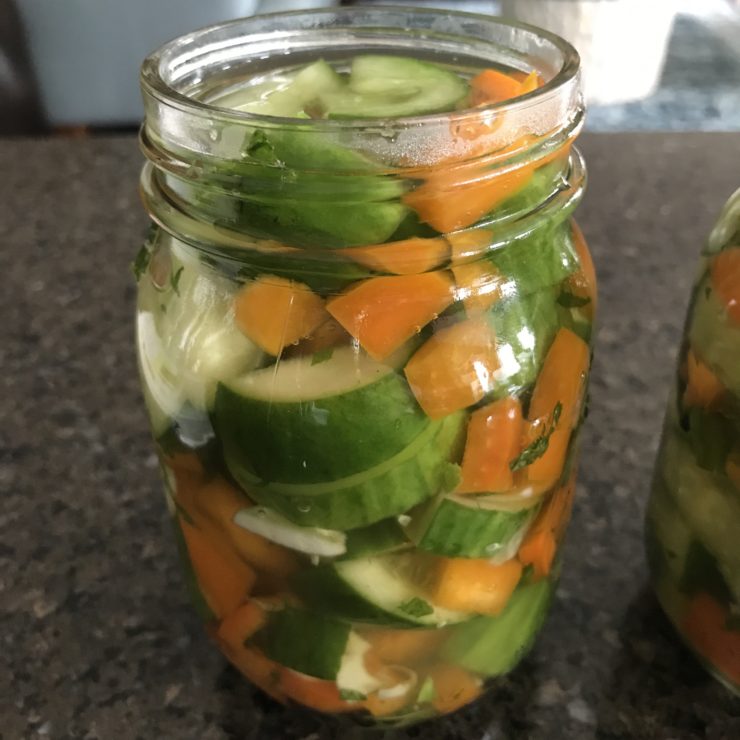
I dice everything into small chunks.

Instead of dill, I use fresh mint.

I add the salt, mint and garlic to my veggies and let them hang out while I make the brine.

Enough for two 475 ml jars.

Instant Pickled Cucumbers and Peppers: Recipes at My Table

I pour in the brine. let them cool and then into the refrigerator.


Instant Pickled Cucumbers and Peppers: Recipes at My Table
5 from 2 votes
Print

Instant Pickled Cucumbers and Peppers

Easy as 1, 2 and 3.

Course Side Dish
Cuisine Home Cooking in Canada, Italian
Keyword Instant Pickled Cucumbers and Peppers
Prep Time 30 minutes
Author Renata Solski

Ingredients

The Brine

  • 2 cups water
  • 1/2 cup apple cider vinegar
  • 1/4 cup sugar

The Veggies and spices

  • 4 medium cucumbers
  • 1 large bell pepper orange or red
  • 2 1/2 tbsp salt
  • 1 large clove garlic sliced
  • 2 tbsp mint leaves rough chop
  • 1/2 tsp peppercorns 1/4 tsp bottom of each jar

Instructions

The Brine

  1. In a medium pot combine water, apple cider vinegar and sugar.  

    Bring to a boil.

    Take off burner and let cool a few minutes.

The Veggies and spices

  1. Wash cucumbers and peppers.

    Take the ends of the cucumbers and cut lengthwise and then into 1/2 inch chunks.

    Cut the pepper into strips and then into little cubes.

    Give the mint leaves a rough chop. 

    Toss the veggies with the salt, garlic and mint leaves. 

    Let this sit for about 10 minutes.

    Put 1/4 tsp peppercorns in the bottom of each jar.

    Pack each jar with the veggies.

    Pour the warm liquid into each jar.  There will be extra liquid: see recipe notes. 

    Let the jars cool.

    Put lids on and place in refrigerator.  

Recipe Notes

The brine makes enough for a second batch.  You can double this recipe or cut the brine ingredients in half.  🙂

Orecchiette tossed in Pesto with Shrimp and Spinach: Recipes at My Table

Orecchiette Tossed in Pesto with Shrimp and Spinach

Orecchiette Tossed in Pesto with Shrimp and Spinach

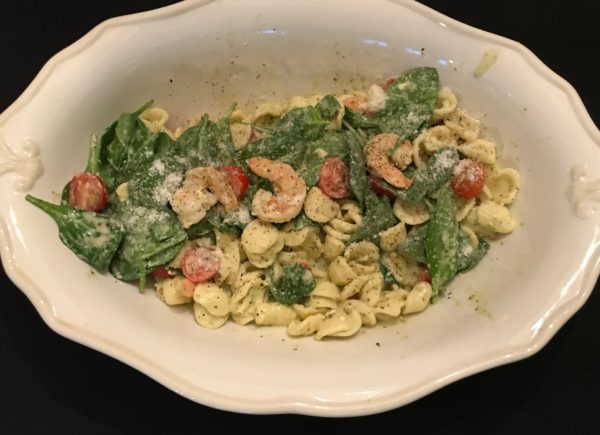
It isn’t a good day if I don’t eat pasta.  Most days we eat it at lunch. Orecchiette with Shrimp, Pesto and Spinach is a great dish for family or to entertain with.  It is elegant and flavourful.  If it is your main and only dish, serve a salad and some bread.

Many pasta dishes incorporate fresh ingredients.  I toss cherry tomatoes and fresh spinach in this pasta once cooked.  Toss everything together and bring to the table on a pretty platter. The wow factor of this dish is that your guest will think that you cooked all day.

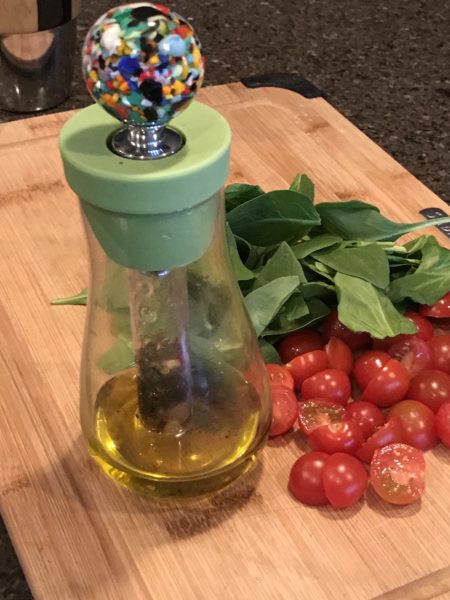
It is so easy to cook when the ingredients are simple and on-hand.  I always keep some infused olive oil and it comes in handy.  Fresh spinach is always in my refrigerator and today I bought these fresh cherry tomatoes.

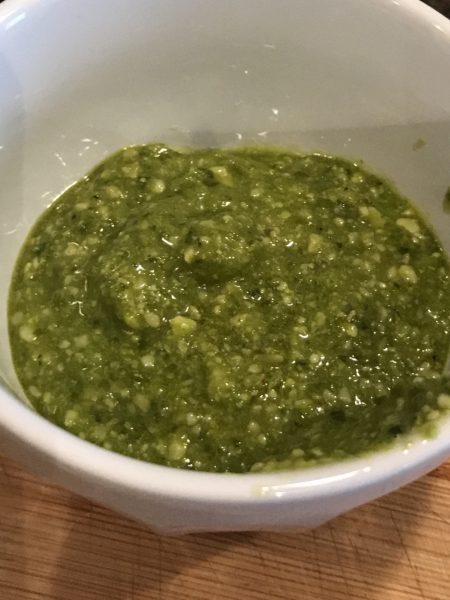
I aways have fresh pesto on hand.  I keep it frozen in my refrigerator; this basil grows locally at our greenhouses and farms in Leamington, Ontario.

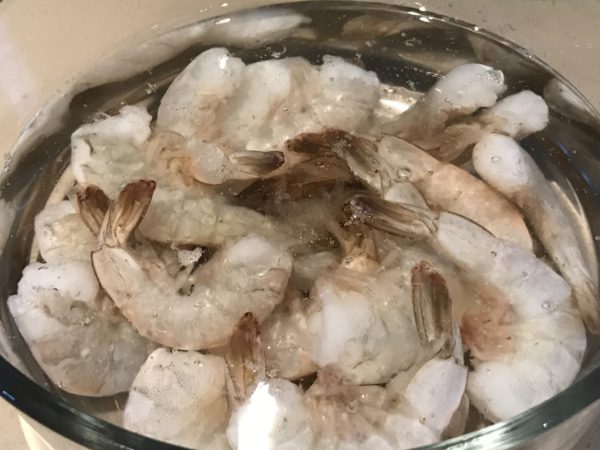
I use large jumbo shrimp and I like to clean them myself.

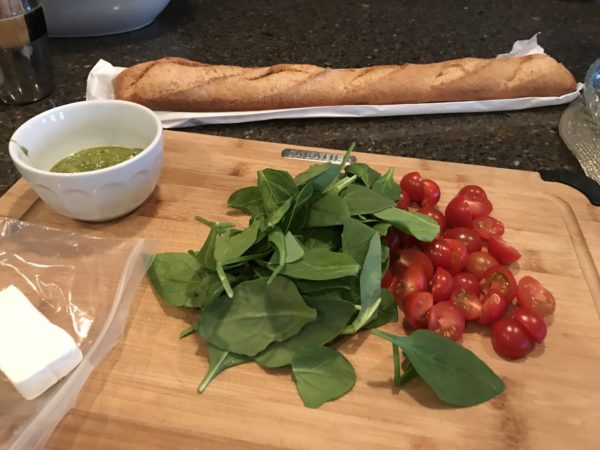
It looks like  a meal even before it cooks.  I bought a freshly baked baguette today.

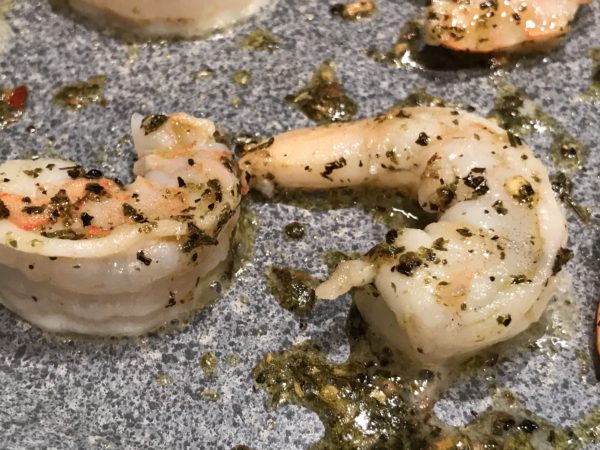
Simply season that shrimp and add a little infused olive oil.

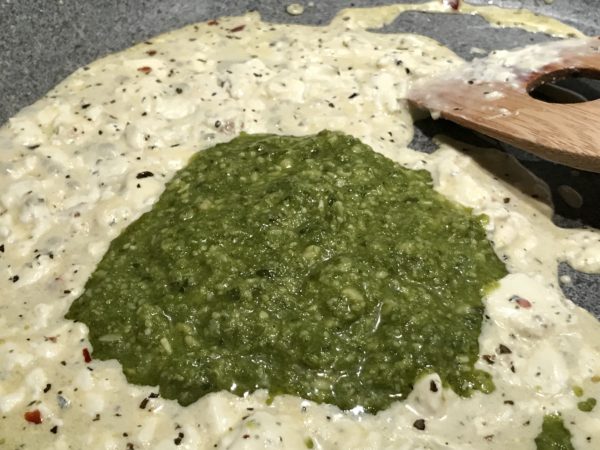
A little bit of cream cheese goes a long way and adds a velvet texture to any dish.

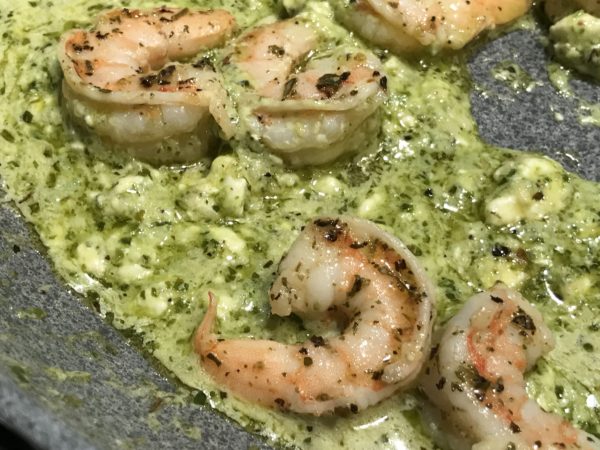
The shrimp meets the sauce.

Orecchiette tossed in Pesto with Shrimp and Spinach: Recipes at My Table

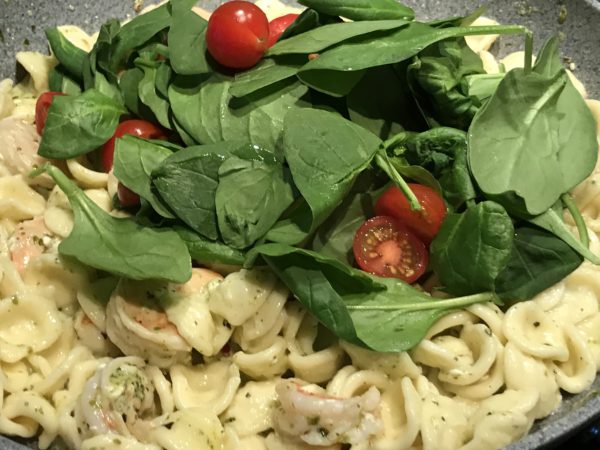
Quickly toss in the fresh ingredients.

Orecchiette tossed in Pesto with Shrimp and Spinach: Recipes at My Table

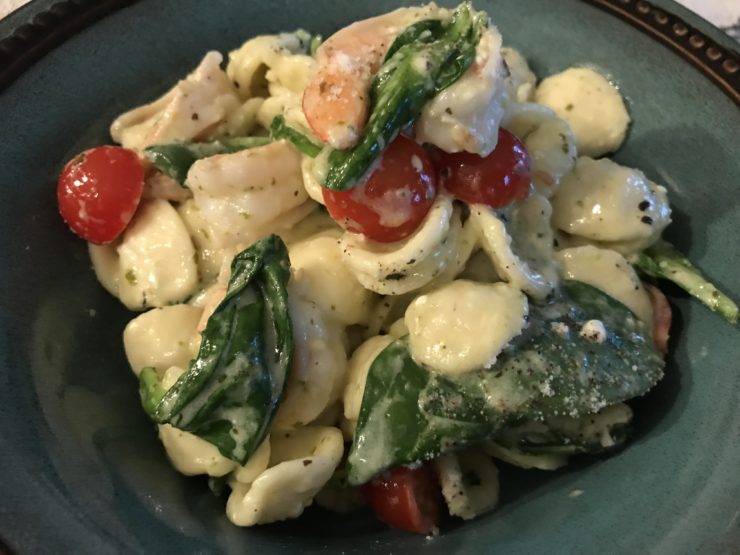
Plated and yummy!!

Orecchiette tossed in Pesto with Shrimp and Spinach: Recipes at My Table

Orecchiette tossed in Pesto with Shrimp and Spinach: Recipes at My Table
5 from 1 vote
Print

Orecchiette Tossed in Pesto with Shrimp and Spinach

An elegant and quick dish that you can serve to company.  

Course Main Course
Cuisine Home Cooking in Canada, Italian
Keyword Penne with Shrimp and Spinach Pesto
Prep Time 10 minutes
Cook Time 17 minutes
Total Time 27 minutes
Servings 3 main portions
Author Renata Solski

Ingredients

  • 250 gr penne
  • 4-6 tbsp prepared Pesto
  • 2 cups shrimp shelled, deveined and sliced
  • 2 tbsp olive oil
  • 1 cup cherry tomatoes sliced in half
  • 2 tbsp cream cheese
  • 1 cup fresh spinach
  • 1 tbsp Italian Seasoning
  • extra Parmesan cheese for garnish

Instructions

  1. Put a large pot on to boil for the pasta. 

    When the pot boils put in the pasta and let cook to al dente.

    In a large pan place the olive oil and add the shrimp with the Italian seasoning.

    Let the shrimp pink-up.

    Remove from pan and add the cream cheese with the pesto. 

    Warm-up and let the cream cheese melt.

    Return the shrimp to the pan.

    Add in the pasta and you might want to use some of the pasta water to thicken the sauce. 

    Remove from heat.

    Add the cherry tomatoes and the spinach and toss into the pasta.

    Garnish with parmesan cheese. 

Recipe Notes

This recipe is easy to double.   250 grams should feed 3 people, if it is the only course.  I use 500 gr for 6 people.  Serve a salad and bread with it. 🙂