Easy anytime pastry dough recipes at my table

Easy Anytime Basic Pastry Dough

Easy Anytime Basic Pastry Dough

Easy Anytime Basic Pastry Dough makes my life in the kitchen super easy, especially when making dessert.  This is a recipe that you want to keep on hand and you can modify it to serve your needs.  The dough comes together easily in a blender.  In Italian we refer to it as Pasta frolla, which we use for pies, tarts and crostata.

Today I fill my pasta frolla with pears, onions and apricots; I make a sweet and savory crostata to serve as dessert.  I have also made this pie for breakfast.  The dough comes together with oil instead of butter but the little bit of baking powder puffs up the dough.  It is easier to work with than a dough made with butter; you can use butter if you like.  Putting it in the refrigerator allows the dough to rest and makes rolling a breeze.

Both butter and oil add moisture to your baking.  With butter most recipes suggest to handle the dough as little as possible, whereas using oil or shortening allows you more leverage when working with the dough.  Many pie recipes made with butter are crumbly and fall apart easily.  This recipe is especially helpful for anyone following a strict Vegan diet.

You can also use this dough for my Italian Chinudille https://recipesatmytable.com/crescent-moons-with-jam-and-nuts/  Cut the dough out a bit larger and use more of the nut and jam filling.  These little Italian pies are very prominent at Christmas time.

This dough comes together quickly in the food processor.
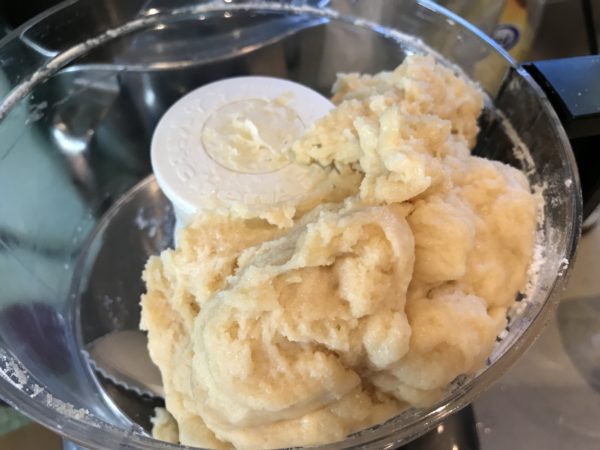
I turn it onto the counter to knead a few times.
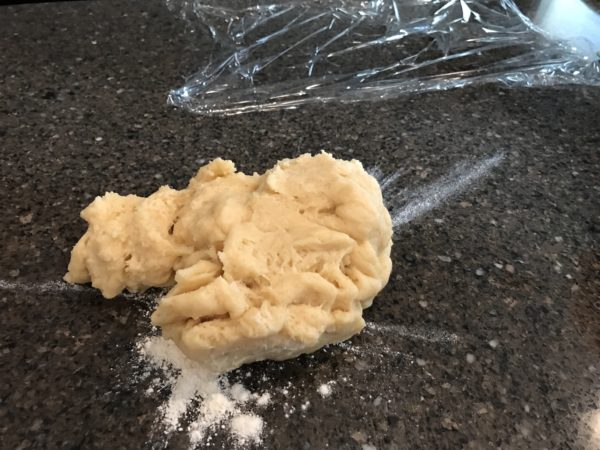
Beautiful texture!!
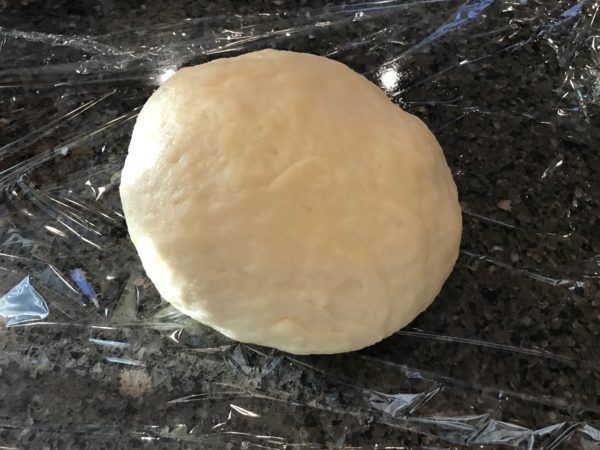
Next it goes into the refrigerator.

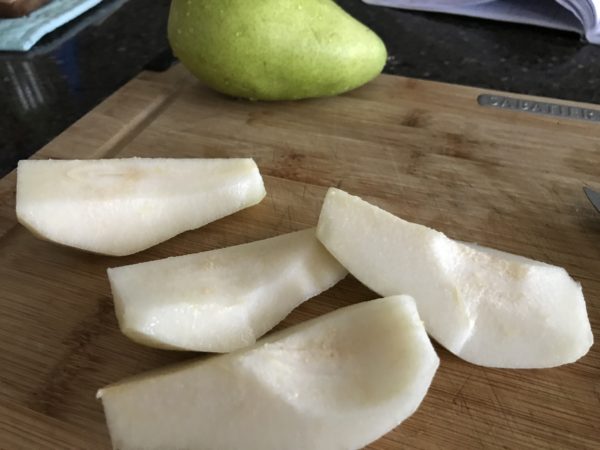
Use anjou pears or bartlett pears, because they have more texture.
The Sortilege makes this dish.
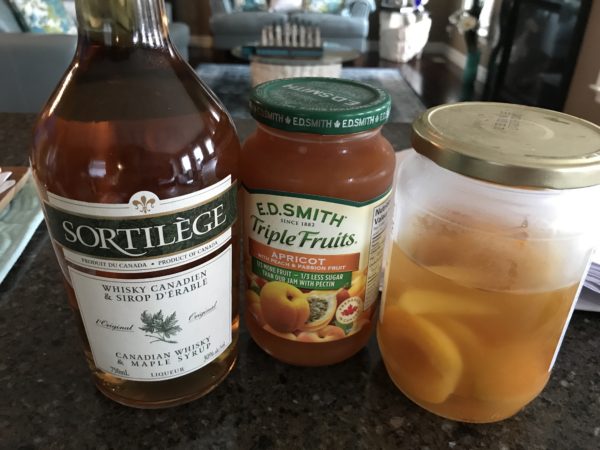
The pears and the onions come together.
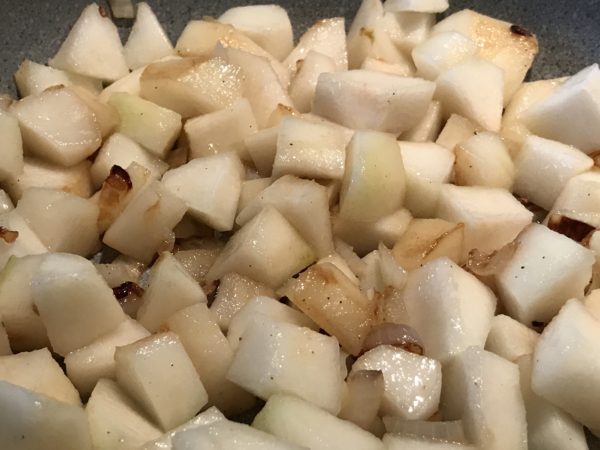
It smells SO good in the kitchen.
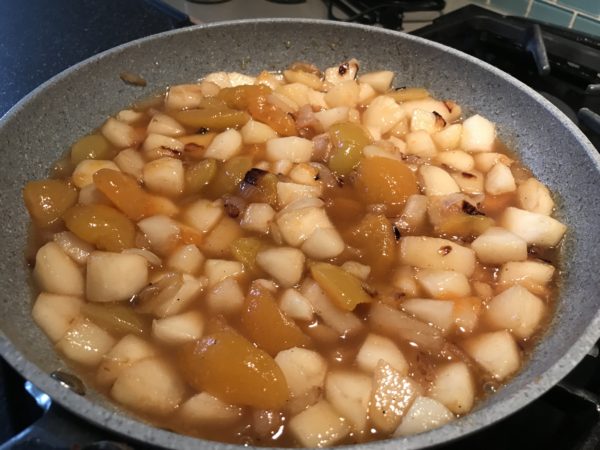
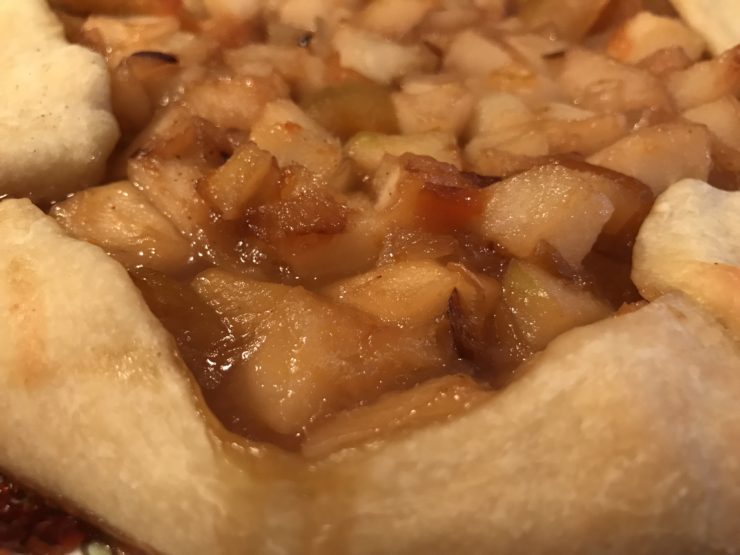
The Pie comes out of the oven.
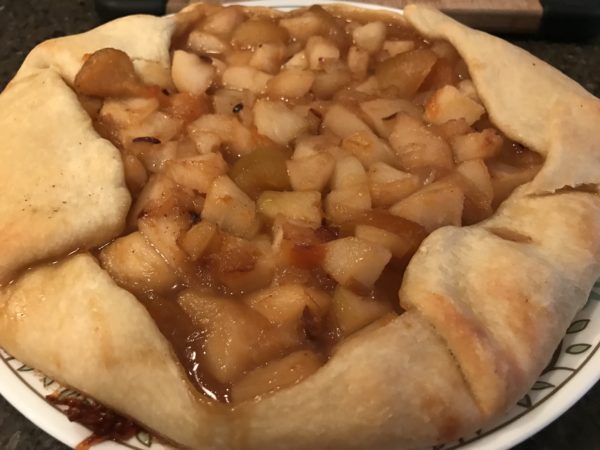
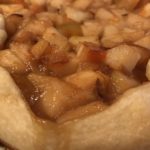
Easy Anytime Pastry Dough

Easy Anytime Pastry Dough brings ease to baking a pie, tart or crostata.  

Course Dessert
Cuisine Home Cooking in Canada, Italian
Keyword Easy Anytime Pastry Dough
Prep Time 10 minutes
Cook Time 30 minutes
Total Time 40 minutes
Servings 6
Author Renata Solski

Ingredients

Pasta Frolla: the dough

  • 1 1/2 cups all purpose flour
  • 1/2 cup sugar
  • 1/2 cup canola or olive oil
  • 1 whole egg
  • 1 egg yolk
  • 1/8 tsp salt
  • 1 tsp baking powder
  • 1 tsp vanilla
  • 1 tsp lemon zest
  • cold water by tbsp full
  • 2 tbsp milk for brushing dough
  • 1 tsp coconut sugar optional

The Pear Onion filling

  • 1 large vidalia onion diced
  • 2 tbsp olive oil
  • 4 medium pears anjou or bosc diced
  • freshly ground salt and pepper
  • 8 apricot halves
  • 1/2 cup apricot or peach jam
  • 2 tbsp sortilege whiskey optional
  • 1 tbsp maple syrup
  • 1/2 tsp freshly grated nutmeg

Instructions

The dough

  1. In a food processor pulse flour, sugar, salt and baking powder together.

    In a small bowl whisk whole egg and egg yolk with the vanilla. 

    Add in the oil and the lemon zest. 

    Pour wet ingredients into the food processor.

    Pulse on high for 30 seconds.

    Now begin to add the cold water by the tablespoon full until the dough pulls away from the walls of the food processor.

    Turn dough onto a lightly floured surface and knead a few times.

    Wrap dough in plastic wrap and place in refrigerator for at least one hour.

The filling

  1. Place the olive oil in a sautee pan with the onions.

    Cook the onions giving them a golden colour.

    Add the diced pears.

    Add the salt and pepper.

    Cook for a few minutes.

    Cut the apricots into small pieces and add to the pan.

    Now mix in the jam, whiskey and maple syrup.

    Let it cook down until thick.

The assembly

  1. Remove dough from refrigerator.

    It will make one large crostata or two smaller ones.

    Press the dough down with your hands and make a large circle.

    Use a rolling pin and roll out from the centre.

    Place on a cookie sheet lined with parchment paper.

    Pour the filling in the centre leaving a one inch rim.

    Fold over the rim.  The more rustic it looks the better.

    Brush the top of the dough with some milk. You can also sprinkle some coconut sugar over top. 

    Grate the nutmeg over the filling. 

    Place in a 350 degree oven for 30 minutes. 

Recipe Notes

Olive oil will give your dough a more intense taste and feel.  Use a good olive oil if you choose this route. 
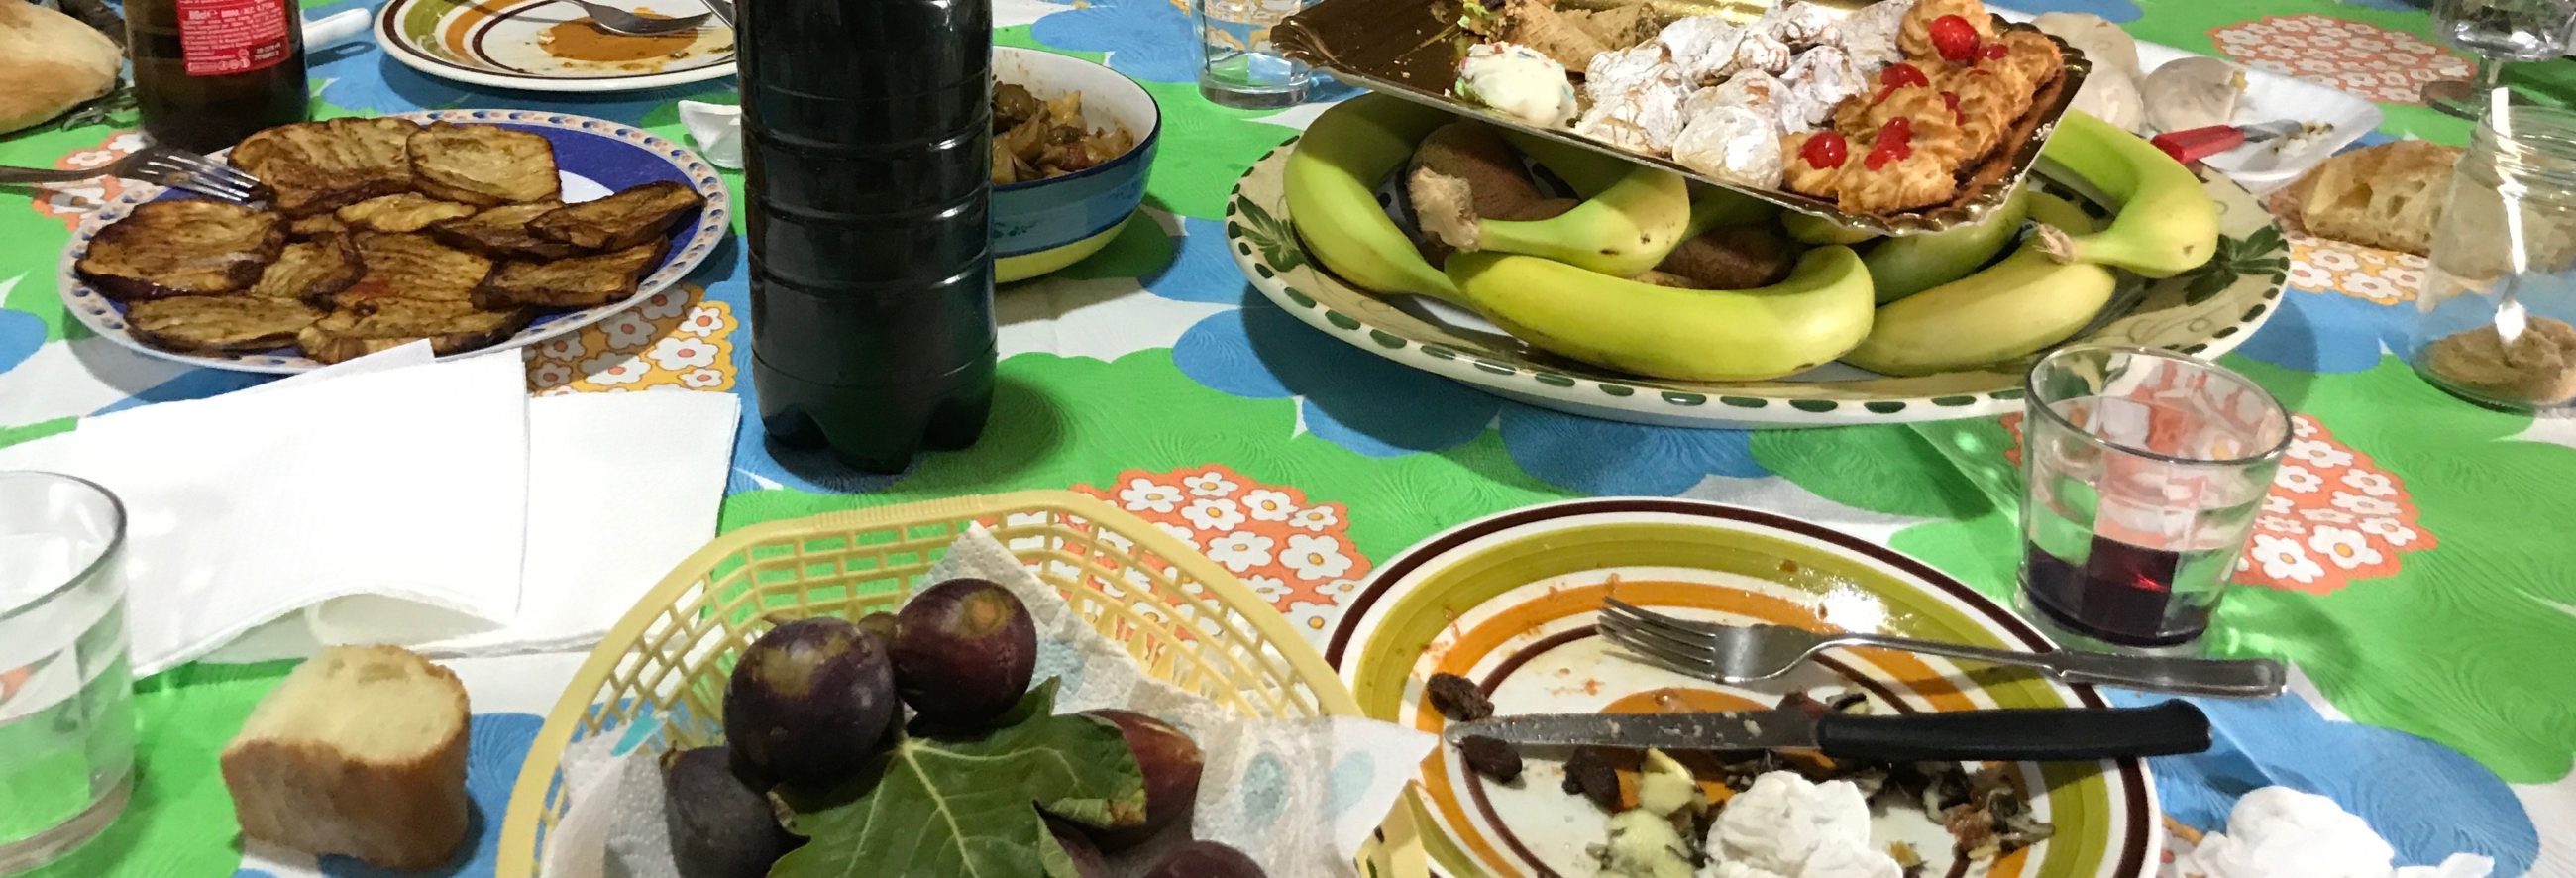
Chocolate Peanut Butter Cereal Cheese Cake Recipes at My Table

Chocolate Peanut Butter Cereal Cheese Cake

Chocolate Peanut Butter Cereal Cheese Cake

Chocolate Peanut Butter Cereal Cheese Cake is decadent and brings together two of the most loved flavours.  The cream cheese gives this cake texture and the Reese”s Pieces finish off the cake with little surprise crunches. This cake is multi-layered simple luxury.  The toppings including the chocolate syrup make it deliciously gooey, in a good way.

My nieces Angelina and Marina came for their annual pool/birthday party at my house.  We always have enough fun to last a few months.  I lived far away from them for most of their lives, but now that I am closer I love to have them over at every chance I get.  What kid doesn’t like peanut butter and cheese?

When I saw the General Mills Chocolate Peanut Butter cereal at the store that incorporated peanut butter and chocolate, I got this idea.  I made a crust from the cereal and then whipped up the traditional cheese cake batter.  For fun I garnished with Reese”s Pieces and extra cereal.  The girls did a taste test video and I wasn’t sure what they would say.  This is not rehearsed.  LOL

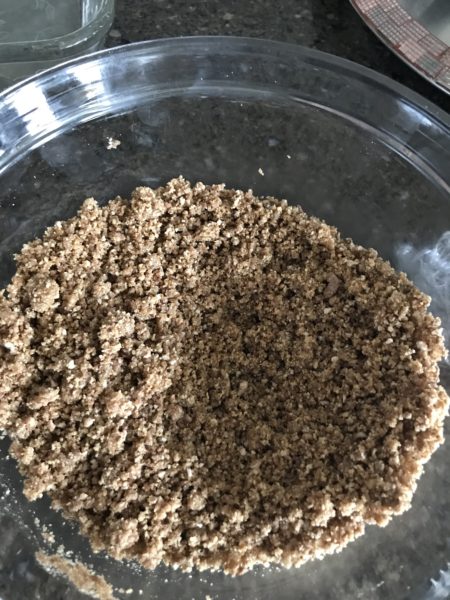
The crumbs and the crushed cereal come together with the butter.

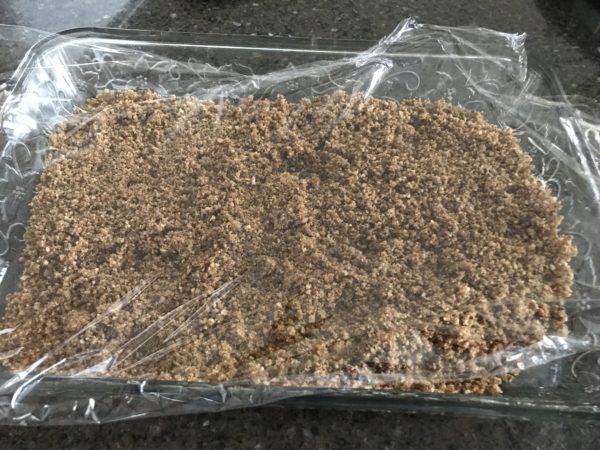
Putting a piece of plastic wrap over the crumbs helps to spread them out evenly.

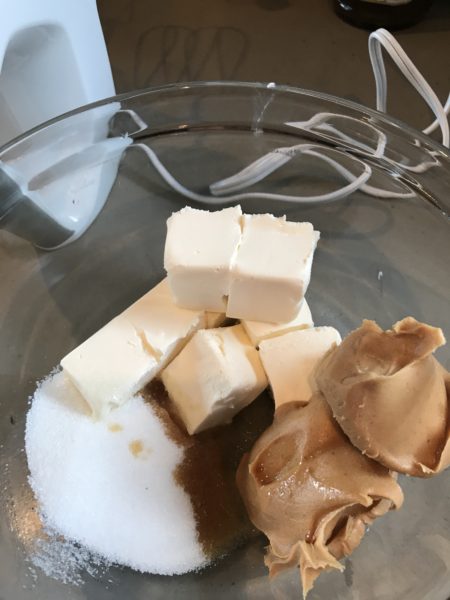
The cream cheese, peanut butter, sugar and butter hanging out in a bowl. 

Everything mixes into a velvety smooth consistency. 

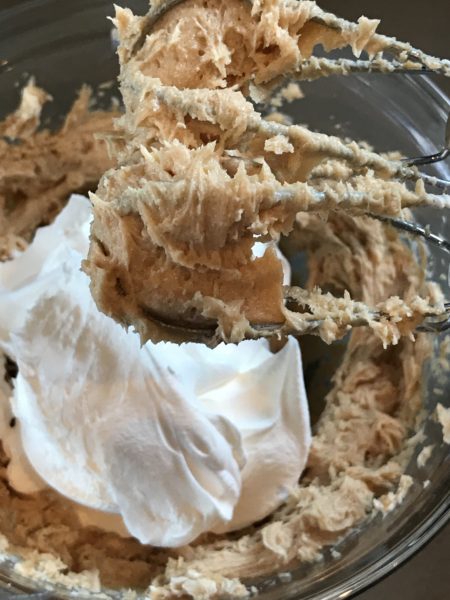
Mix a couple of spoonfuls into the mixture.

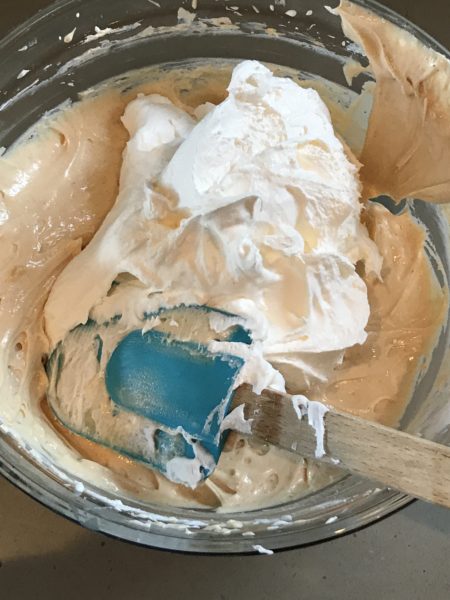
Now fold in the remainder of the cool whip.

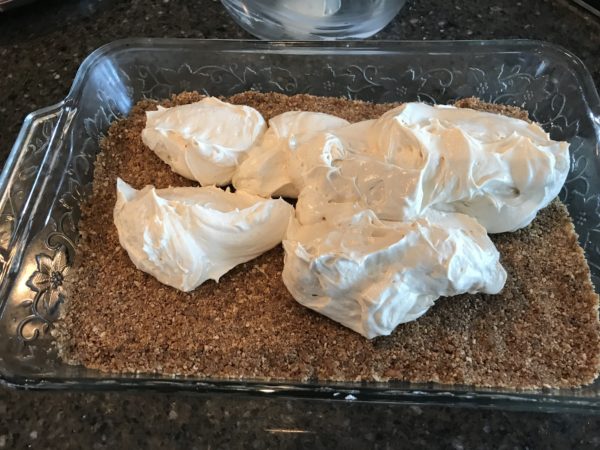
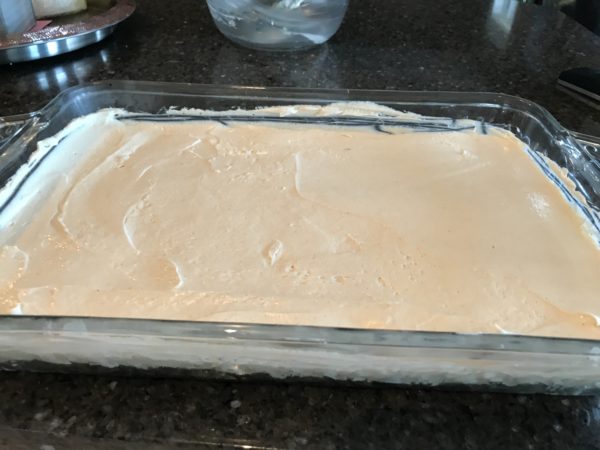
Spoon the cheese mixture over the crumb crust.

The cake ready to go back into the refrigerator.  

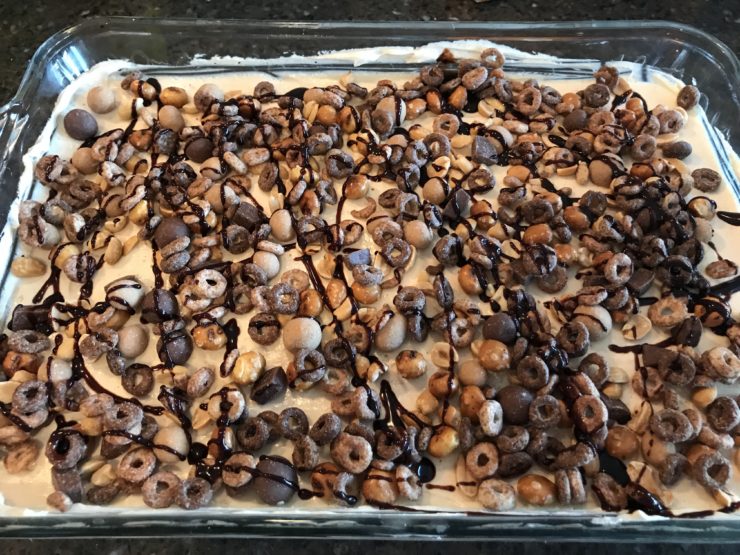
My toppings of the day; Wait until before serving to place them on the cake.  They will be soggy if you put them into the refrigerator. 


Chocolate Peanut Butter Cereal Cheese Cake

Cereal and peanut butter in a cake.  

Course Dessert
Cuisine Home Cooking in Canada, Italian
Keyword Chocolate Peanut Butter Cereal Cheese Cake
Prep Time 45 minutes
Servings 16
Author Renata Solski

Ingredients

The Crust

  • 1 cup graham cracker crumbs
  • 2 cups Chocolate Peanut Butter Cereal crushed
  • 1/2 tsp cinnamon
  • 3 tbsp sugar
  • 1/2 cup melted butter

The filling

  • 2 8 oz packages cream cheese softened
  • 1/2 cup smooth peanut butter
  • 1/4 cup sugar
  • 2 tsp pure french vanilla extract
  • 1 container Cool Whip

The garnishes

  • 1 cup Chocolate Peanut Butter Cereal
  • 1 cup Reese's pieces I used O Henry
  • 1/2 cup chocolate syrup

Instructions

The Crust

  1. Use a food processor to crush the cereal.

    Combine the cracker crumbs, cereal crumbs and cinnamon.

    Melt the butter and pour it into the crumb mixture.  I like to use a fork to bring it all together.

    Place in a 9 X 13 pan and place a piece of plastic wrap over the top. The plastic wrap makes it easy to smooth out the crumbs.

    Use your hands to press the mixture down.  

    Place crust in refrigerator for at least 15 minutes.


The Cheese and Peanut Butter

  1. In a bowl mix together the softened cream cheese, peanut butter, french vanilla extract and sugar.

    Beat until smooth.

    Add a couple of spoonfuls of the Cool Whip and beat.

    Next fold in the remainder of the cool whip.

Assembly

  1. Remove the crust from the refrigerator.

    Spoon the cheese mixture over the crust.

    Smooth out with a bent icing knife.  This type of knife gives you the most even top ever. 

    At this point you can add the Skor bits or anything that won't go soft.

    Return the cake back to the refrigerator.

    When ready to serve, sprinkle on the remainder of the cereal, the cookies and drizzle with chocolate syrup.  

Recipe Notes

You can crush the cereal by pulsing in a food processor or put in a plastic bag and crush with a rolling pin.  

For the garnish, you can use 1 cup of a packaged candy or add 1/2 a cup Skors and 1/2 cup chocolate chips or small Aero cookies.  Be creative.  

Alissa's Everything in the Cupboard Cookies Recipes at My Table

Alissa’s Everything in the Cupboard Cookies

Alissa’s Everything in the Cupboard Cookies

Alissa’s Everything in the Cupboard Cookies are the best cookies you will ever bake.  They won’t last long; and so, hide them.  My three children always knew that our house was open to everyone and our house was meatball, muffin and cookie central in our neighbourhood.  Today my children are all grown and live in different cities, but they visit and they know that our house continue to be open to all.

Lauren invited Alissa Scarparelli to spend the weekend with us and perhaps get a late fall swim in the pool.  Apparently Alissa makes the best cookies and she asked if I would host her on the blog.  Here is my first guest on the blog and I hope there will be more.  Alissa is also an Italian and loves to cook.  Her bubbly personality comes alive when she talks about food.  She loves to bake and you will want to bake these cookies over and over again.

These cookies have a salty and sweet side to them.  The variety of ingredients provide crunch and a gooey texture that keeps you reaching for more. I enjoyed my time in the kitchen with Alyssa and learned some new techniques because baking is not my forté .  She is very comfortable and made the whole process look very easy.  You can do this and make the best bath of cookies ever.

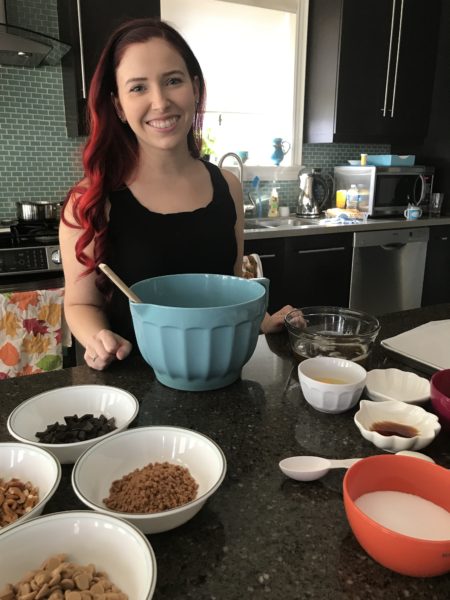
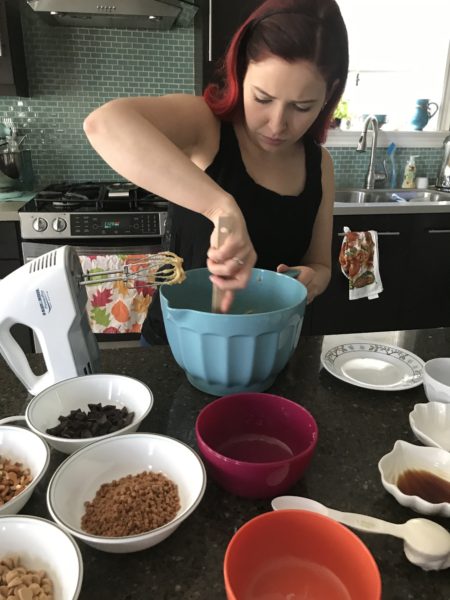
We are in the kitchen and ready to bake.

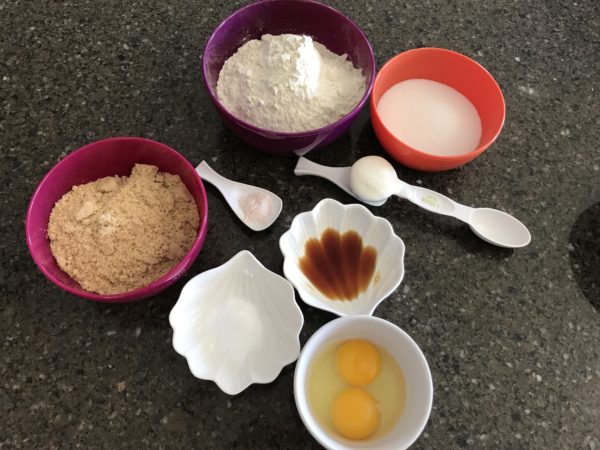
The dough ingredients.

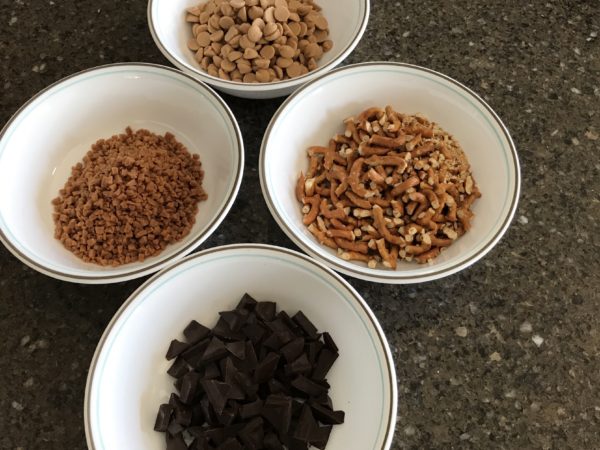
The add-ins.

This girl has a natural talent for baking and she is ultra-confident with her recipe.

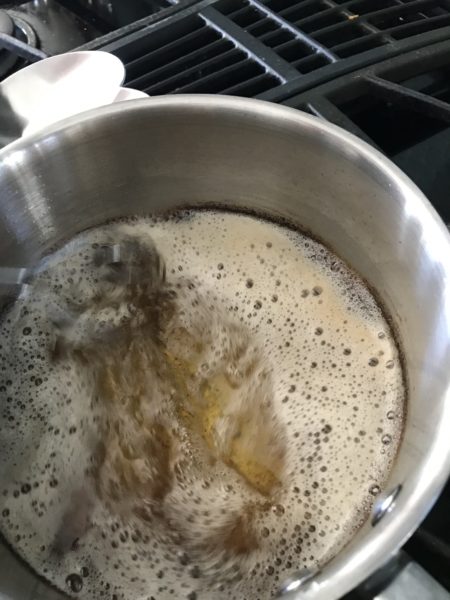
The butter browns and you can see the brown bits.

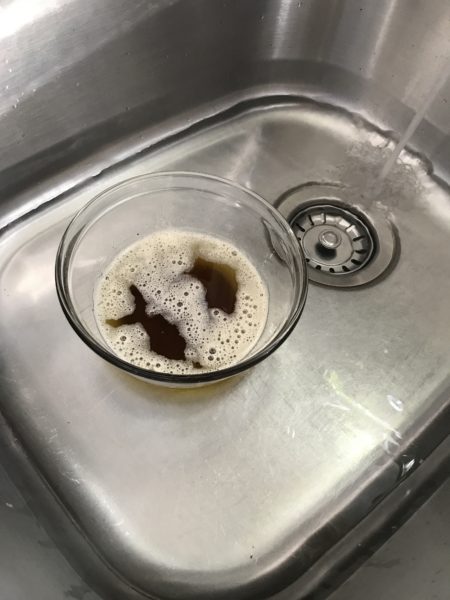
We cool it in  a water bath.

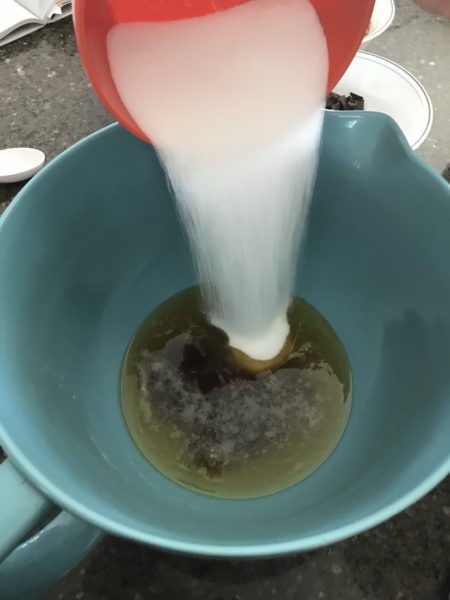
The sugars go into the cooled butter.

Alissa checks the batter with a spatula.

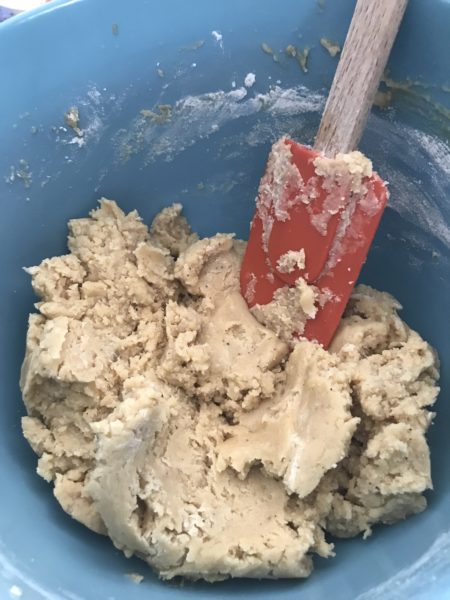
The dough ready for the add-ins.

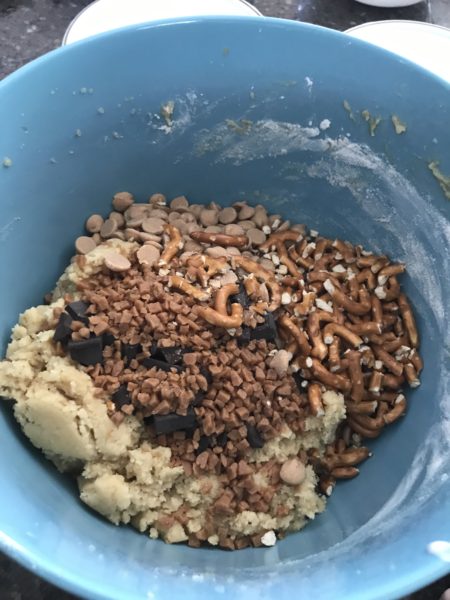
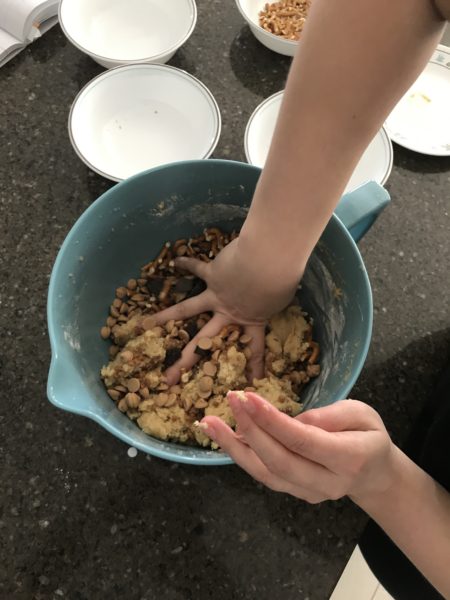
The add-ins meet the dough.

Alissa gets right into the bowl with her hands.

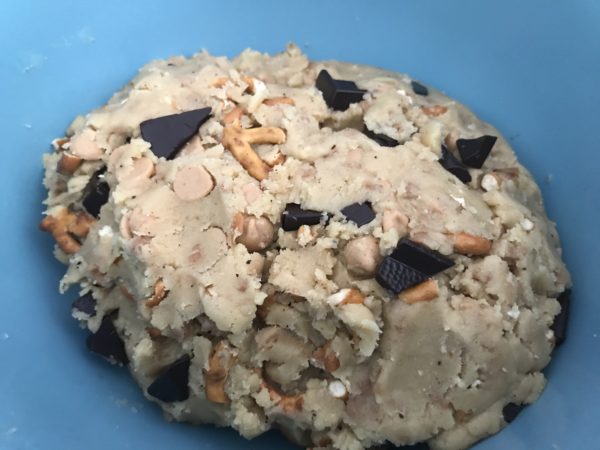
Imagine eating this cookie dough!!

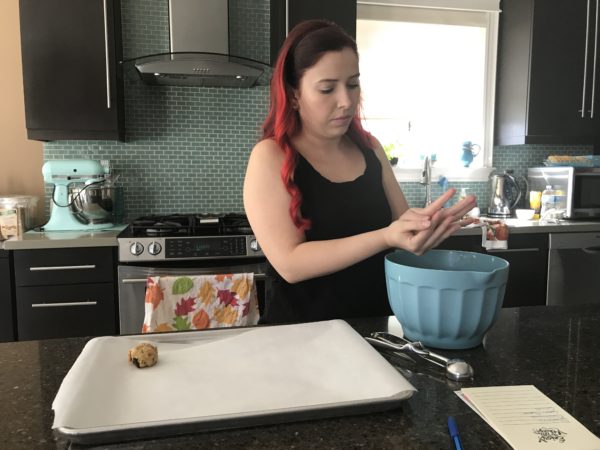
Making the cookies.

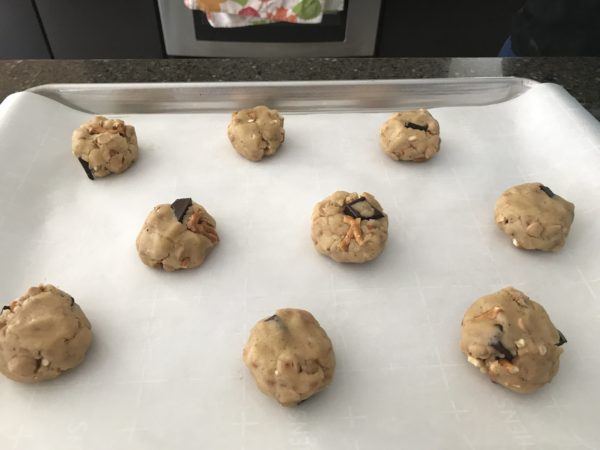
Leave lots of space for these cookies to expand.

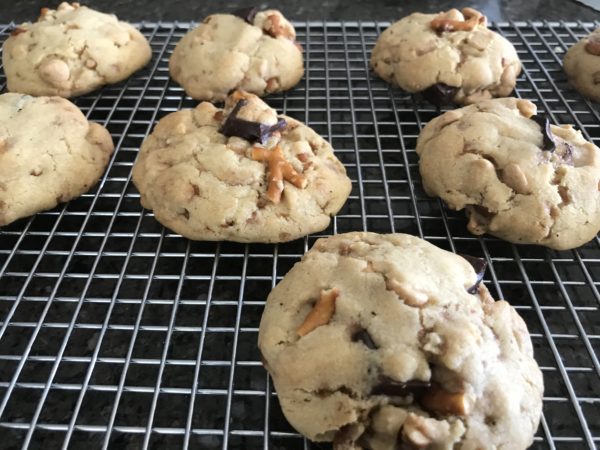
Cooling the cookies.

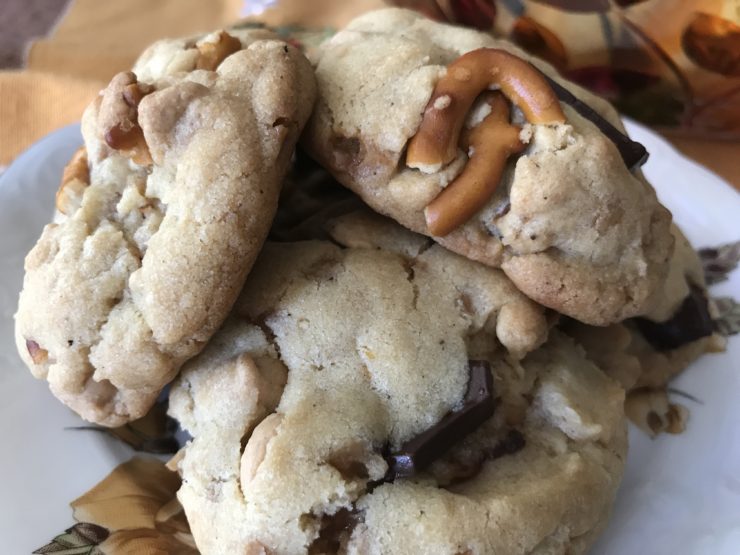
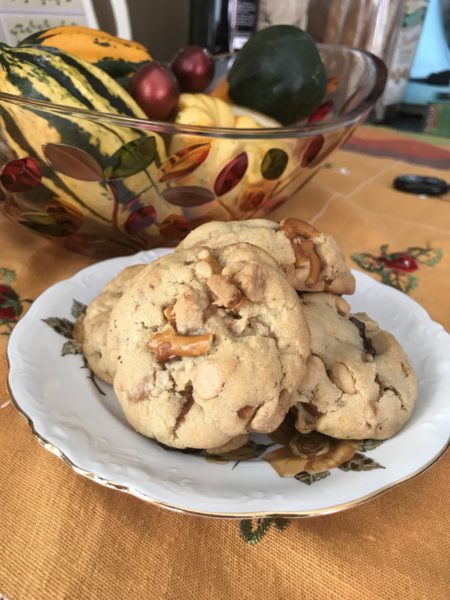
All plated.

Alissa's Everything in the Cupboard Cookies Recipes at My Table
5 from 1 vote
Print

Alissa's Everything in the Cupboard Cookies

The crunchy and a gooey texture of these cook keeps you reaching for more.  

Course Dessert
Cuisine Home Cooking in Canada, Italian
Keyword Alissa's Everything in the Cupboard Cookies
Prep Time 30 minutes
Cook Time 10 minutes
Total Time 40 minutes
Author Renata Solski

Ingredients

The Dough

  • 1 cup butter browned and cooled
  • 2 1/4 cups all purpose flour
  • 1 1/4 tsp baking soda
  • 1/2 tsp coarse sea salt
  • 1 cup light brown sugar
  • 1/2 cup granulated sugar
  • 1 large egg plus 1 egg yolk
  • 2 1/2 tsp Vanilla Extract
  • 1 tbsp plain yogurt greek or any kind

The add-ins

  • 1/2 cup crushed pretzels
  • 1/2 cup Skor bits
  • 1/2 cup chocolate chips
  • 1/2 cup peanut butter chips

Instructions

  1. Brown the butter.  If you have never browned butter before, watch this video.

    https://www.youtube.com/watch?v=VYS5bN_vDmU

    Cool in a water bath for about 15 minutes.

    In a mixing bowl place the butter and the sugar.

    Beat until creamy.

    Add the egg mixture and beat.

    Next put in the yogurt and beat.

    Now mix the dry ingredients in a bowl and start adding them to the wet ingredients in fourths.

    Put in all your add-ins.

    Use your hands or a  wooden spoon to mix.

    Refrigerate the dough for about 1/2 an hour.

    Scoop out and roll into balls. 

    Line cookie pans with parchment paper.

    Leave enough room for cookies to expand. 

    Lightly press down with your hand.

    Place in a 350 F oven for 10 to 12 minutes. 


Recipe Notes

You can add your own add-ins to this dough to personalize this cookie.  Ensure that you add something salty like pretzels to kick it up in flavour and texture.  

This recipes can be doubled or tripled without changing the cookie outcome.  

Party Candied Monster Brownies Recipes at My Table

Party Candied Monster Brownies

Party Candied Monster Brownies

Party Candied Monster Brownies remind me of my own children growing up on Terrance Avenue in Sault Ste. Marie, ON.  Our house was always full of kids playing and we would not have had it any other way.  This recipe came from my neighbour Barb Langlois.  She was the sweetest person ever and died from cancer years ago.  Barb lived a short but full-life.  Barb and her husband Gilles were always very nice to our children, especially our son Alex.
Party Candied Monster Brownies are excellent to make for parties or if you have a gang coming over.  I like them because I can decorate them with candy; today will be an M & M’s party.  My nieces Angelina and Marina will love the candy; I am sure my nephew Anthony will partake in the sugar too.  Anthony is their older brother and he deserves extra candy with the two princesses.  LOL  They are so much fun to have around.  I am looking forward to their magic show. They will also do a taste test video for me.

Over the years I have made a change to Barb’s recipe by substituting 1/2 of the oil with apple sauce.  The texture didn’t change much, and it makes me happy when I make healthier changes. This recipe produces more of a cake style brownie, but the thick chocolate texture is there.  Make sure you use good cocoa.  The added spices give them a kick and the chocolate chips and nuts add crunch and up the flavour.  You can also leave the nuts out of this recipe; we are lucky not to have any nut allergies in the family.

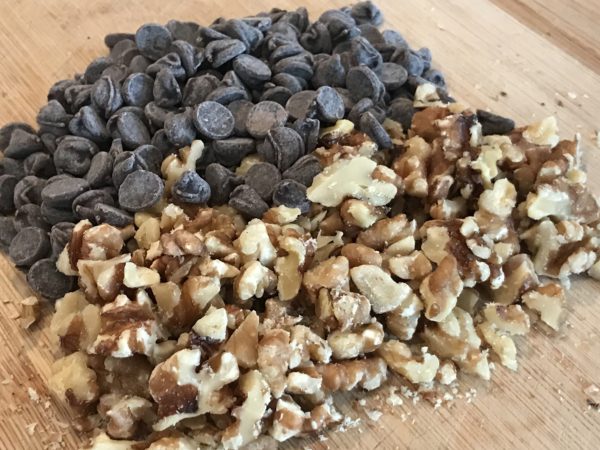
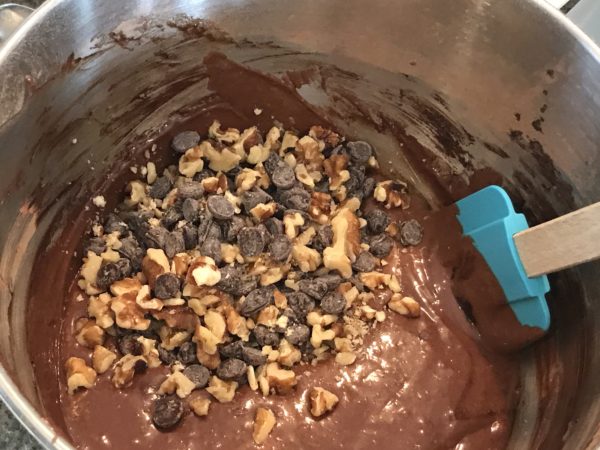
I gather the nuts and chocolate chips first.

Party Candied Monster Brownies Recipes at My Table

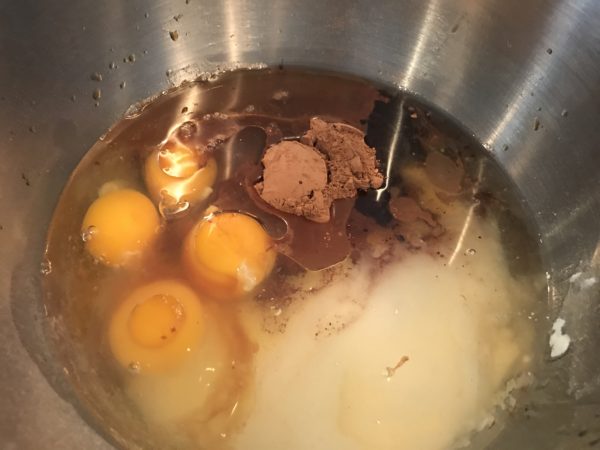
Everything gets dumbed into the mixing bowl.

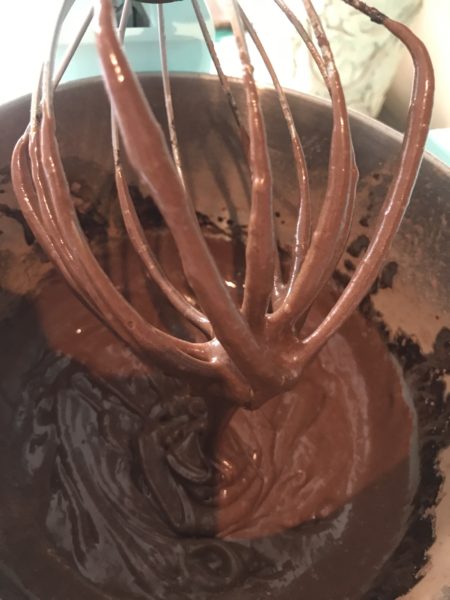
There is something about the batter that makes me want to lick the bowl.  It is silky and thick.

Fold in the nuts and chocolate chips.

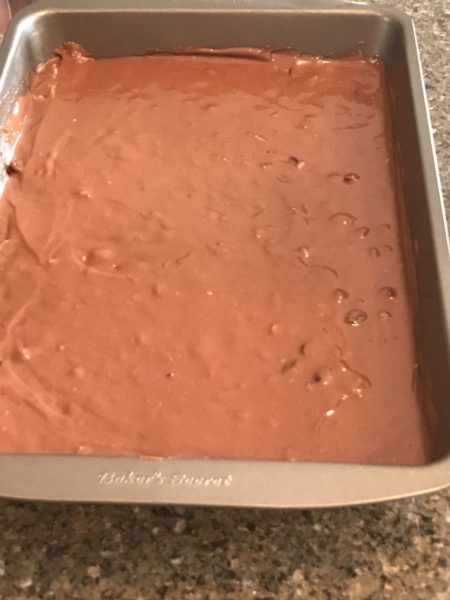
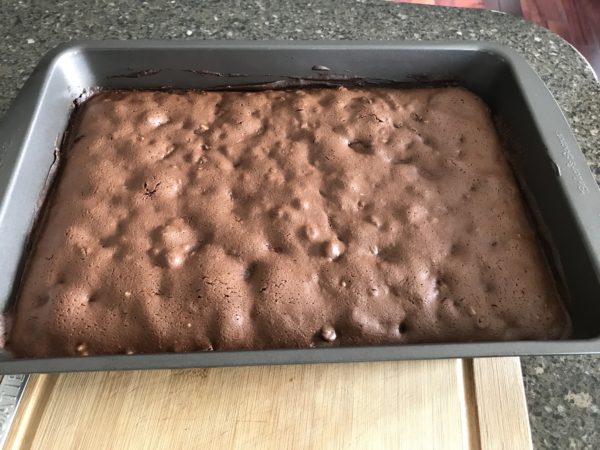
The batter in the pan and ready for the oven.  There is a sheen about this brownie recipe.


Just out of the oven and those little pockets will fill with icing once it is cooled.

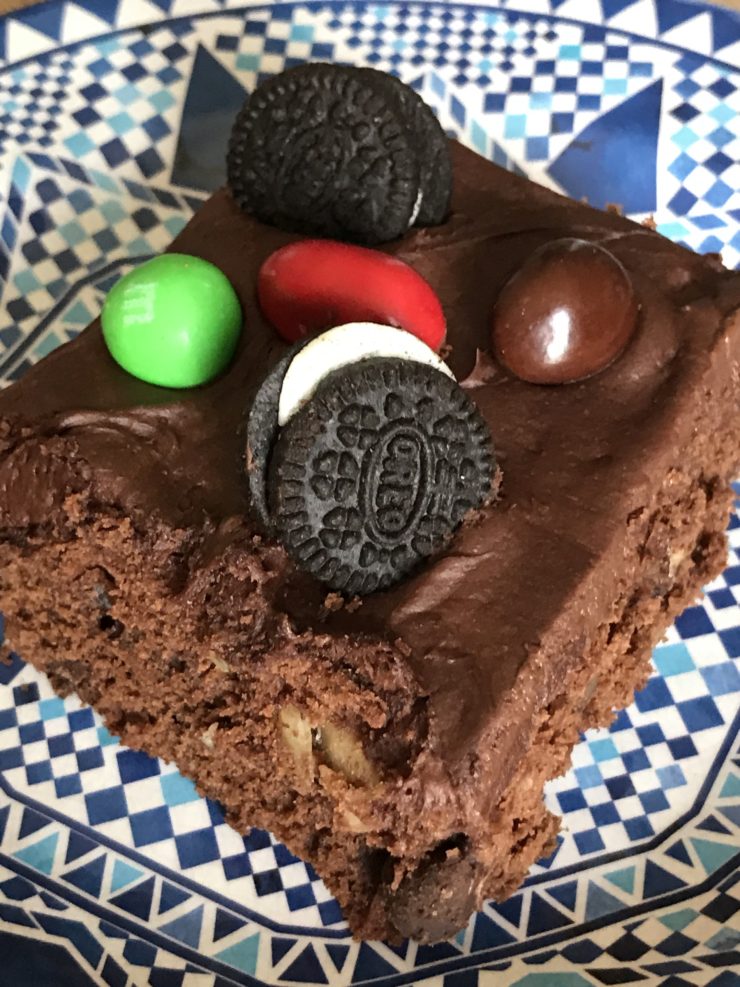
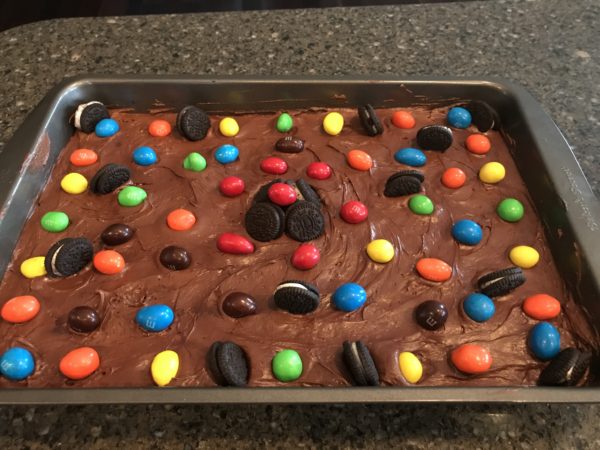
Up close and personal on these candies and mini cookies that will boost up those taste buds.  What kid won’t like this?

We ate the whole thing!!

Party Candied Monster Brownies Recipes at My Table

Party Candied Monster Brownies

A must for any party!!

Course Dessert
Cuisine Home Cooking in Canada, Italian
Keyword Party Candied Monster Brownies
Author Renata Solski

Ingredients

The Brownies

  • 1 1/2 cups unbleached flour
  • 1 cup white sugar
  • 1/2 cup cocoa
  • 1 1/2 cup sugar
  • 1/2 tsp salt
  • 1/2 cup oil
  • 1/2 cup apple sauce
  • 4 eggs
  • 1/4 cup water
  • 1/2 cup chopped nuts optional
  • 1/2 cup chocolate chips

Decorating

  • 1 1/2 cups icing store bought is ok
  • 1 cup M & M's or smarties
  • 1 cup oreo mini cookies

Instructions

  1. Heat oven to 350F.

    Put all ingredients except nuts and chocolate chips into a mixing bowl.

    Beat on medium for 2 minutes.

    Fold in chocolate chips and chopped nuts.

    Pour into a prepared 9 X 13 greased pan.

    Bake for 25 to 30 minutes.

    Let brownies cool.

    Frost and decorate with your favourite candies.  


Recipe Notes

You can make your own chocolate icing, but for this recipe I use store bought. Also, choose your decorations and have fun with it!!

I cut the sugar from 2 cups to 1 1/2.  If you want them to last longer use the 2 cups.  They never last long at my house. 🙂

A really good  vanilla recipe for icing that I use often is at https://www.twosisterscrafting.com/buttercream-frosting/

An excellent chocolate frosting: https://www.twosisterscrafting.com/best-chocolate-buttercream-frosting/

You can also use one whole cup of oil if you like and omit the apple sauce.