Tuna Cakes with Roasted Garlic Aioli

Tuna Cakes with Roasted Garlic Aioli

Tuna Cakes with Roasted Garlic Aioli don’t taste fishy.  They come to the table with sophistication and easily turn into a meal for entertaining.  The kids love them and your company will want this recipe.  Use real mashed potatoes or cheat and used boxed.  Either way, the fresh herbs and crispy coating makes this recipe a keeper.

Fish cakes first appeared in England where leftover fish mixed with mashed potatoes made another meal.  It probably was part of what we Italians call “the cucina povera”.  Families trying to make ends meet or feed a large number of people added the fish to mashed potatoes and got a hearty meal.  Today fish cakes appear as appetizers or mains in many restaurants, but you can make them in your home for a fraction of the price.  A good Article : https://newengland.com/yankee-magazine/food/fish-cakes/

I used canned tuna, but I have made these with fresh fish such as cod, basa and crab.  Try your favourite.  Always use fresh herbs from your garden. Tarragon, thyme and fennel also pair nicely with this recipe.

Mashed potatoes are one of my favourites in recipes.  Don’t forget to check out my best mashed potato dish: https://recipesatmytable.com/polpette-di-patate/

Fresh ingredients are the stars of this recipe.
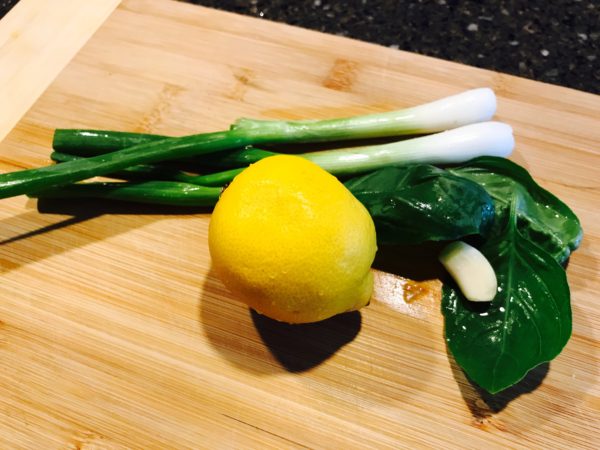
I gather the tuna, herbs, garlic and eggs.
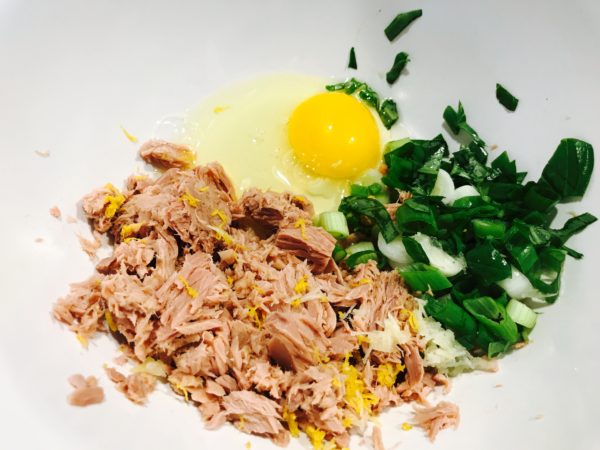
The spices go in.
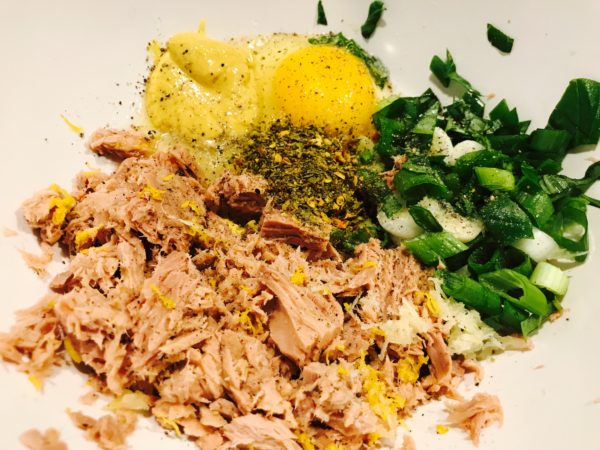
ingredients ready to meet mashed potatoes

Everything gets mixed For These Tuna Cakes with Roasted Garlic Aioli.
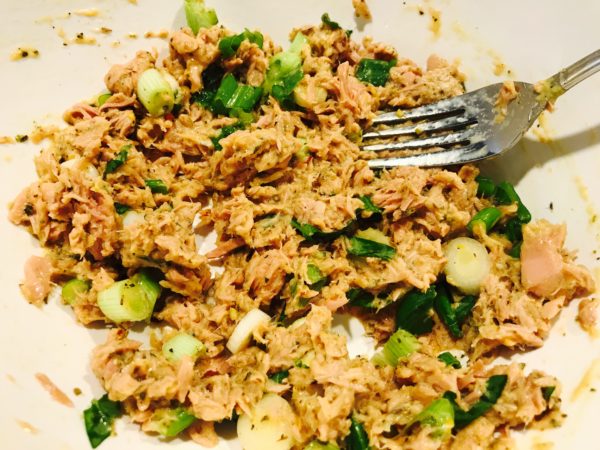
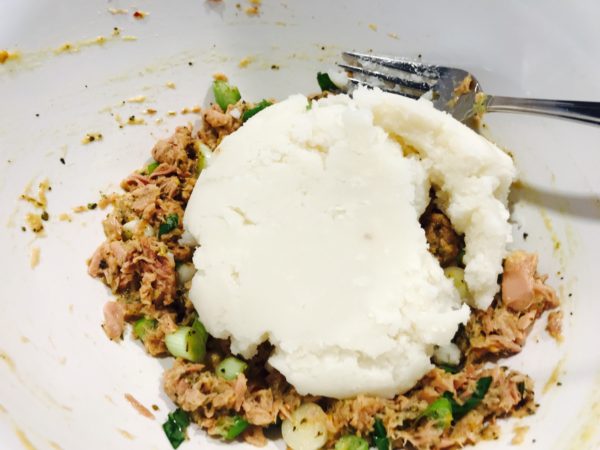
The potatoes go into the tuna.
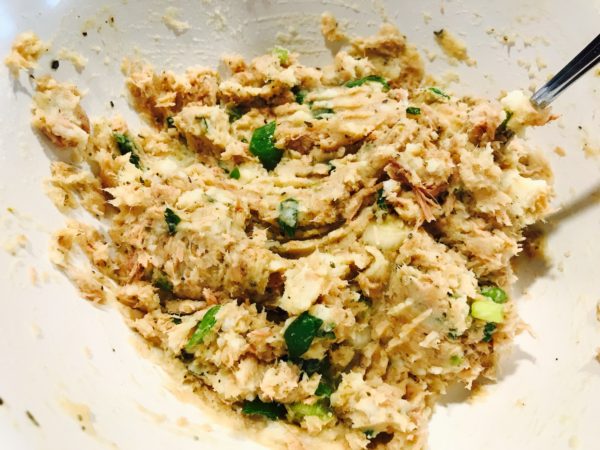
All mixed-up!!
Tuna Cakes with Roasted Garlic Aiolimeet the breadcrumbs.
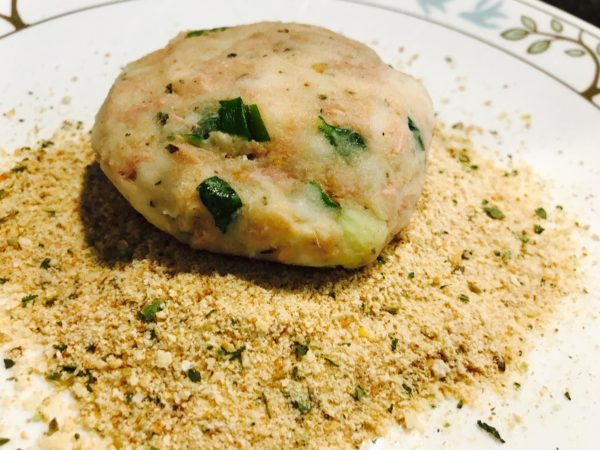
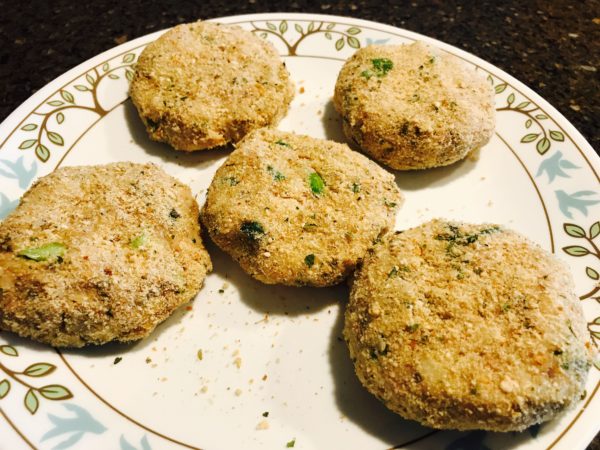
The tuna cakes ready for the pan.
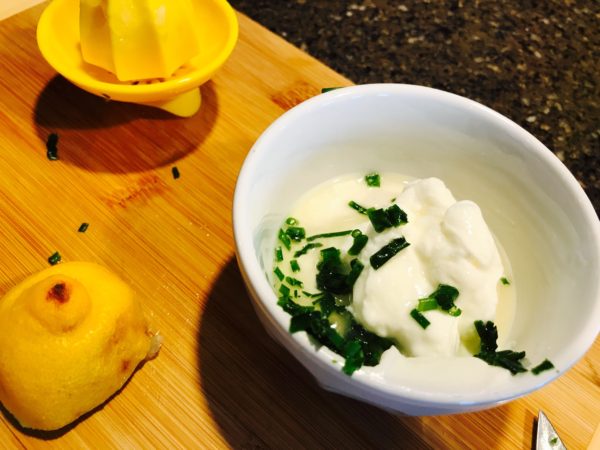
This Aioli is simple.
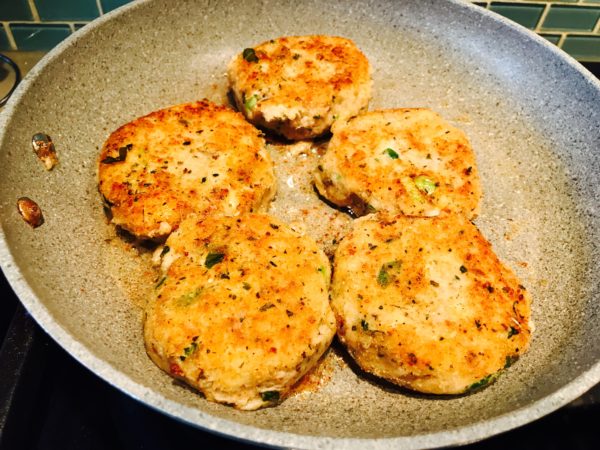
 A couple of minutes on each sides makes them golden.
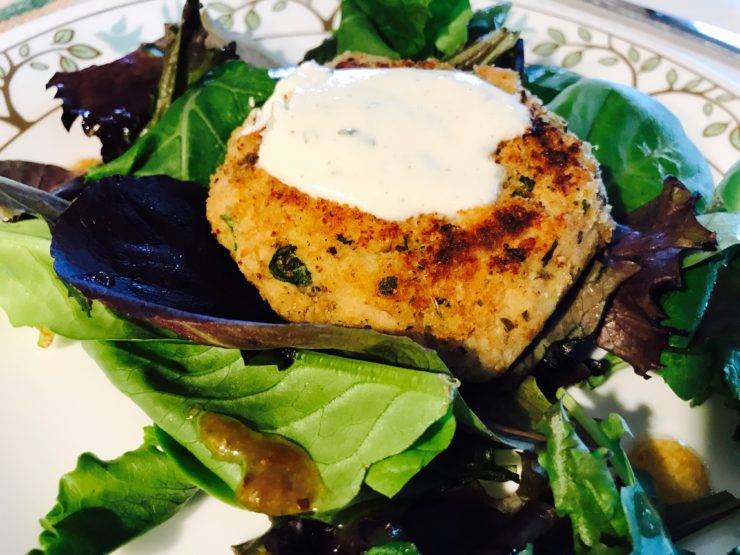
On a pretty bed of greens with the Aioli.
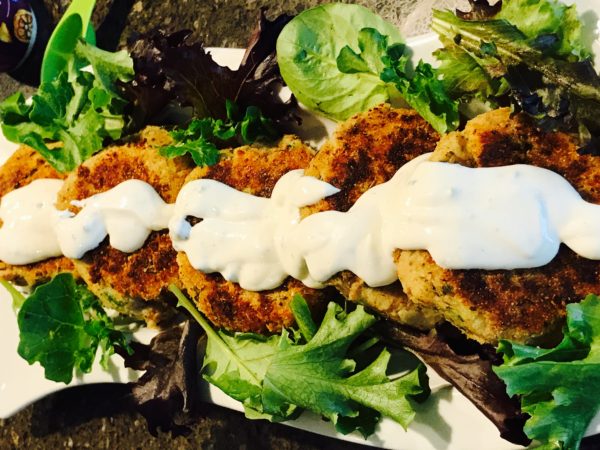
 

Tuna Cakes with Roasted Garlic Aioli

An easy recipe for family or entertaining

Prep Time 15 minutes
Cook Time 36 minutes
Servings 2
Author Renata Solski

Ingredients

The Tuna Cakes

  • 2 potatoes 1 cup mashed
  • 2 green onions thinly sliced
  • 1 egg
  • 3 basil leaves finely chopped
  • 1 clove garlic minced
  • 1/2 tsp Italian seasoning
  • 1 tsp Dijon mustard
  • 1/2 tsp salt
  • freshly ground black pepper
  • juice of half a small lemon
  • lemon zest of half a lemon
  • 1 tsp hot sauce optional
  • 1/2 cup Italian bread crumbs
  • 2 tbsp Canola Oil

The Roasted Garlic Aioli

  • 2 tbsp Greek Yogurt
  • 2 tbsp Roasted Garlic Mayonnaise
  • 1-2 tbsp lemon juice

Instructions

The Tuna Cakes

  1. In you use real potatoes they need to be bpiled, drained and mashed until smooth.

    If using potato flakes, prepare as per box direction.

    Ensure that the potato mixture is cool.

    In another bowl mix the tuna, basil, lemon zest,minced garlic, Italian seasoning, dijon mustard, salt, pepper and hot sauce.

    Now add in the potatoes.

    Mix well and divide into 4.

    Make the patties and coat with the bread crumbs.

    Place a pan on the stove with 2 tbsp canola oil.

    Fry the patties for about 3 minutes on each side until golden brown.

    Place on a bed of greens.

    Drizzle with the Aioli Sauce.

The Roasted Garli Aioli

  1. Mix all the ingredients together and pour over the tuna cakes. Start with 1 tbsp lemon juic and add more to thin out the sauce to your desired consistency.

Recipe Notes

This recipe may be doubled. 
Little Coconut Chocolate Clouds

Little Coconut Chocolate Clouds

I love anything with coconut.  Little Coconut Chocolate Clouds allows me to have a little bite of something sweet anytime without feeling guilty.  These little treats are easy to make and disappear rather quickly.  They freeze well and make a nice take-a-long treat when visiting someone.

I came across this recipe on one of my mother-in-law’sfamous recipe cards; and so, I do not know its origin.  She made this with love and I looked forward to going to her place and eating them.  Growing up Italian, we didn’t use coconut.  I remember  my parents buying a coconut and trying to break it open with a hammer.  When I visit Sicily in the summer, the vendors sell cold coconut on the beach.  My daughter Lauren loved pieces of cold coconut as she sat under the big umbrellas on the beach at Cefalu in Sicily.

Coconuts made their way from Indian to East Africa about 2000 years ago.  An interesting read: https://www.aramcoworld.com/en-US/Articles/January-2017/Cracking-Coconut-s-History

Making these little clouds makes me happy in every way.  I laugh as I think of my family trying to break a coconut with a hammer and I love the memories of the beach in Sicily.

If you haven’t tried my glazed coconut drops see:  https://recipesatmytable.com/glazed-fruit-coconut-drops/

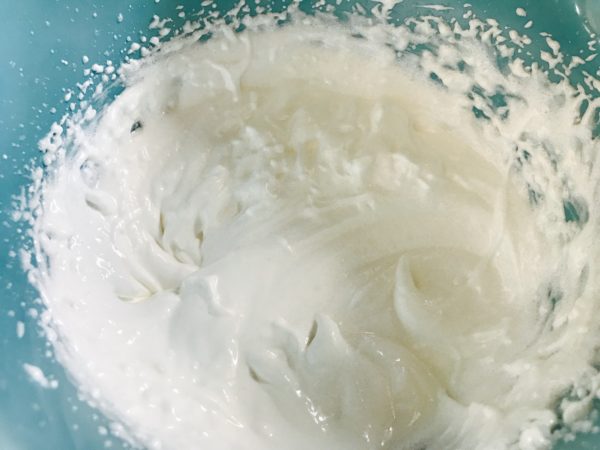
I beat the egg whites with a little salt.

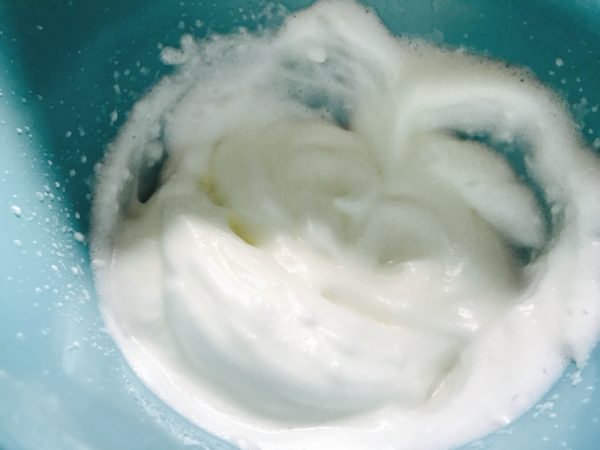
I add the sugar a bit at a time and now stiff peaks form.

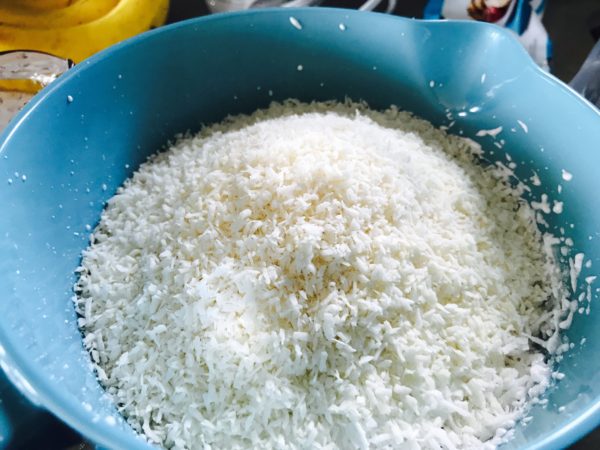
White on white looks pretty and mounds of coconut are folded into the egg whites.

mounds of coconut

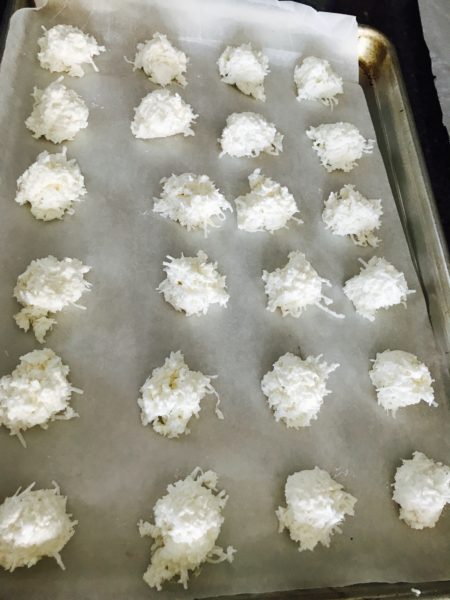
Onto a sheet pan with parchment paper they go.

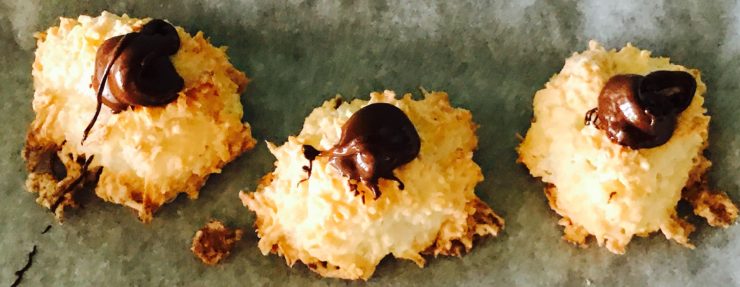
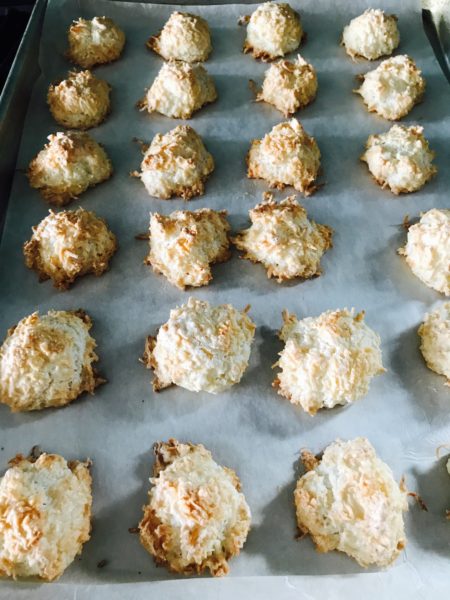
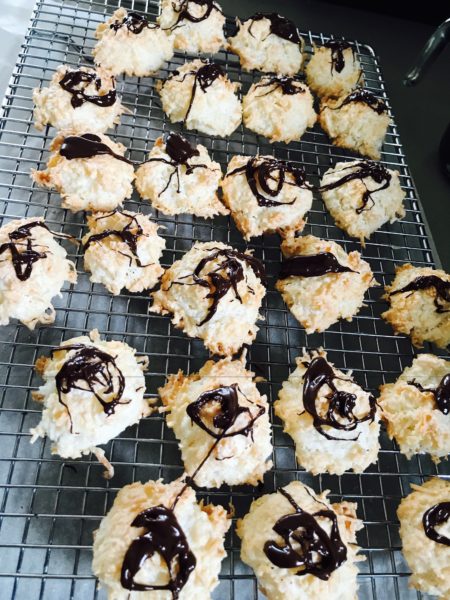
After 15 to 18 minutes this is what comes out of the oven.

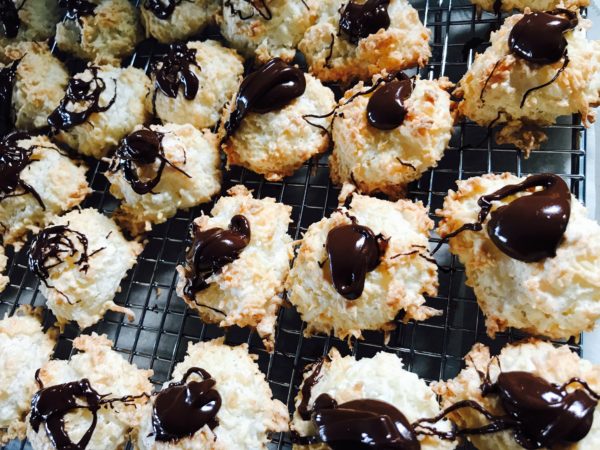
I like to place little mounds of melted chocolate on top.

So many to choose from.

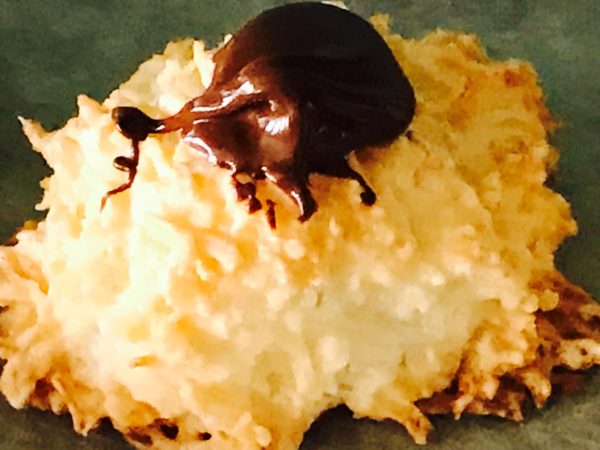
Up close and personal.

\\


Little Coconut Chocolate Clouds

Little clouds of coconut sprinkled with melted chocolate.

Prep Time 15 minutes
Cook Time 15 minutes
Author Renata Solski

Ingredients

  • 2 egg whites
  • 1/2 tsp almond extract
  • 1/4 tsp salt
  • 3/4 cups sugar
  • 3 1/2 cups sweetened shredded coconut
  • 1/2 cup chocolate chips

Instructions

  1. Beat the egg whites and salt until foamy.

    Add the almond extract.

    Beat in the sugar a little at a time until stiff peaks form.

    Fold in the coconut.

    Use a tbsp and drop the mixture on a prepared parchment lined cookie pan.

    Bake at 325 F for about 15 minutes. ( edges should be golden brown and oven temps vary)

    Transfer to a wire rack and let cool.

    Melt the chocolate chips in a microwave.

    Drizzle the tops of the cookies with the chocolate.

    Makes about 30-35 cookies.

Ravioli Style Chicken Rolls

Ravioli Style Chicken Rolls

Many of my friends love the inside or filling of the ravioli, but can’t eat the pasta.  This is a low carb dinner option.  I decided to use lean protein such as chicken breast to make these Ravioli Style Chicken Rolls.  They aren’t hard to make and it looks like a 5 star restaurant dish.  This recipe gives you an even cook and keeps the breast meat succulent.

The most famous chicken roll is the Codon Bleu and if you want to give it a try, this is a good recipe:  https://tasty.co/recipe/crispy-creamy-chicken-cordon-bleu

Chicken breasts are a good way of getting good lean protein onto the family table.  The stuffing and the sauce make these kid friendly.  Kids love spaghetti sauce.  If you are in a hurry, use jarred marinara; I always keep some in the pantry for quick pizza etc.  This dish may be served with pasta or rice.

If you like chicken rolls try these too:  https://recipesatmytable.com/chicken-involtini-with-feta-and-asparagus/

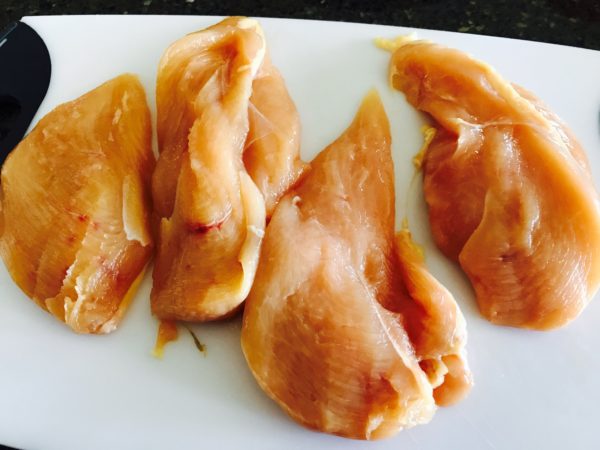
I cut the chicken breast lengthwise and then pound them with a mallet.

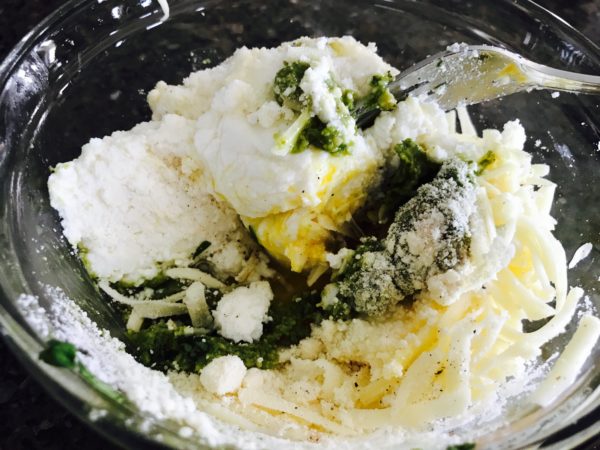
The ricotta mixture comes together.

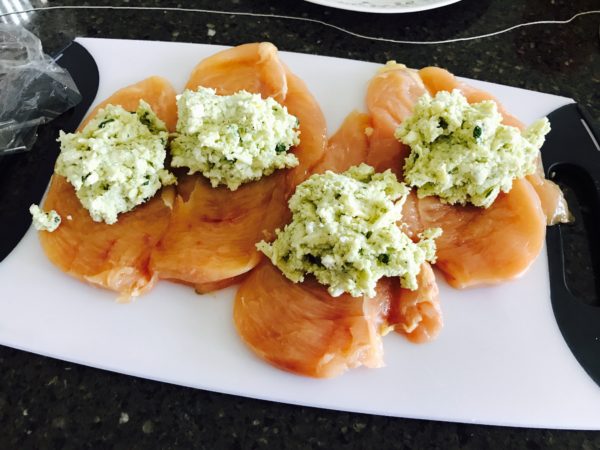
Place the stuffing in the middle of each breast.

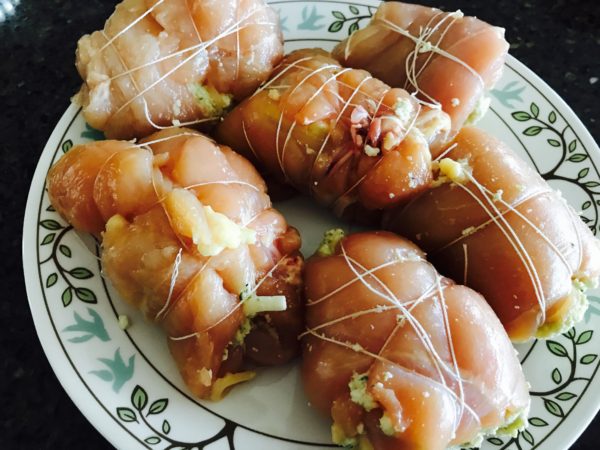
Rolled up and tied with string.

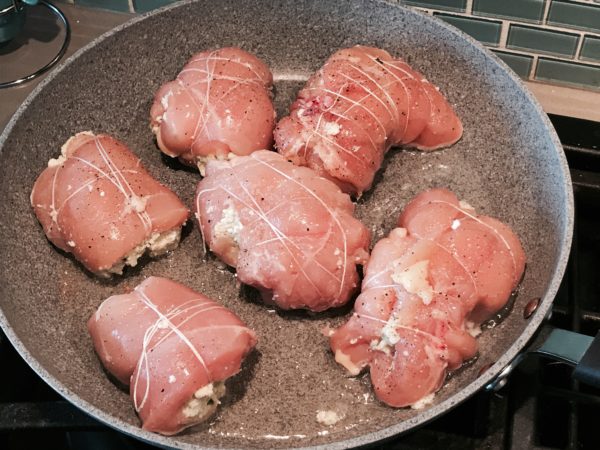
Into a hot pan they go.

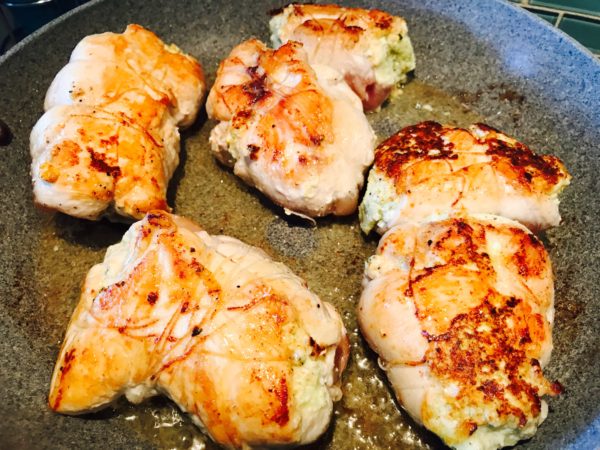
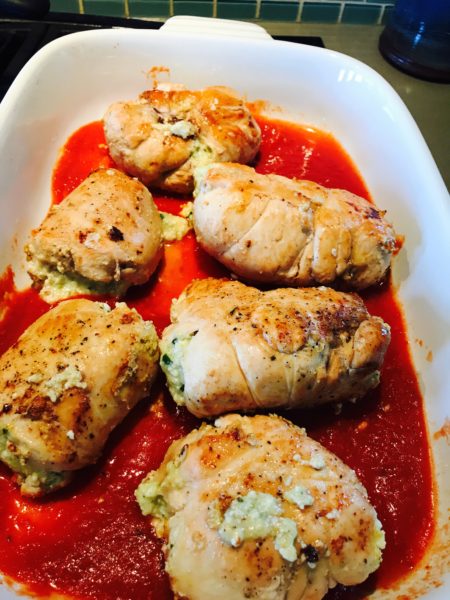
Nice and golden brown.

Let the rolls cool before taking off the string.

Place some marinara of the bottom of a baking sheet.  Don’t worry if some stuffing comes out.

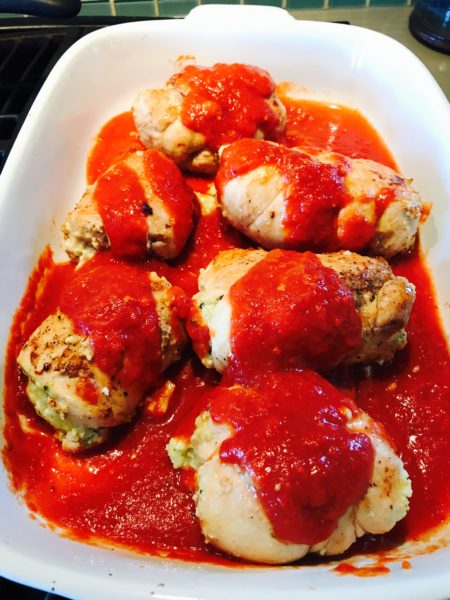
Pour some marinara over the rolls

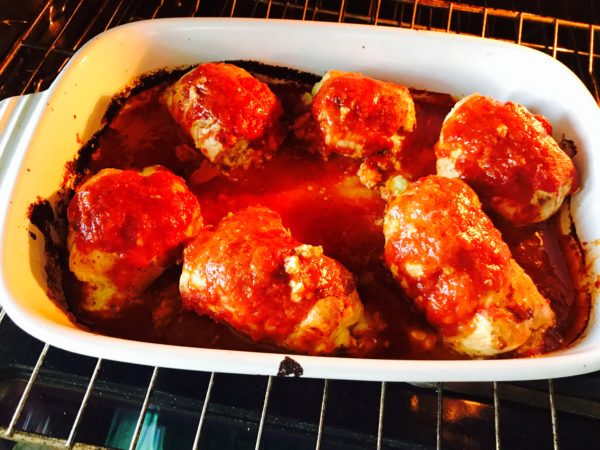
Baste the rolls half-way through cooking.

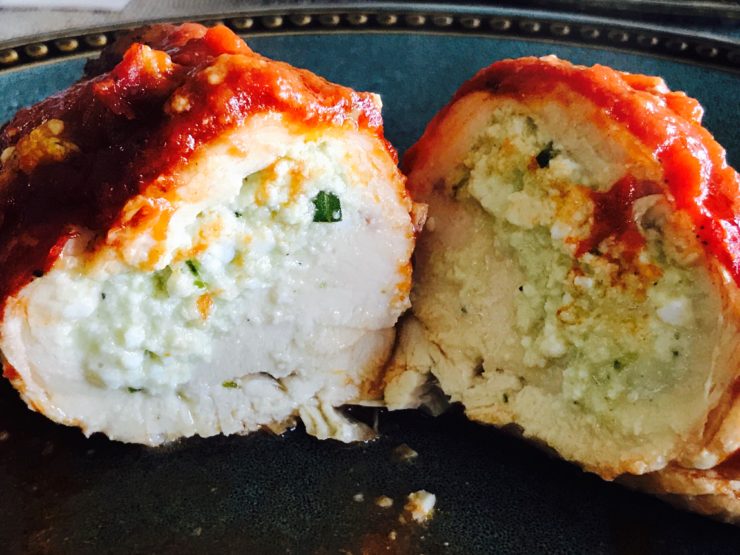
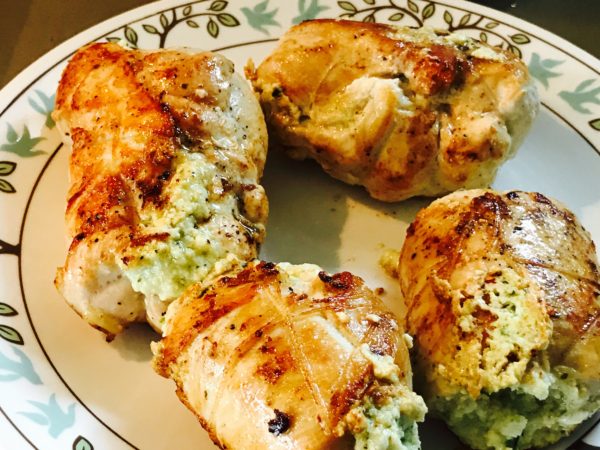
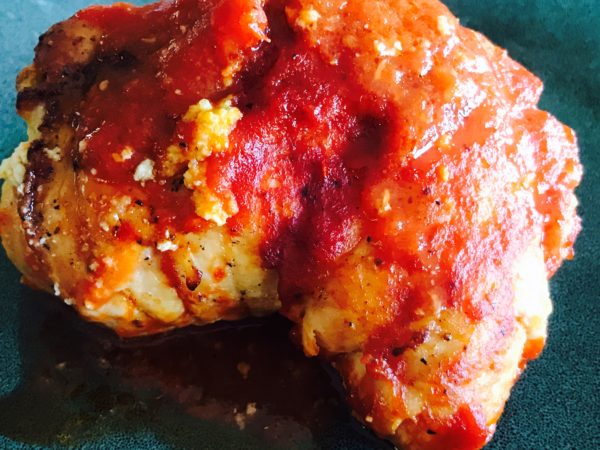
Up close!!

Ravioli Style Chicken Rolls

Ravioli stuffing inside a chicken breast

Prep Time 30 minutes
Cook Time 55 minutes
Servings 6
Author Renata Solski

Ingredients

  • 3 large boneless chicken breasts cut into two and pounded
  • 3 tbsp canola oil frying
  • 1 cup marinara sauce
  • 1 cup 250 grams ricotta
  • 1/2 tsp salt
  • freshly grounded black pepper
  • 1/4 cup grated Parmesan cheese
  • 1/2 tsp nutmeg
  • bundle fresh basil leaves basil chiffonade
  • 1 clove garlic minced
  • 1 egg

Instructions

  1. Slice the chicken breasts lengthwise and pound with a mallet until thin.

    Set aside.

    In a small bowl mix the ricotta, salt, pepper, parmesan, nutmeg, basil, garlic and eggs.

    Refrigerate filling for about 30 minutes.

    Divide the filling into six equal parts and place the filling in the centre of each piece of chicken.

    I used string, but you can also use toothpicks to secure the rolls.

    Roll up the rolls tucking in all the pieces of meat.

    Don't worry if some filling is exposed, a little may leak out.

    Heat the frying pan with the canola oil.

    Make sure it is really hot before you put in the chicken rolls.

    Don't overcrowd your pan. You want a nice colour on these rolls.

    Cook on each side for 4 minutes.

    Remove to a plate and if you used string, cut it away.

    If you used toothpicks, remove them.

    Lay the chicken rolls in a baking pan covered with 1/2 a cup of marinara sauce.

    Pour the remainder of the sauce over the rolls.

    Place in a 375F oven uncovered for 45 minutes.

    Check at the half way mark and baste with some of the tomato sauce.

    Remove and serve with pasta or rice.

    I made some Saffron Risotto with this.

Pickled Rhubarb On The Side

Pickled Rhubarb On The Side

I am always looking for quick and easy sides in the summer. Pickled Rhubarb On The Side is a little twist on this  vegetable. It is technically a vegetable, but many of us treated as a fruit.  Rhubarb is common in a lot of desserts and does well as a jam, but I like to pickle it.  I have also blanched it and tossed it with olive oil and balsamic.  The trick is removing all the little strings.

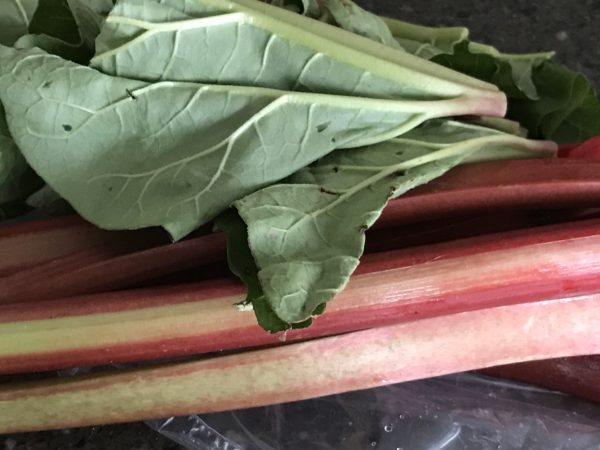
There is something about an outdoor market that makes me want to buy everything.  Today I brought home this rhubarb and you can see how the vibrant colour pops.  I cut the leaves off and can’t get enough of the smell coming from the whole plant.  The leaves are poisonous:  do not eat.  The stalks require stringing.  Wit a sharp knife I take most of the red off by making a small slit under the outer edge of the skin of each stalk. I grasp that edge of each slit and pull down on it.  I peel away the stringy fibres of the rhubarb stalks.  You don’t want to leave these on the stalks for cooking.

If you like rhubarb, don’t forget to check out https://recipesatmytable.com/rhubarb-upside-down-cake/

The leaves cut and into the trash they will go.

Fresh rhubarb

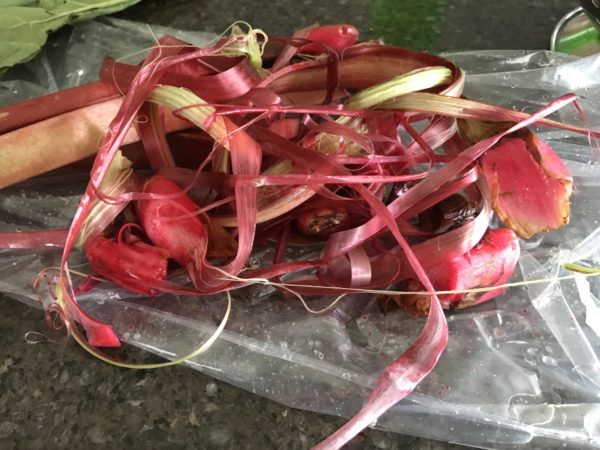
The strings are very pretty.

Rhubarb peels

I cut the stalk into small pieces.

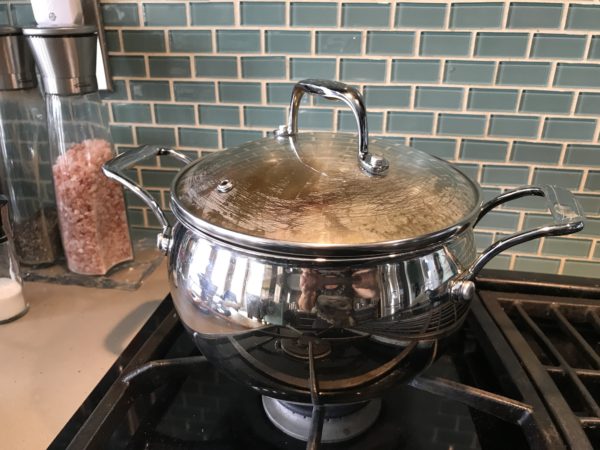
Once the brine goes into the pot it comes to a boil and then in goes the rhubarb. 

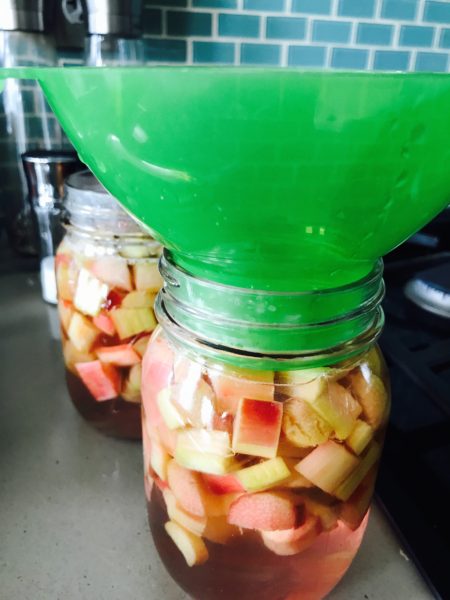
The rhubarb goes into the jars with the brine.

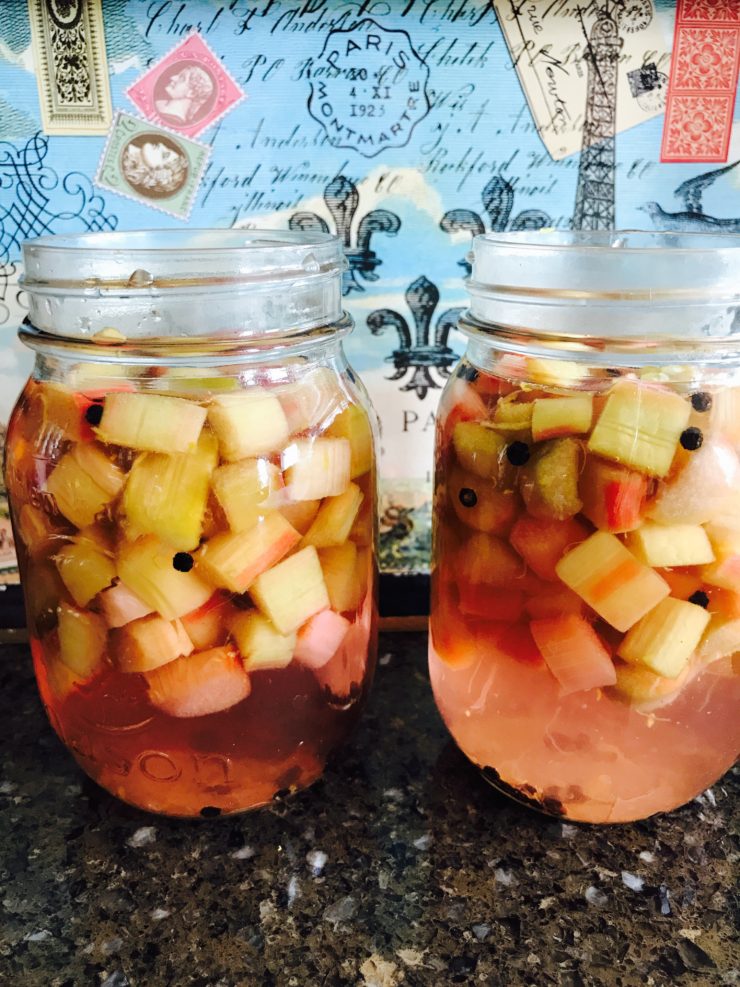
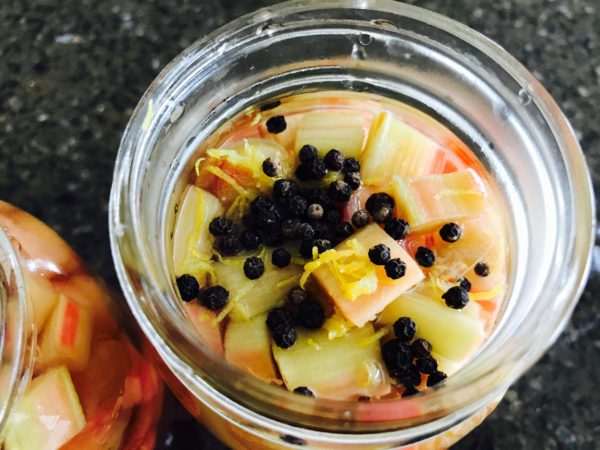
It looks pretty in the jars and now I zest some lemon into each jar.

1/4 teaspoon of peppercorns goes into each jar.

the beauty of peppercorns

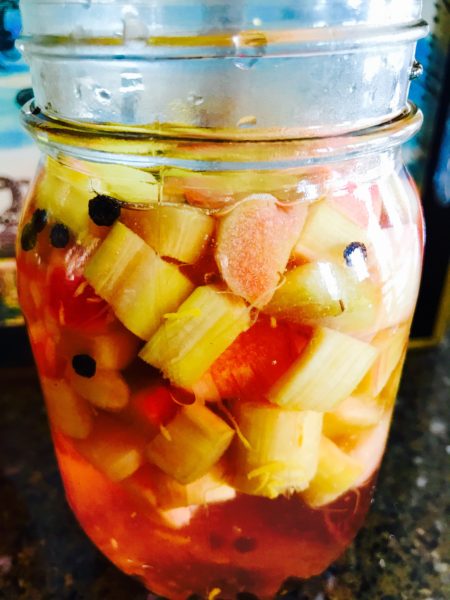
The brine takes on a pink hue.  So pretty!!!

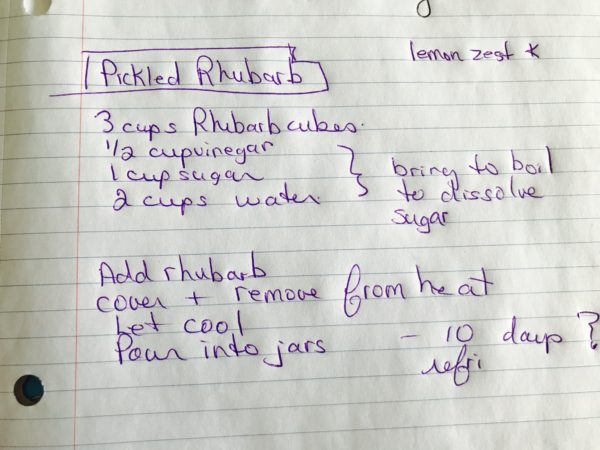
My little blue recipe book.  This is how I work the recipes.

My little blue book of recipes


Pickled Rhubarb On The Side

A nice side for bbq time

Prep Time 30 minutes
Cook Time 5 minutes
Servings 4
Author Renata Solski

Ingredients

  • 3 cups diced rhubarb stalks
  • 1/2 cup vinegar
  • 1 cup sugar
  • 2 cups water
  • 1/2 tsp black peppercorns
  • zest of half a lemon

Instructions

  1. Wash and clean the rhubarb.

    Cut into 1/2 inch slices.

    Place the vinegar, sugar and water to boil.

    Once boiling put in the rhubarb and simmer for a few minutes.

    Cover the pot and let the rhubarb cool. It will continue to cook.

    When cooled ladle into jars.

    Top with lemon zest and 1/4 tsp peppercorns per jar.

    Seal and place in refrigerator.

    Keeps for 10-14 days.