Lemon Poppy Seed Cake

Lemon Poppy Seed Cake

There are many versions of Lemon Poppy Seed Cake.  My recipe uses almond milk and Greek yogurt.  I use dark brown sugar instead of white.  Mom’s full cup of oil, I replace with margarine.  I make a light lemon syrup which goes a long way and then I serve it with fresh strawberries and a little lemon zest. It reminds me of home and mom.  On this Mother’s day and every day, she is at the centre of my world.  Lucky to have her around after a bout with cancer, this woman is an example of strength and determination. Tender smiles to guide my way, she is always the sunshine throughout my day: Happy Mother’s day Nilde!!

Growing up as immigrants, we have many funny stories.  The Language was definitely a barrier.  My mom grew poppies in the early 60s and we ate many desserts with poppy seeds.  In the late 60s the RCMP knocked on our door and told mom that the plants needed to go.  I laugh at how that scenario played and mom missed her fresh poppy seeds for baking.  To this day the poppy seed on your bagel aren’t grown in Canada.  Interesting read:  https://ipolitics.ca/2018/07/04/company-tries-to-crack-lucrative-poppy-seed-market-but-health-canada-standing-in-the-way/

There are also many health benefits to poppy seeds:  https://www.nutrition-and-you.com/poppy-seeds.html

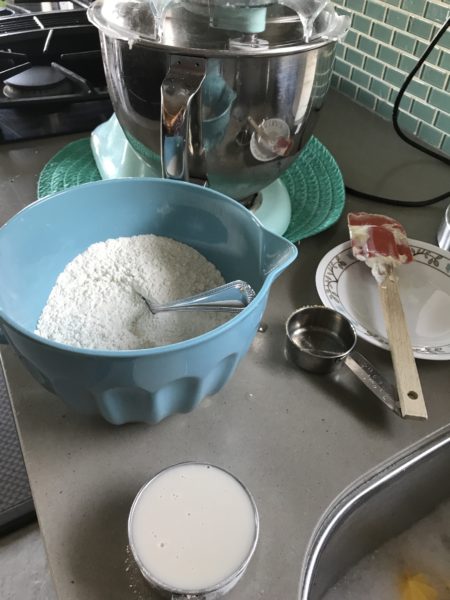
The most important thing for this cake is to begin and end with the flour when mixing. 
Always use fresh lemons for cooking and baking.
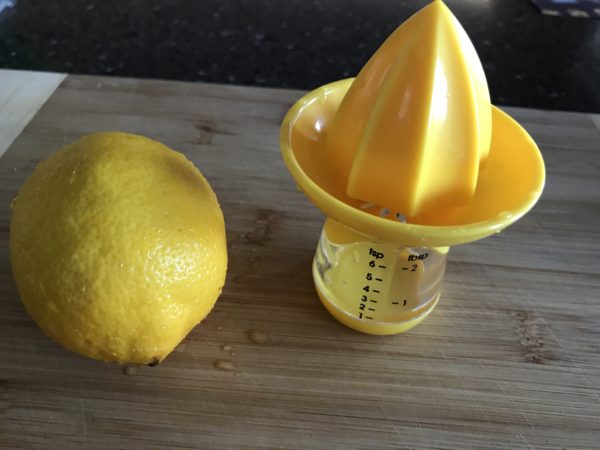
Freshly squeezed lemon juice

The batter For this Lemon Poppy Seed cake comes together quickly.
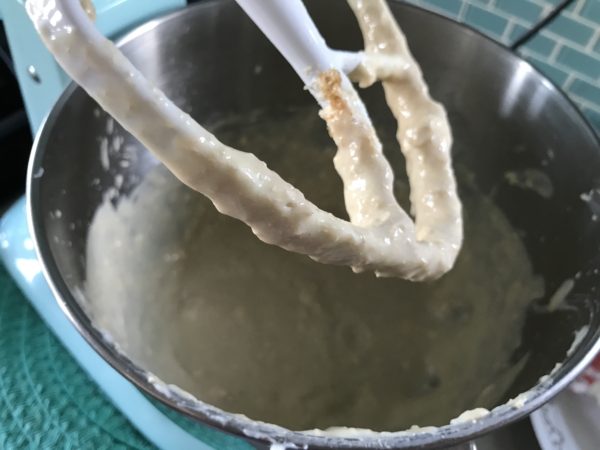
It is a thick batter but spreads easily.
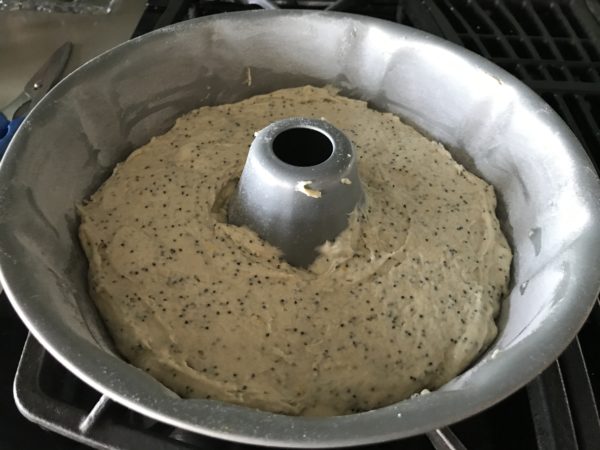
Cooled and glazed.
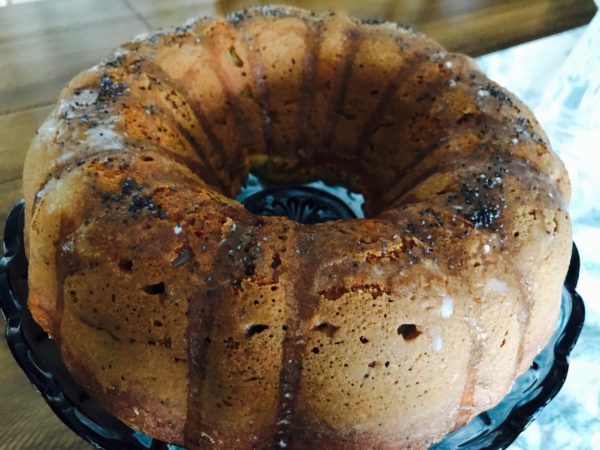
Bundt cake cooled

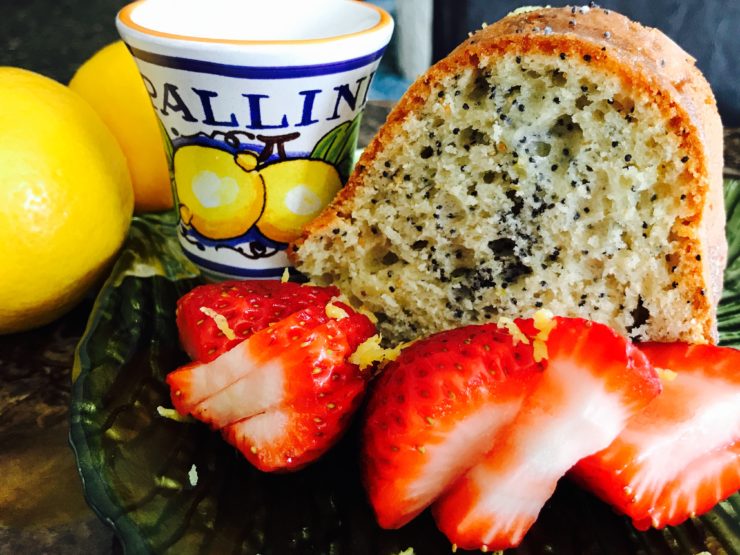
Serve simply with a shot of limoncello and fresh berries.
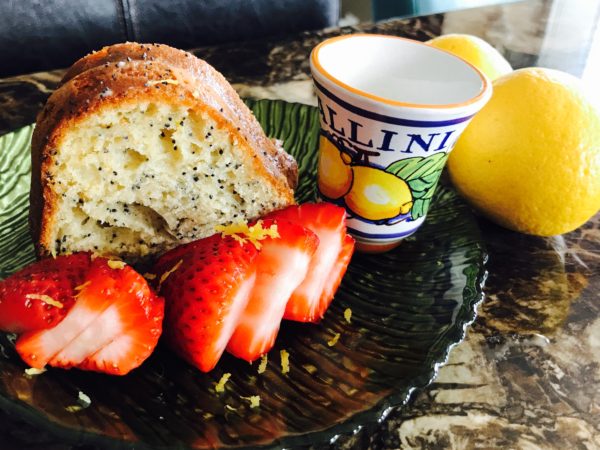
Plated lemon poppy seed cake

Lemon Poppy Seed Cake

A healthier version of mom's

Course Dessert
Cuisine Home Cooking in Canada, Italian
Prep Time 20 minutes
Cook Time 40 minutes
Total Time 1 hour
Servings 12
Author Renata Solski

Ingredients

The Cake

  • 1/2 cup of margarine or butter
  • 1/2 cup dark brown sugar
  • 1 cup Greek Yogurt
  • 2 large eggs
  • 1/2 large lemon juice and zest
  • 2 cups flour
  • 1 1/2 tsp baking powder
  • 1/2 tsp baking soda
  • 1/4 tsp salt
  • 1/2 cup Almond Milk
  • 2 tbsp poppy seeds

Lemon syrup glaze

  • 4 tbsp powdered sugar
  • 1 tbsp almond milk
  • 1 tbsp lemon juice
  • 1/2 tsp poppy seeds

Garnish

  • fresh berries
  • lemon zest

Instructions

The Cake

  1. Preheat oven to 350 F

    Grease and flour a Bundt pan.

    Beat the butter and the brown sugar.

    Add in the eggs, yogurt and lemon juice.

    Mix the flour, baking powder, baking soda and salt and set aside.

    Pour the almond milk into a measuring cup.

    Alternate the flour mixture and the milk into the butter mixture.

    Begin with the flour and end with the flour.

    Stir in the poppy seeds and the lemon zest.

    Bake for about 40 minutes.

    Remove cake from oven and let cool completely.

The Lemon Syrup

  1. Put the powdered sugar, almond milk and lemon juice in a bowl and whisk.

    Pour over the cake and it will drizzle down.

    You may sprinkle the cake with some poppy seeds now and add fresh berries for presentation.
Instant Pickled Cucumbers and Peppers: Recipes at My Table

Instant Pickled Cucumbers and Peppers

Instant Pickled Cucumbers and Peppers

When I think of pickling vegetables, the old method seems archaic.  It involved hours and hours of preparation, cooking and then preserving. Today with vegetables readily available any time of year, this quick method allows fresh pickled products. Instant Pickled Cucumbers and Peppers are great for appetizer trays or a nice topping for hamburgers.  They keep in the refrigerator for 2 weeks and you have the satisfaction of knowing that everything in them is fresh. Made by you, these are a keeper for your table or a gift.

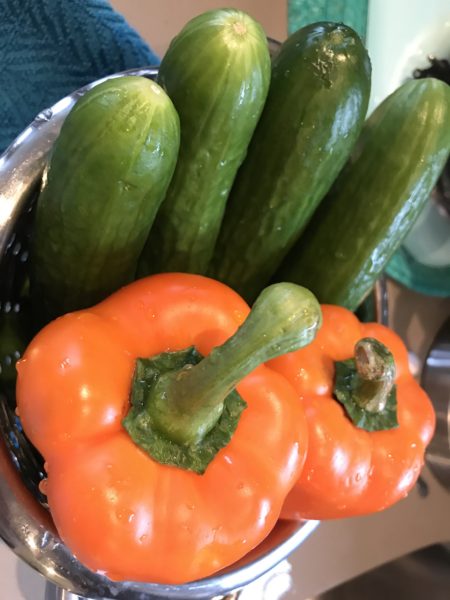
I am blessed with loving friends and my yoga sisters are no exception.  My friend Rolla is one of the kindest and most genuine woman I have met.  She is sincere and we share the immigrant experience together.  Anyway, last week she came to visit for tea and brought me the brightest greenest cucumbers and most vivid orange peppers ever seen. Some went to my daughter Lauren who loves fresh veggies and the others ended up pickled. LOL
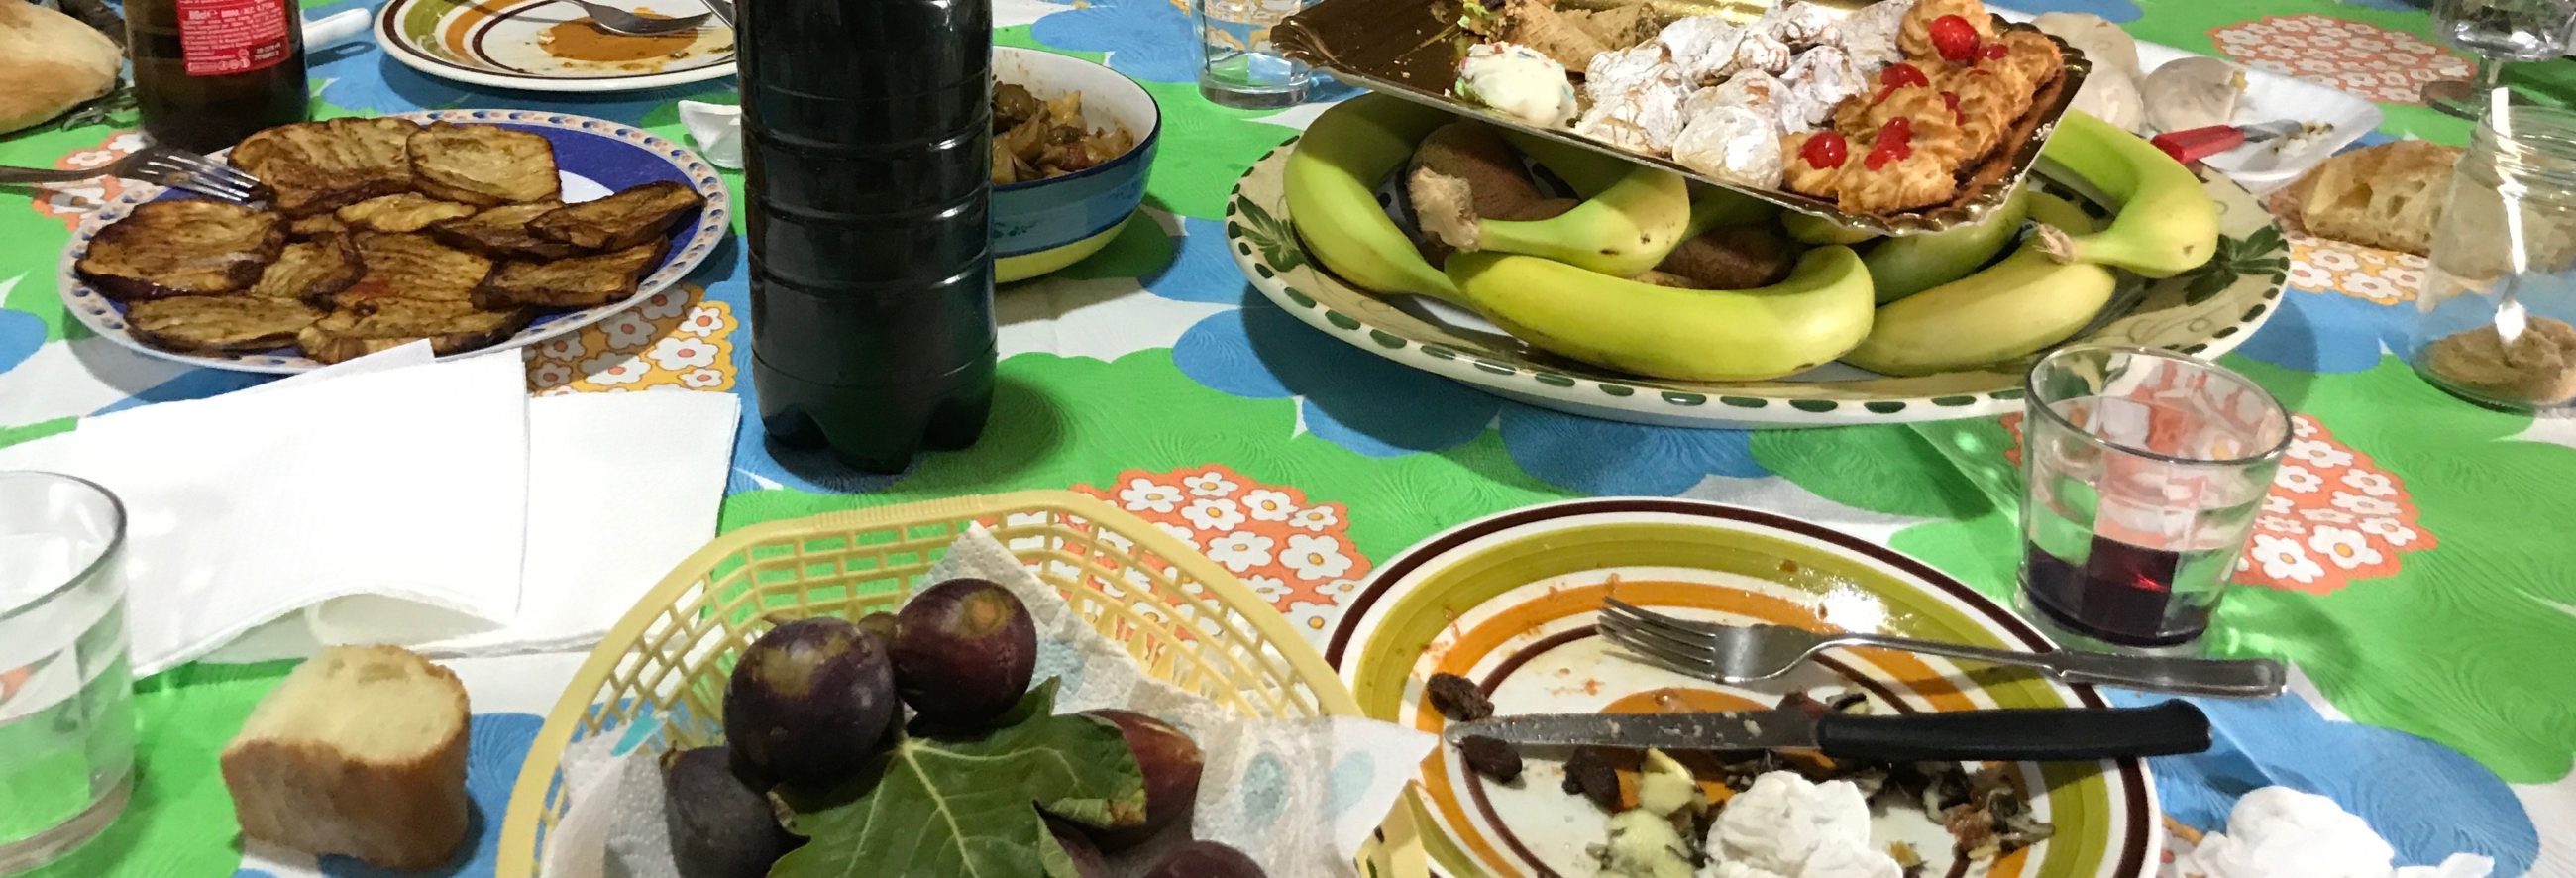
This is such an easy method that I do it often with many vegetables.  For another quick pickled recipe check out: https://recipesatmytable.com/dilly-green-beans-and-carrots/

Farm Fresh cucumbers and peppers make this pickling extra special!!

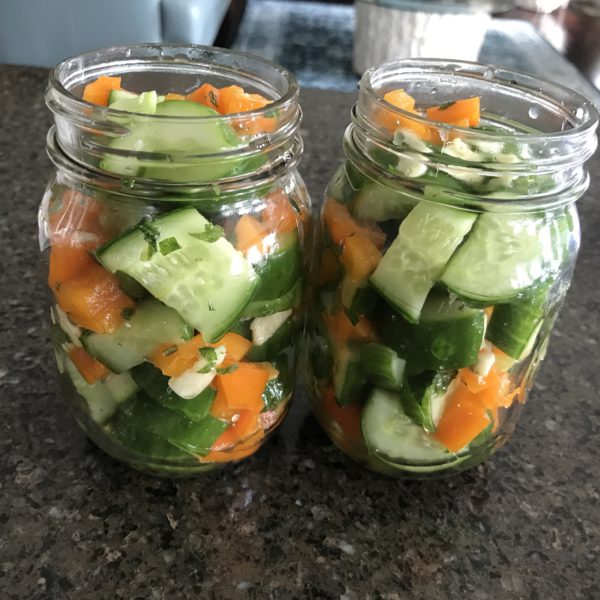
I dice everything into small chunks.

Instead of dill, I use fresh mint.

I add the salt, mint and garlic to my veggies and let them hang out while I make the brine.

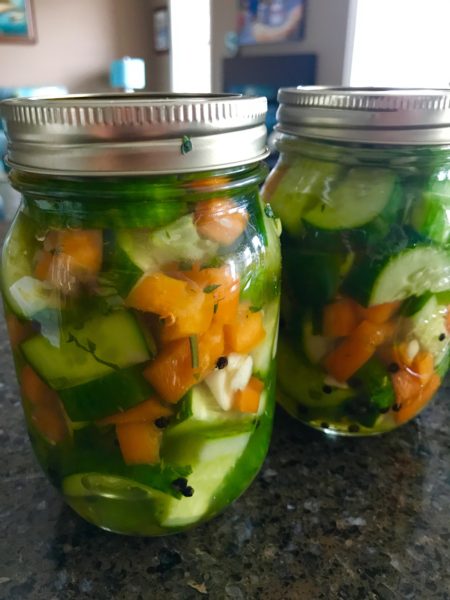
Enough for two 475 ml jars.

Instant Pickled Cucumbers and Peppers: Recipes at My Table

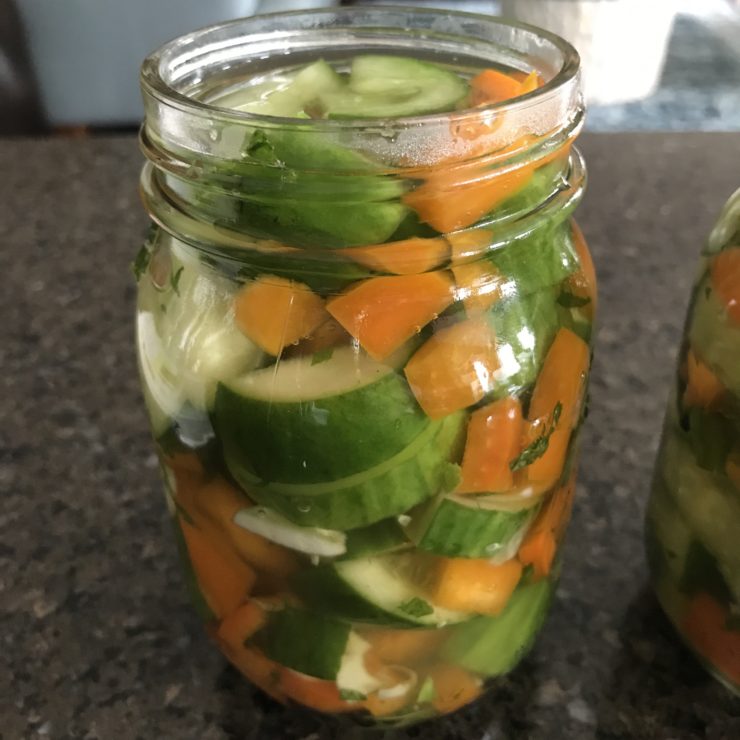
I pour in the brine. let them cool and then into the refrigerator.


Instant Pickled Cucumbers and Peppers: Recipes at My Table
5 from 2 votes
Print

Instant Pickled Cucumbers and Peppers

Easy as 1, 2 and 3.

Course Side Dish
Cuisine Home Cooking in Canada, Italian
Keyword Instant Pickled Cucumbers and Peppers
Prep Time 30 minutes
Author Renata Solski

Ingredients

The Brine

  • 2 cups water
  • 1/2 cup apple cider vinegar
  • 1/4 cup sugar

The Veggies and spices

  • 4 medium cucumbers
  • 1 large bell pepper orange or red
  • 2 1/2 tbsp salt
  • 1 large clove garlic sliced
  • 2 tbsp mint leaves rough chop
  • 1/2 tsp peppercorns 1/4 tsp bottom of each jar

Instructions

The Brine

  1. In a medium pot combine water, apple cider vinegar and sugar.  

    Bring to a boil.

    Take off burner and let cool a few minutes.

The Veggies and spices

  1. Wash cucumbers and peppers.

    Take the ends of the cucumbers and cut lengthwise and then into 1/2 inch chunks.

    Cut the pepper into strips and then into little cubes.

    Give the mint leaves a rough chop. 

    Toss the veggies with the salt, garlic and mint leaves. 

    Let this sit for about 10 minutes.

    Put 1/4 tsp peppercorns in the bottom of each jar.

    Pack each jar with the veggies.

    Pour the warm liquid into each jar.  There will be extra liquid: see recipe notes. 

    Let the jars cool.

    Put lids on and place in refrigerator.  

Recipe Notes

The brine makes enough for a second batch.  You can double this recipe or cut the brine ingredients in half.  🙂

Linguini With Pancetta and Zucchini: Recipes at My Table

Linguini With Pancetta and Zucchini

Linguini With Pancetta and Zucchini

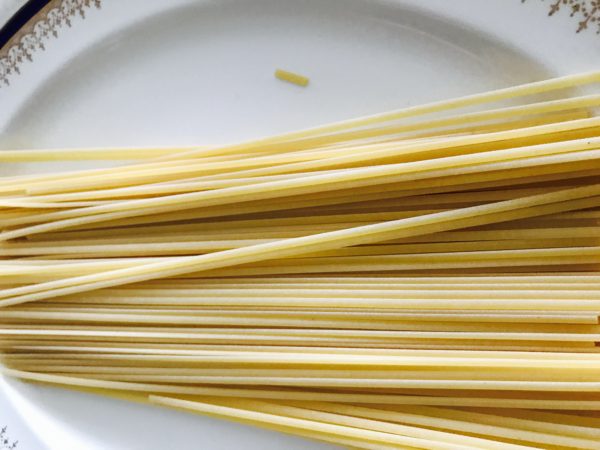
I am always looking for pasta any time of the week and this dish serves up easily.  Linguini with Pancetta and Zucchini cooks in 20 minutes.  Set a pot of water to boil and start making the sauce.  If you never cooked with Linguine, it is thicker than spaghetti, but not as wide as fettucini.  They are best for light sauces; perfect for vegetables.  I often like to make my own pasta, but there are so many good dried pasta brands on the market. There is nothing wrong with dried pasta.

It is nice to have a variety of vegetables incorporated into our meals, and this one is a fun one with the  matchstick-sized zucchini.  I cut them thicker to keep some shape and crunch.  I don’t like overcooked vegetables.  The sauce is velvety and simple.  I use a little wine, but you can omit this.  Don’t forget to use some of the pasta water for your sauce; it is the best for adding creaminess.  Long before all the famous chefs started doing this, I watched my nonna and mom use the pasta water to work its magic.  One simple dish we always made consisted of ricotta, pasta water and parmesan cheese.  Try it sometime!!

I love pancetta; it is our version of bacon.  As Italians, pancetta makes us happy and makes us smile.  Pancetta is pork belly which is salted and cured. Sometimes we add spices to the pancetta.  I go to the butcher and ask him to give me half inch slices for pasta.  That’s enough for two!! Lol

A good pasta guide for sauces go to:  https://www.chowhound.com/food-news/54492/when-pasta-met-sauce/

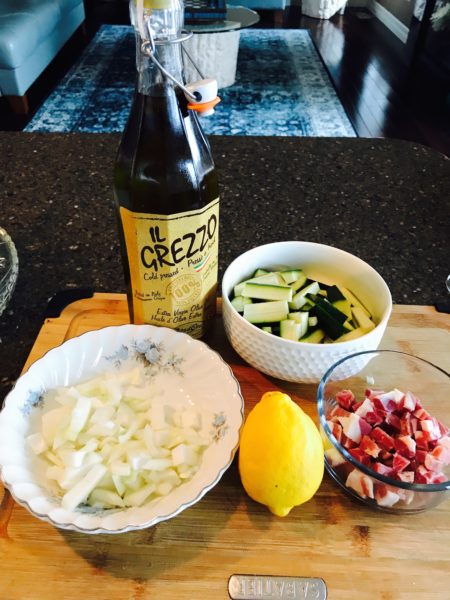
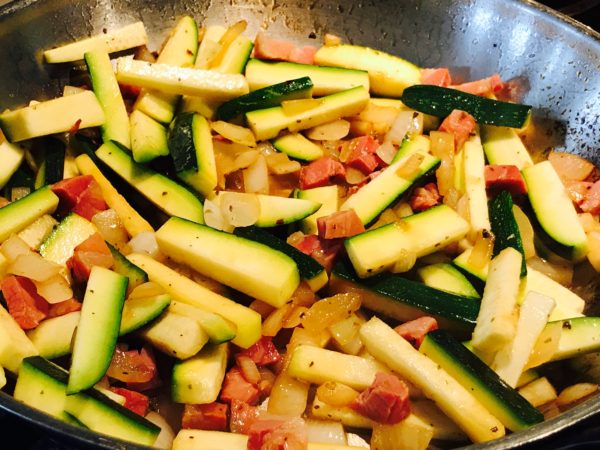
My zucchini cut into Thick matchstick slices.

This pancetta is vibrant and tasty.

All I need to add is olive oil and I use lemon zest at the end.

Linguini With Pancetta and Zucchini: Recipes at My Table

Two pot supper: side by side.

The Pancetta and onions in the pan.

The zucchini goes into the pan.  Then i add a splash of Lemon Juice.

Linguini With Pancetta and Zucchini: Recipes at My Table

My Linguini ready for the pot.

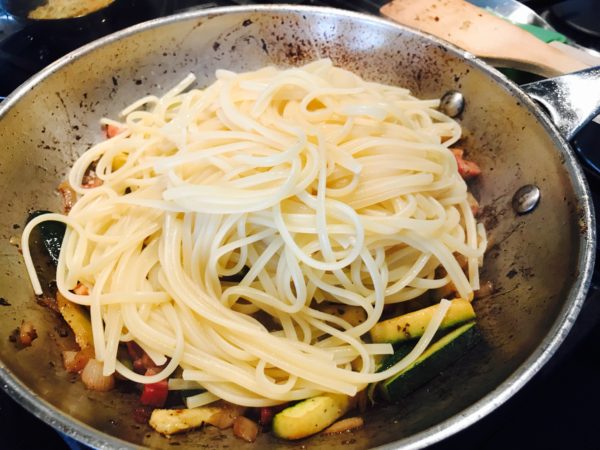
The pasta joins the party in the pan.

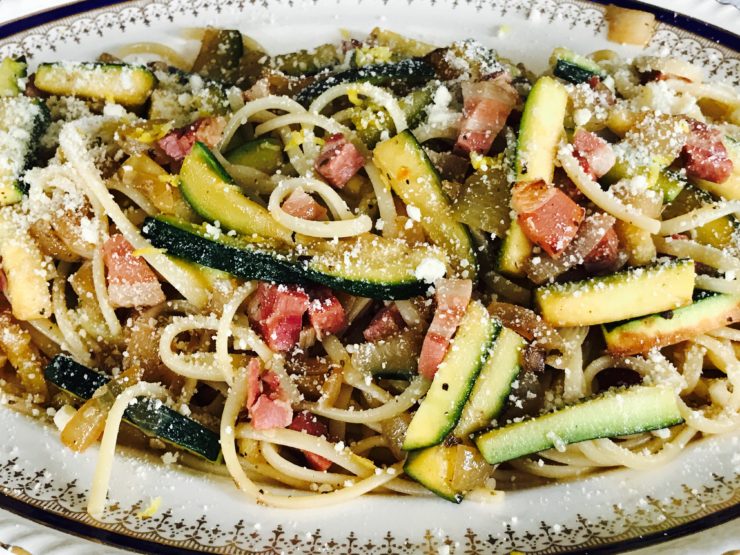
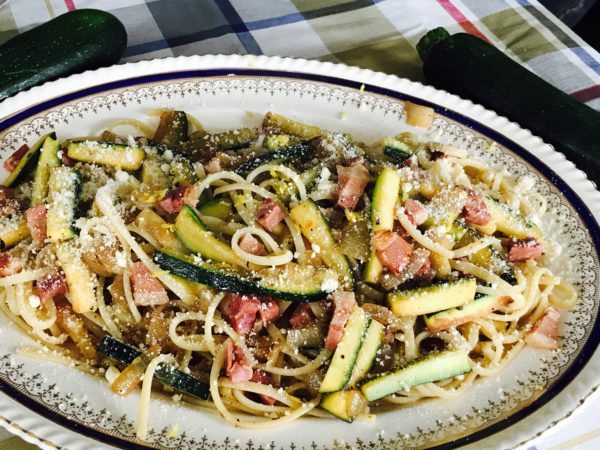
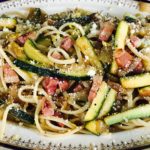
A platter of flavours ready for my table.

Linguini With Pancetta and Zucchini: Recipes at My Table


Linguini With Zucchini and Pancetta

An easy any night supper!!

Course Main Course
Cuisine Home Cooking in Canada, Italian
Prep Time 10 minutes
Cook Time 12 minutes
Total Time 22 minutes
Servings 2
Author Renata Solski

Ingredients

  • 225 gr linguini half package
  • 1 large zucchini cut into thin matchstick slices
  • 1 large onion
  • 1/2 inch pancetta slice
  • 1/2 cup white wine optional
  • 1 tbsp freshly squeezed lemon juice
  • 2 tablespoons olive oil
  • 1 tbsp Italian seasoning
  • 1 medium lemon zest of half
  • 1/4 cup grated parmesan cheese

Instructions

  1. Set a large pot of water to boil.

    In a large sautee pan put in 1 tbsp olive oil and the pancetta.

    Once the bacon browns some add 1/2 a cup white wine and let it evaporate or you can add 1/2 cup water here.  

    Render the bacon and then add the onion.
    Add the Italian seasoning. 

    Let the onion become tender and add the zucchini.

    Once browned, hit with one tbsp of freshly squeezed lemon juice.  

    Put the pasta in the pot and follow the package directions. Always cook al dente and add the salt after the pasta. 

    When the pasta is ready, toss it into the pan with the pancetta, zucchini and onion.
    Use about a cup of the pasta water to interfuse all the ingredients.

    Put on a large platter and drizzle with the remainder 1 tbsp olive oil.

    Sprinkle with parmesan cheese and the zest of half a lemon.

    Serve with a smile.  
Recipe Notes

You can double this recipe and serve 4 hearty portions. 

Sour Cherry Apple Cheese Tart: Recipes At My Table

Sour Cherry Apple Cheese Tart

Sour Cherry Apple Cheese Tart

Sour cherries are tart and they add a unique flavour to baking and cooking.  The Polish side of the family likes to cook with them.  John’s auntie Jessie made the best sour cherry pierogies.  Today they are part of my tart.  After the crust, I put a thin layer of sour cherry jam in to add another level of flavour.  I buy a sour cherry jam made in Croatia.  When we vacationed in Croatia, we ate fresh fruit jam every day.

Sour Cherry Apple Cheese Tart starts with a cookie base and after the jam, I put a cheesecake mixture and then top it with thinly sliced apples.  I like the taste of the sweet apples with the sour cherries.  It makes a nice dessert to a fish meal or a heavy meal.  You only need a little slice of this to satisfy your sweet tooth.  It could be served with sour cream, yogurt or ice cream.

There are many health benefits to sour cherries:  https://www.healthline.com/nutrition/10-tart-cherry-juice-benefits

I use a bag of store-bought cookies.

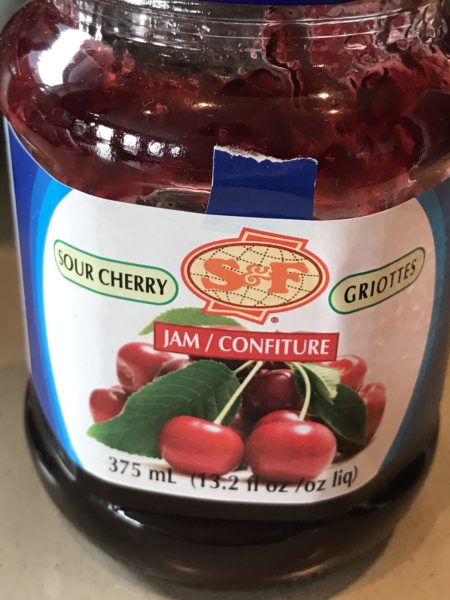
This sour cherry jam comes from Croatia.

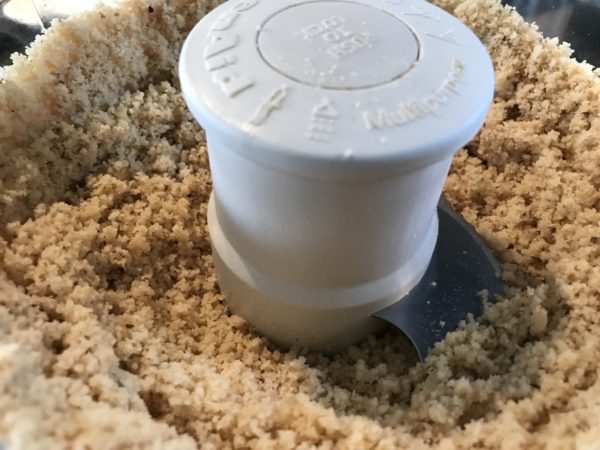
I pulse the cookies.

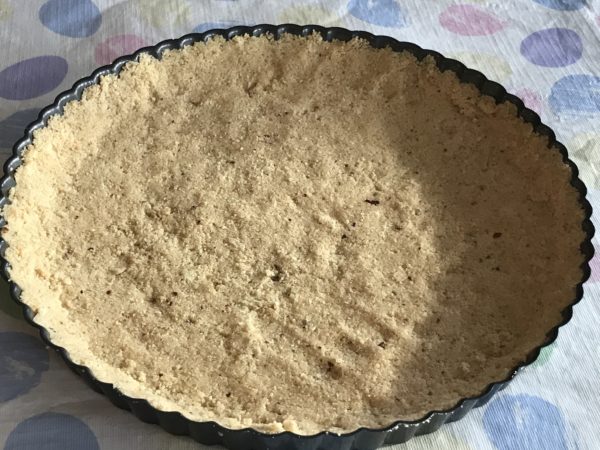
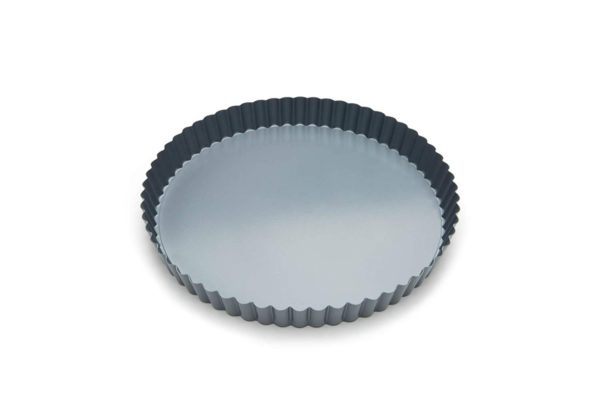
It is easy to put into a tart mould with a fluted edge.

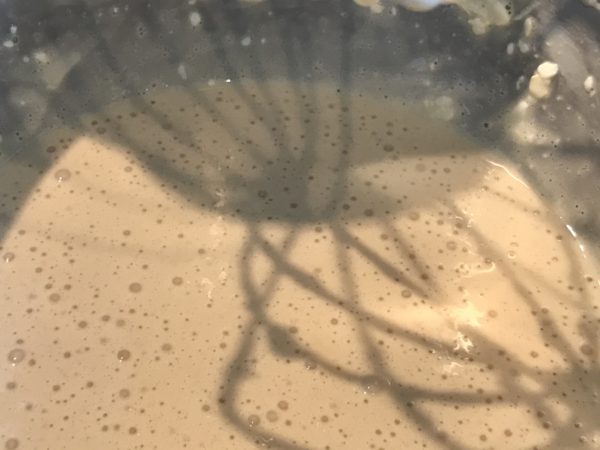
The cream cheese mixture is velvety and smooth.

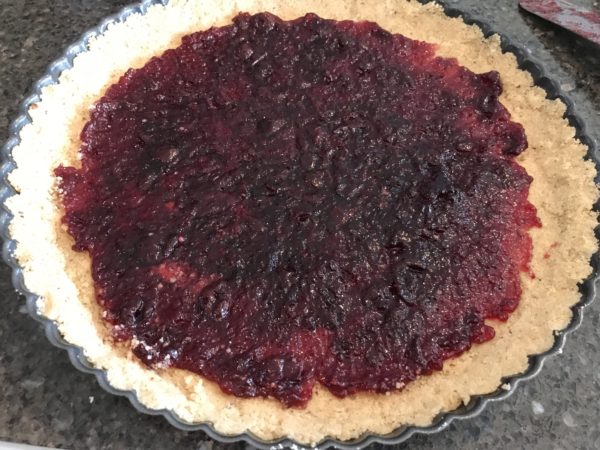
I warm the jam and work from the middle to the outer edges.

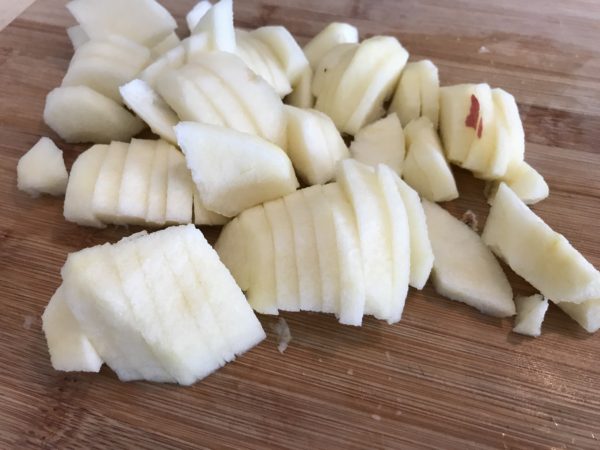
I like to cut the apples into small, thin wedges.

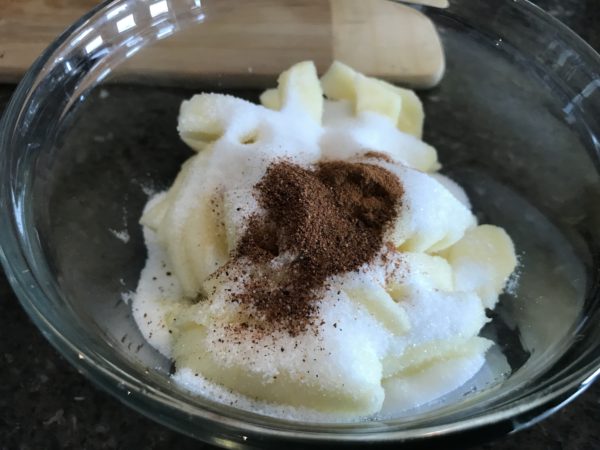
Sugar and spices make everything nice.

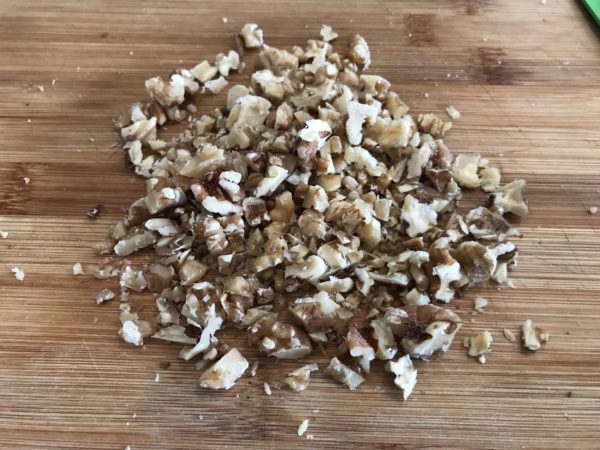
I chop the walnuts for the finishing touches.

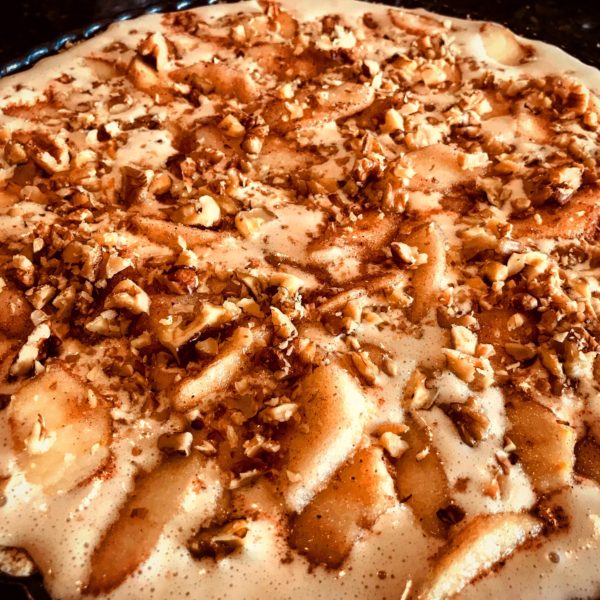
It is frothy, golden and smells incredible even before it goes into the oven.

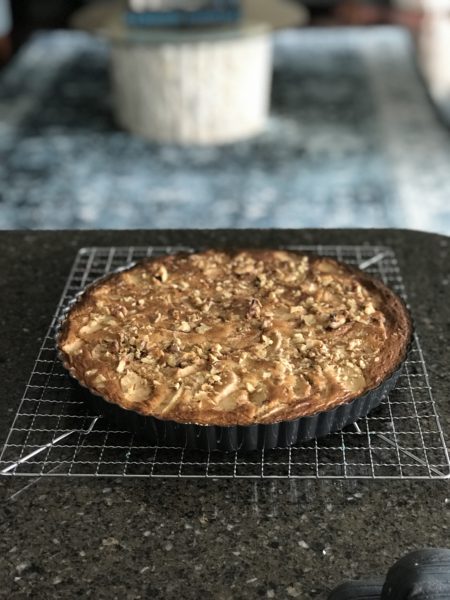
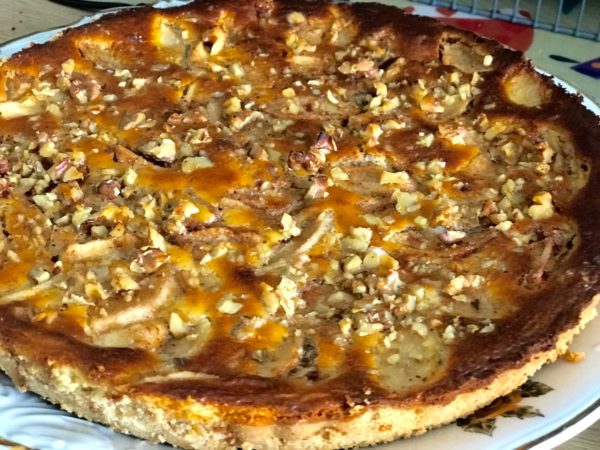
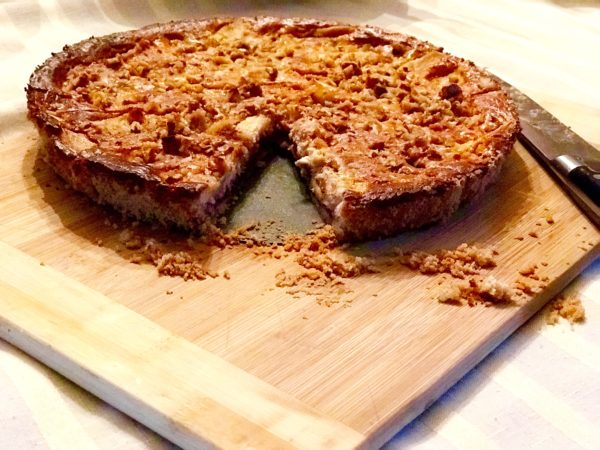
It comes out all golden and caramelized.

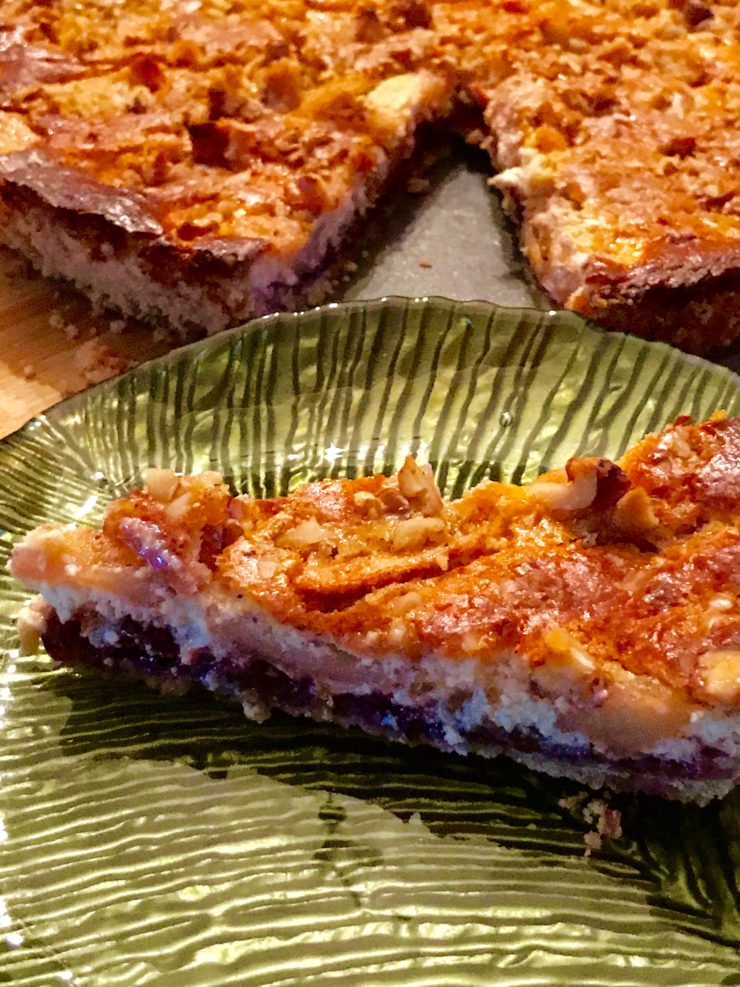
Up close and it holds its shape.

Sour Cherry Apple Cheese Tart: Recipes At My Table

The missing piece mystery!!


Sour Cherry Apple Cheese Tart

One slice of this will satisfy your sweet tooth. 

Course Dessert
Cuisine Home Cooking in Canada, Italian
Keyword Sour Cherry Apple Cheese Tart
Prep Time 30 minutes
Cook Time 55 minutes
Total Time 1 hour 25 minutes
Servings 12
Author Renata Solski

Ingredients

  • 1 package pecan shortbread cookies
  • 2 tbsp canola oil
  • 1 pkg cream cheese
  • 2 tbsp greek yogurt
  • 1/3 cup brown sugar
  • 2 eggs
  • 1/2 tsp almond extract
  • 1 1/2 cup sour cherry jam any jam you like
  • 2 apples
  • 1/3 cup sugar
  • 1/4 tsp cinnamon
  • 1/4 tsp nutmeg
  • 1/2 cup chopped nuts

Instructions

  1. In a food processor pulse the cookies and canola oil.

    Press into tart pan and place in freezer for 30 minutes.

    Remove and spread the jam over the crust.

    Place in freezer for another 15 minutes.

    Meanwhile place the cream cheese and yogurt into a mixer.  Mix until smooth.

    Add the brown sugar, eggs and almond extract.  

    Continue mixing until frothy. 

    Peel and cut the apples into small wedges.

    Mix the apples with the sugar, cinnamon and nutmeg.

    Chop the nuts.

    Remove pie from freezer and pour the cream cheese mixture over the shell and jam.

    Fan the apples over the mixture.

    Sprinkle any of the remaining sugar over the tart along with the chopped nuts.

    Place in a $25 F oven for 10 minutes and then lower the temperature to 375 F for 35-40 minutes.

    Let it cool before removing outer tart shell.

    Slice and serve with ice cream, yogurt or just plain.