Potato Sausage Siders Recipes at My Table

Potato Sausage Sliders

Potato Sausage Sliders

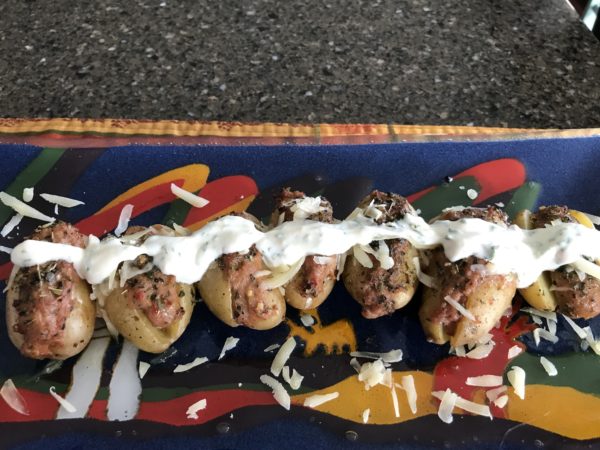
The recipes I bring to my table are about family traditions and these Potato Sausage Sliders combine several flavours from our kitchen.  Growing up an immigrant with my Calabrese nonna, I learned to cook with simple, but flavourful ingredients.  Potatoes are widely used in Italian cooking and their recipes stem from a “cucina povera”.  Nonna fried potatoes with sausages as a main dish; this recipe takes that ides and turns it into a slider. I developed this recipe for the Little Potato Company Contest, but didn’t win; however, I think that you will be pleased with this recipe.  

I am always looking for new ways to update our recipes.  Cooking and the way we perceive meals changes and new recipes bring a little excitement when called to the table for a meal.  I am always searching for new methods for food preparation and presentation.  My grandson inspires me to change things up a bit.  With him I am looking for finger foods and recipes that cook quickly.  He also loves sauces and I incorporate yogurt into as many sauces as I can for him.  This recipe has a yogurt/garlic sauce.   He loves to cook and we continue the tradition my nonna started.

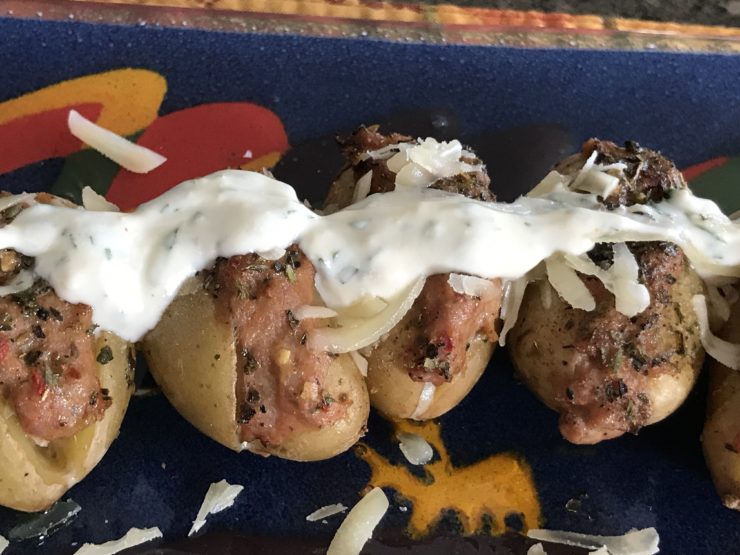
My Potato Sausage sliders use The Little Potato fingerlings; their oblong shape surrounds the spicy Italian sausage.  At first bite your mouth explodes with the crunch of the potato and the peppery texture of the sausage.  Then you are hit with the sharpness of the asiago and the garlic yogurt sauce.

This recipe works well as a starter; however,served with a hearty salad, this  quickly turns into a main dish. 

The Potatoes are easy to find at most supermarkets.
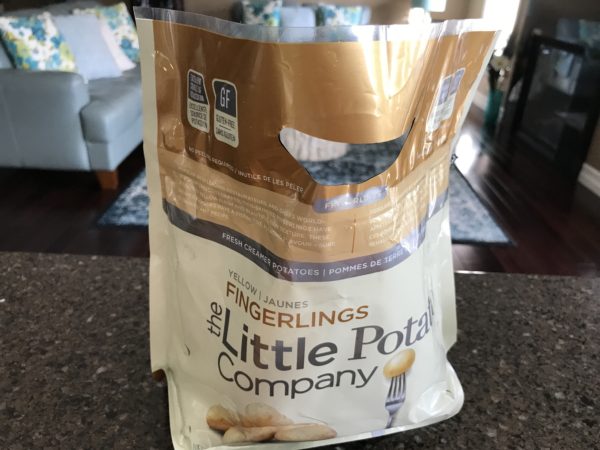
Wash and clean them.
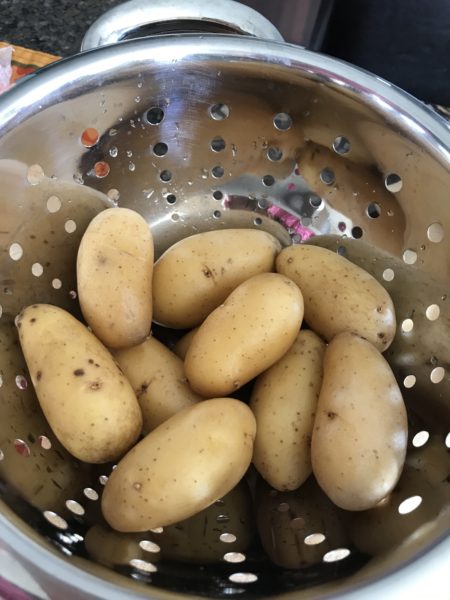
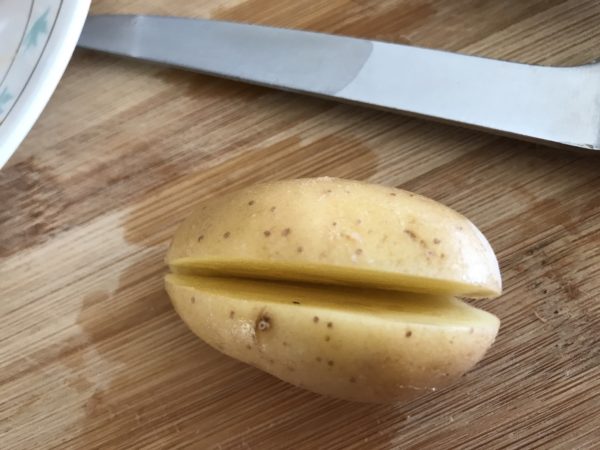
Cut them lengthwise, but not all the way through.
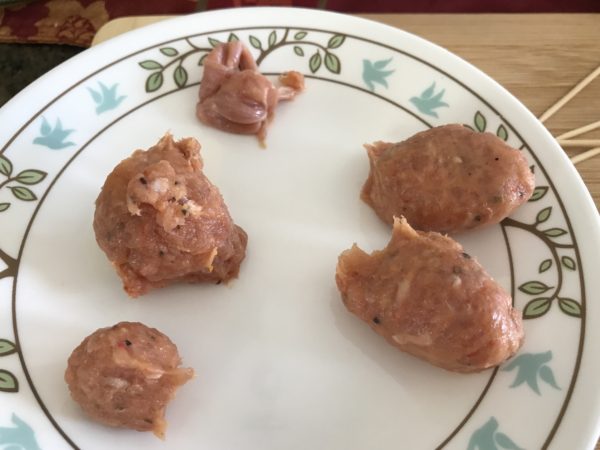
Take the sausage out of the casing and divide into pieces that will fit the potatoes.
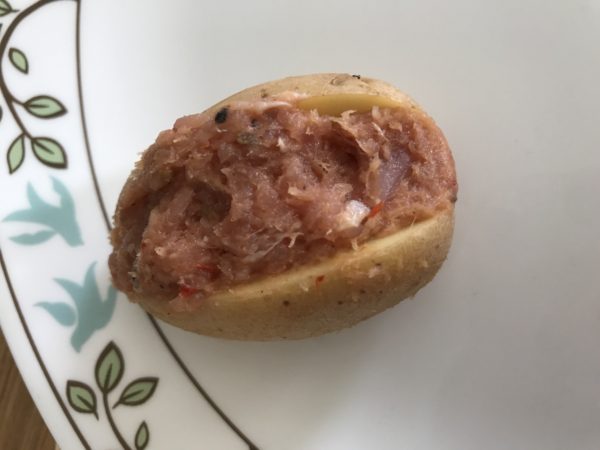
Stuff into the slit potato without breaking.
Place in a pan with canola oil.
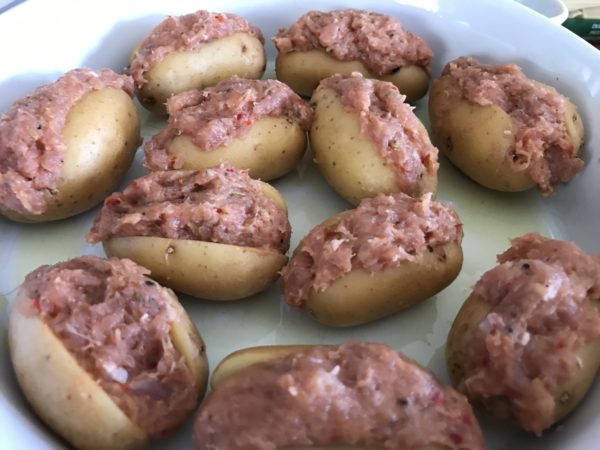
Sprinkle with Italian seasoning and place into a 400 F oven for 30 minutes.
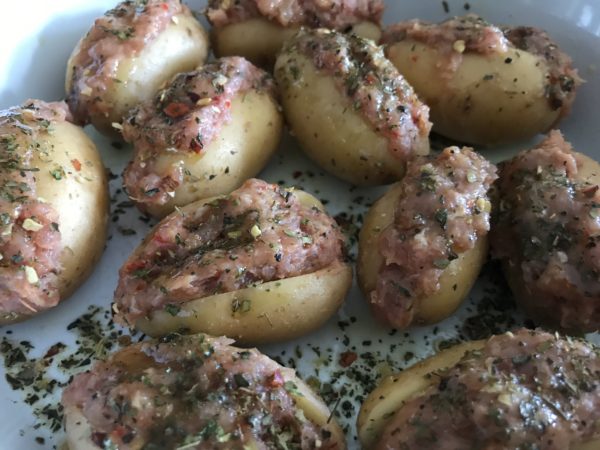
They come out of the oven crispy and delicious.
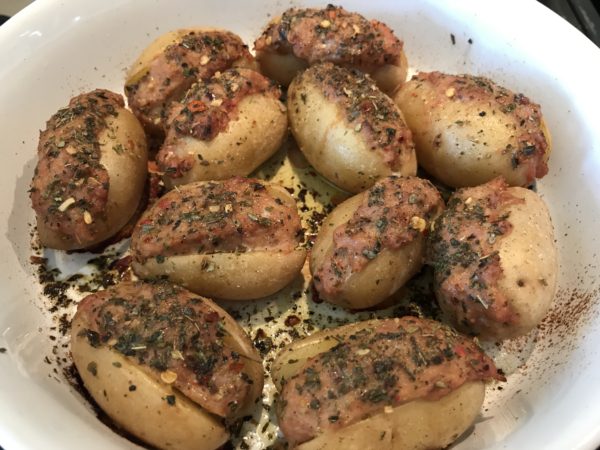
Potato Sausage Siders Recipes at my Table

Serve with yogurt Garlic Sauce.


Potato Sausage Siders

Potato Sausage Siders make an easy appetizer as well as a main. 

Course Appetizer, Main Course
Cuisine Home Cooking in Canada, Italian
Keyword Potato Sausage Siders
Prep Time 20 minutes
Cook Time 30 minutes
Total Time 50 minutes
Author Renata Solski

Ingredients

The sliders

  • 3 Italian sausage links I used hot
  • 3 tbsp olive oil
  • 2 tbsp Italian seasoning
  • 1/2 tsp red pepper flakes
  • 1/2 tsp oregano
  • 1 package The Little Potato Fingerlings

The Garlic Yogurt Sauce

  • 1/2 cup yogurt
  • 1/4 cup garlic sauce any creamy brand you choose
  • 1 tbsp chopped Italian parsley

Instructions

The sliders

  1. Wash and clean the potatoes.

    Dry them.

    Cut each potato lengthwise but not through.

    Remove the sausage from the casings into pieces that will fit your potatoes.

    Stuff the sausage into the potatoes.

    Place into a baking dish.

    Combine the Italian seasoning, red pepper flakes and oregano.

    Sprinkle over the sliders.

    Drizzle the 3 tbsp of olive oil over the potatoes.

    Cook in a 400 F oven for 30 minutes.

The Garlic Yogurt Sauce

  1. Mix all ingredients and refrigerate until ready to serve.

The Assembly

  1. You can serve the sauce on the side or over the sliders.  
Old-time Pasta Dough

Old-time Pasta Dough

When my nonna didn’t have eggs, she made this Old-time Pasta Dough.  It is simply flour, water and salt.  I let it rest and then put it through the pasta machine.  Nonna rolled it by hand and she was a master at it.  Today we take the easy way out and my Kitchen-Aid is my best friend. If you want an egg pasta recipe:  https://recipesatmytable.com/homemade-pappardelle-with-pork-tenderloin-ragu/

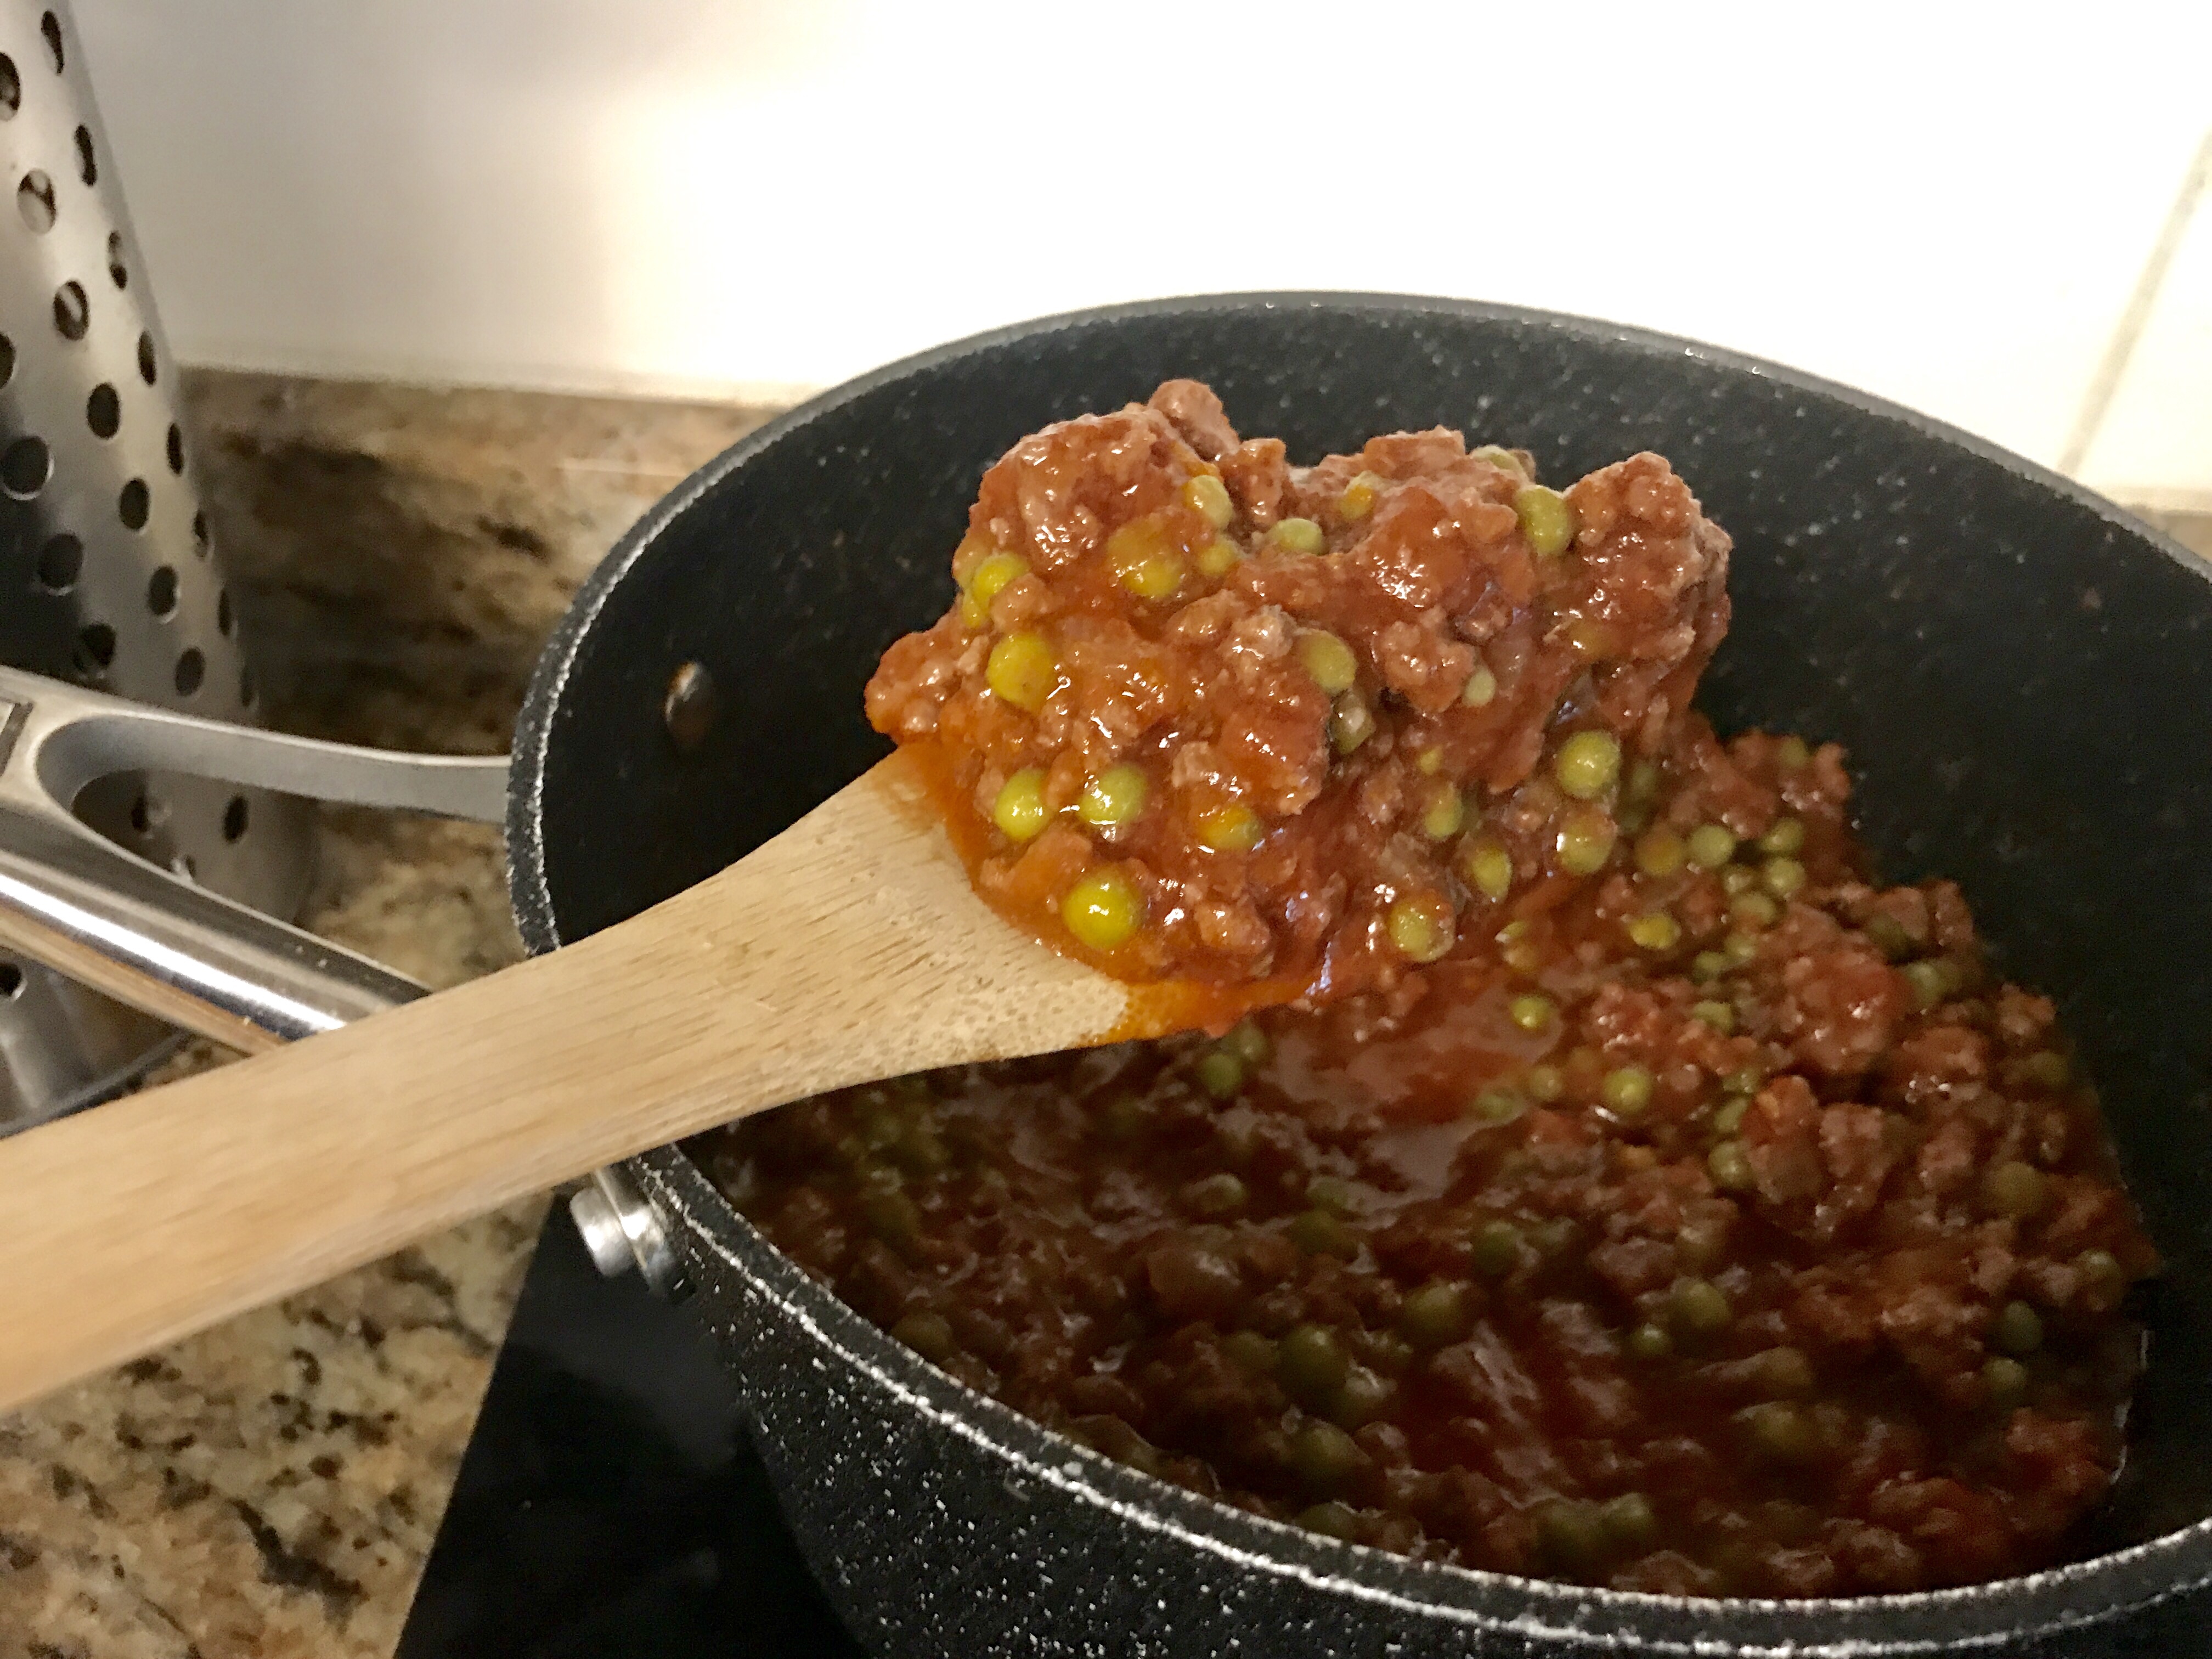
Today’s sauce is my left-over Arancini sauce; it is the traditional Sicilian meat and pea sauce.  This is one of my favourite sauces to make and I also do a great baked pasta with this. Working from memory and old recipes is not easy, and like other recipes I worked on the measurements until they were perfect.  This is a beautiful silky and pliable dough.  It is easy to handle.  The sauce comes together with no fuss and it smells heavenly.

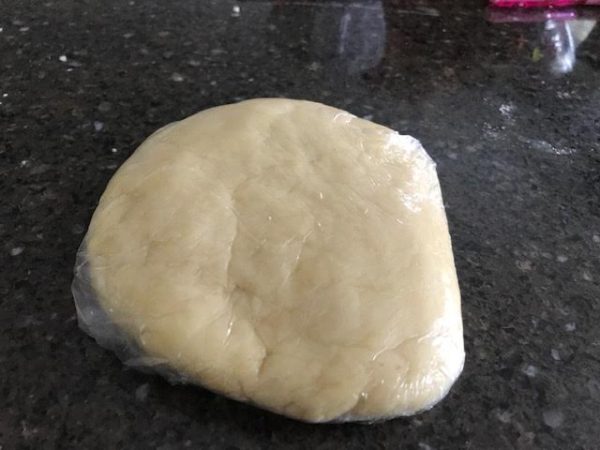
The dough wrapped and ready to sit.


The Pasta comes through the machine and it is silky and smooth.

I use my new pasta attachment and this makes the work much easier.

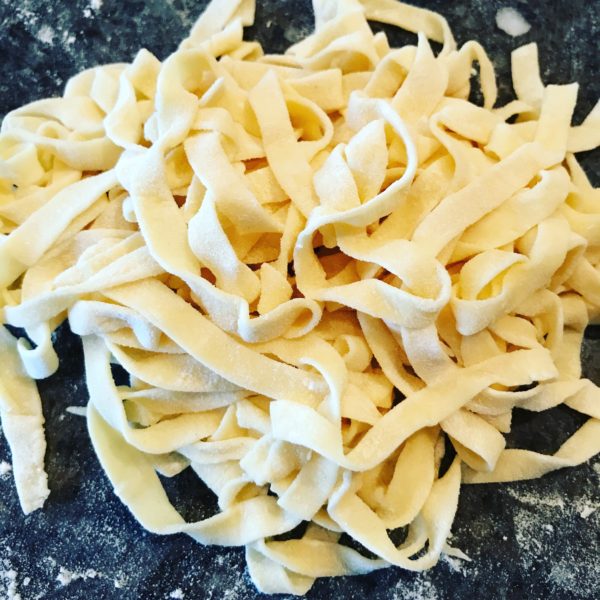
Use lots of flour to keep pasta from sticking.

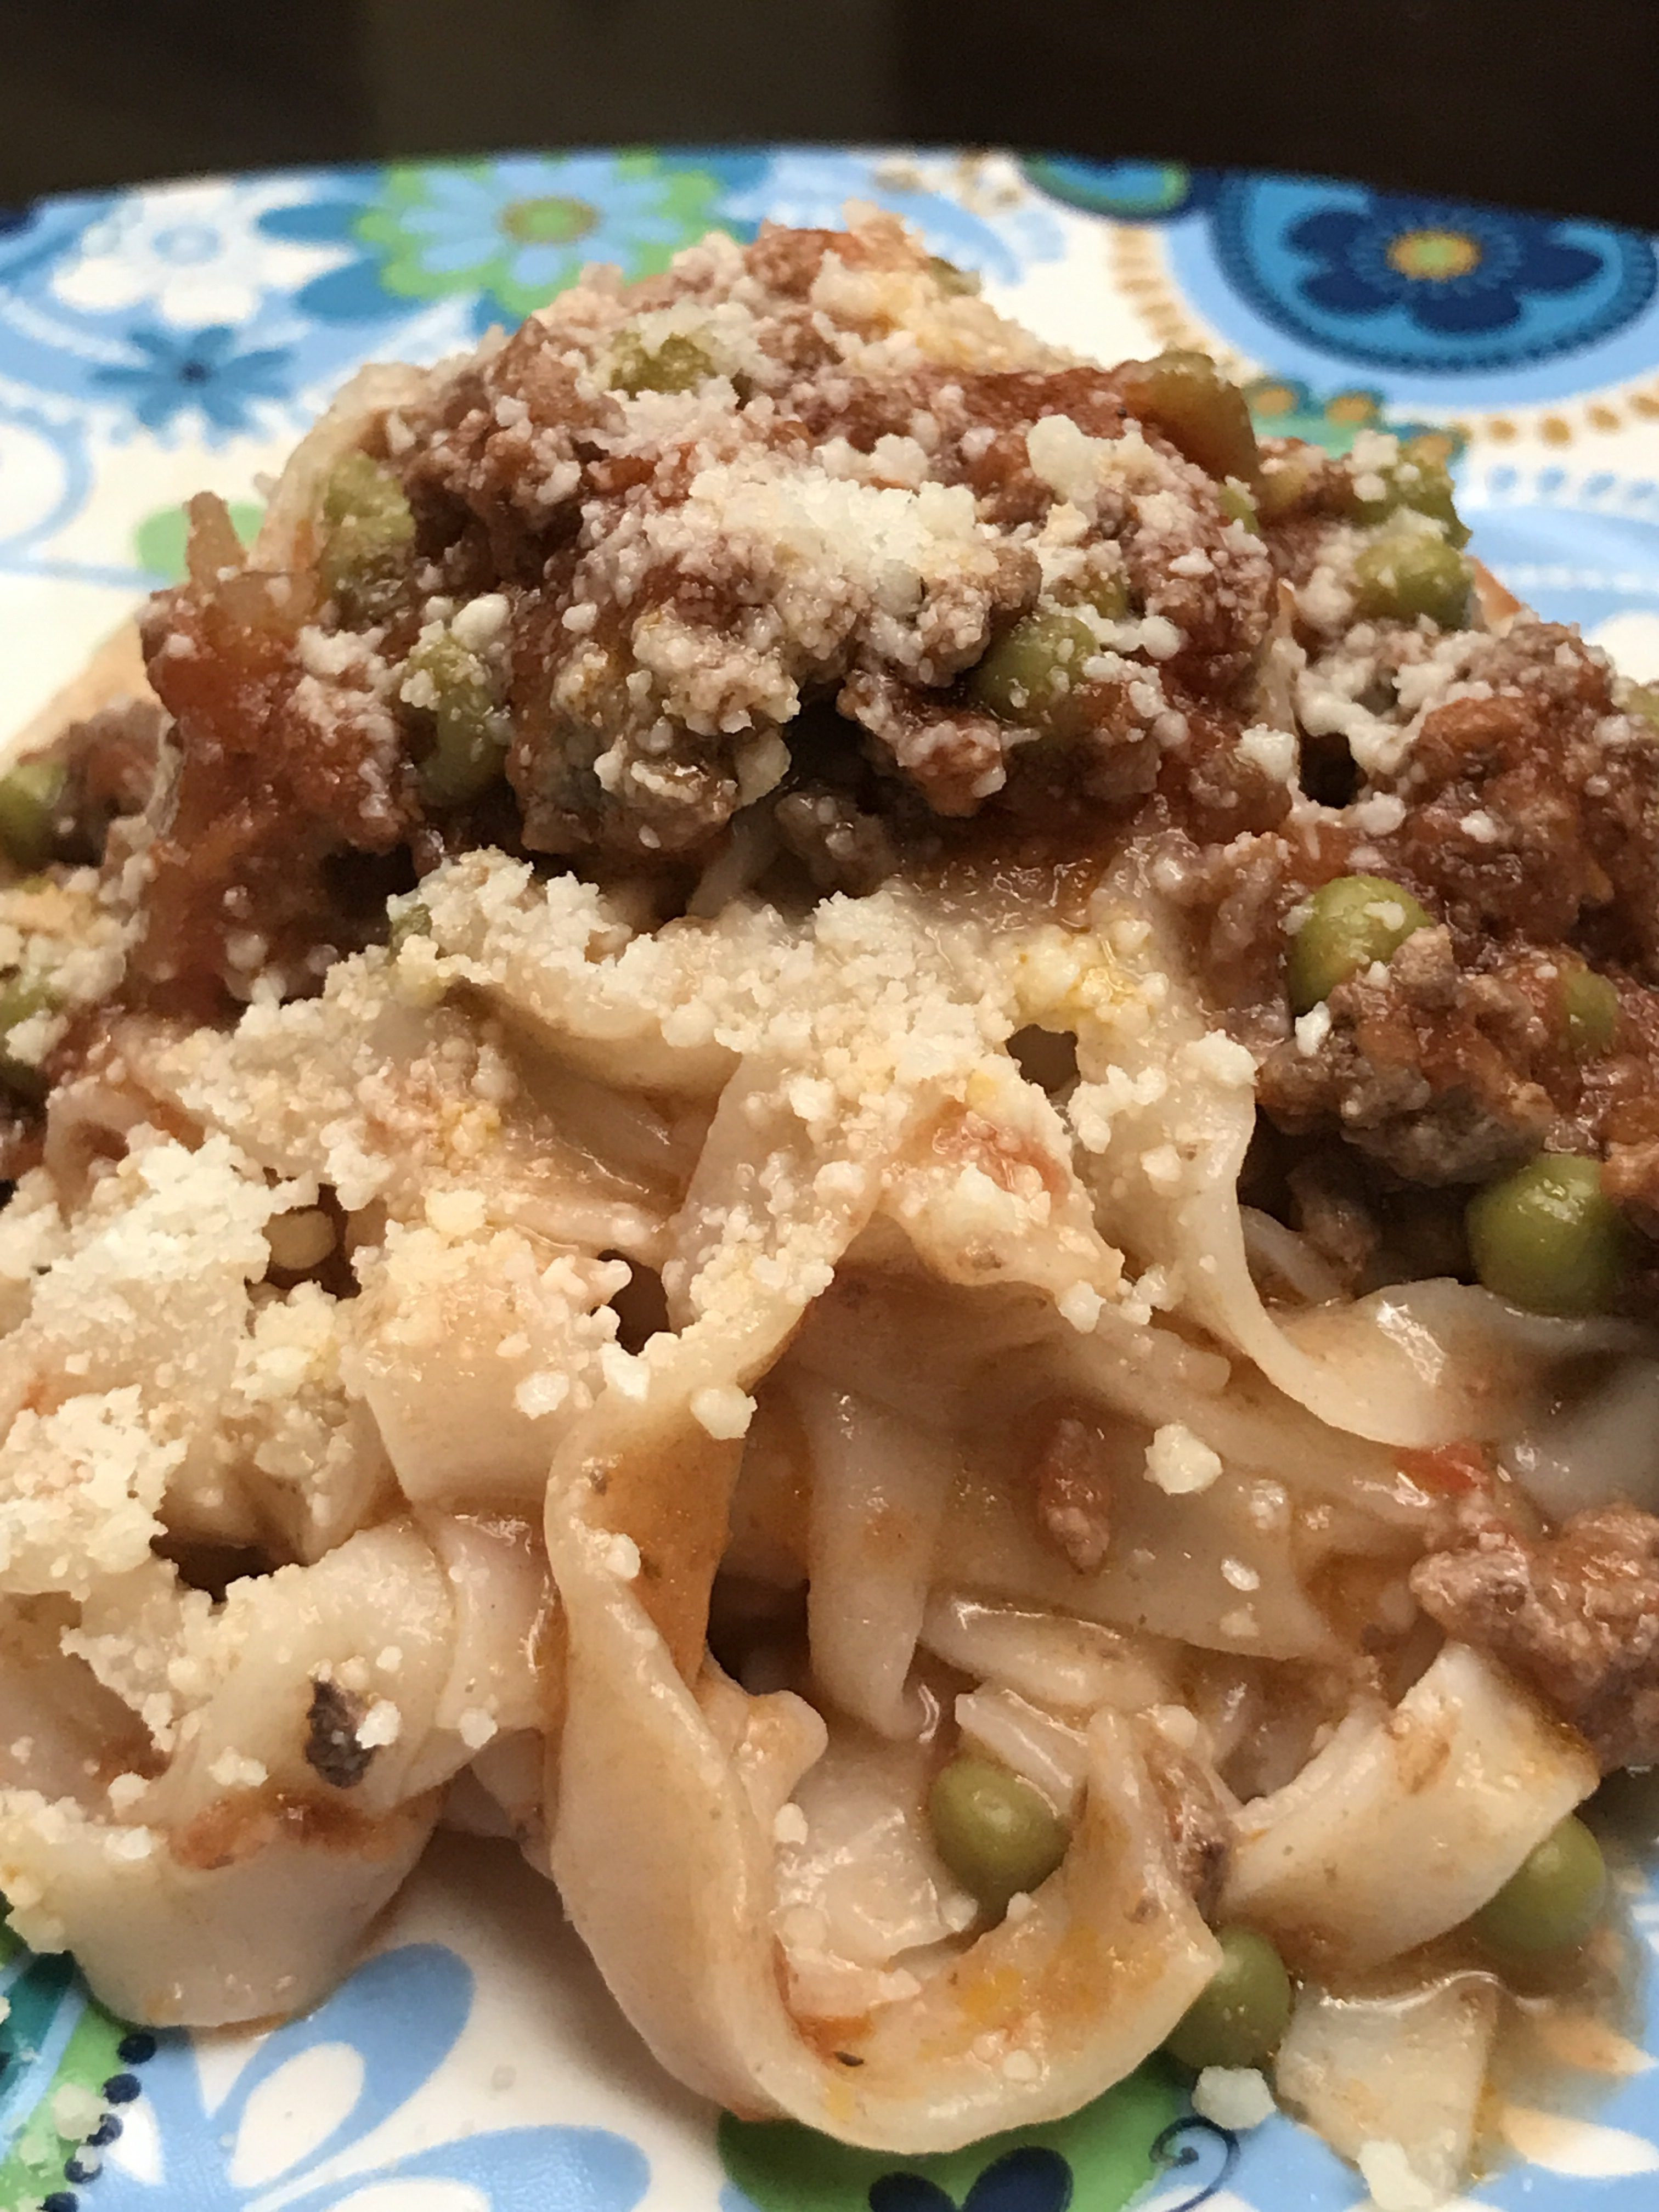
Homemade tagliatelle.

The Sicilian side of me prepares this typical meat and pea sauce.

See how thick this sauce is as it clings to the spoon.

Plated and ready to go to the table.

Old-Time Pasta Dough

Old-Time Pasta Dough is a three ingredients easy to make dough for home-made pasta.  

Prep Time 40 minutes
Cook Time 3 minutes
Total Time 43 minutes
Servings 8
Author Renata Solski

Ingredients

The Pasta Dough

  • 3 cups all purpose flour a little extra for dusting
  • 1 1/4 cups cold water
  • 1 tsp salt

The sauce

  • 1 lb lean ground beef chicken or turkey is good too
  • 1 cup frozen Green Giant Sweetlet Peas
  • 4 cups marinara sauce
  • 1 medium onion diced
  • 1 clove garlic minced
  • 2 tbsp Italian seasoning
  • 1 tsp died oregano
  • 1 tbsp olive oil
  • 1/2 cup parmesan or romano cheese for dressing the pasta

Instructions

The Dough

  1. Put the flour and salt into a food processor.  I used my Kitchen Aid.

    Stir the dry ingredients and slowly pour in the water until it forms a ball.

    Turn onto the counter and knead until the dough is smooth, silky and pliable.

    Wrap in plastic wrap for 30 minutes.  Leave it out on the counter.

    Cut the dough into 6 pieces and put it through the pasta roller.

    Here is an excellent short video to watch.  

    https://www.youtube.com/watch?v=xx9Ewh_QbwY

    I put the pasta onto a well floured cookie sheet.

    Then I place the pan in the fridge until I am ready to cook it.

    Use a large pot with plenty of water.

    Remember to never salt the water until you put the pasta into the pot.

    Cook for about 3 minutes.  Fresh Pasta does not need a lot of time to cook. 

The Sauce

  1. Put one tablespoon of olive oil into a large sauce pan and sauté the onion. 

    Add one tablespoon of Italian seasoning,, the garlic and add the ground meat.  

    Brown the meat and then add the sauce.

    Sprinkle the second tablespoon of Italian seasoning and the dried oregano over the sauce.

    Let simmer for 30 minutes until everything thickens.

    Add the frozen peas and continue cooking for another five minutes.

    Sauce is now ready.  

Recipe Notes

Use a generous amount of cheese to dress the pasta with the sauce.  


Coffee Brownie Bars

Coffee Brownie Bars

Coffee Brownie Bars give me that little perk after the holidays.  I love coffee and these combine chocolate and coffee for the ultimate experience.  The smooth taste of the chocolate complimented by the robust and sharp flavour of the coffee is the perfect little dessert.  These bars are a must for all coffee lovers.

Bars became popular because they are firm as a cake and softer than a cookie.  They are easy to bake, pick-up and combine cookies and cake in a pan.

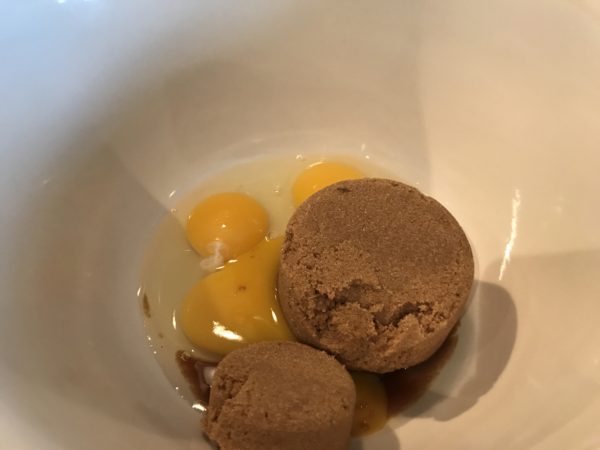
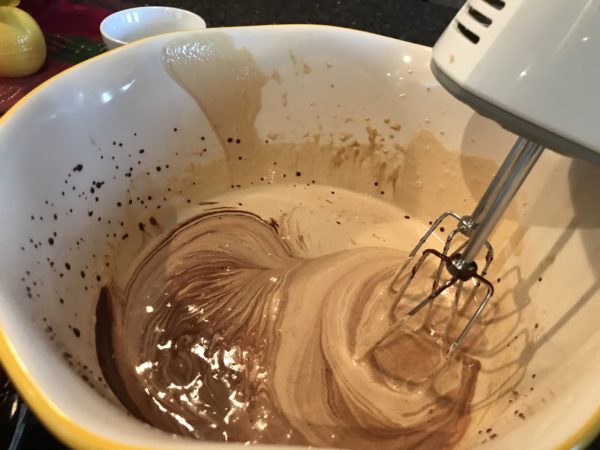
The sugar and eggs in the bowl.

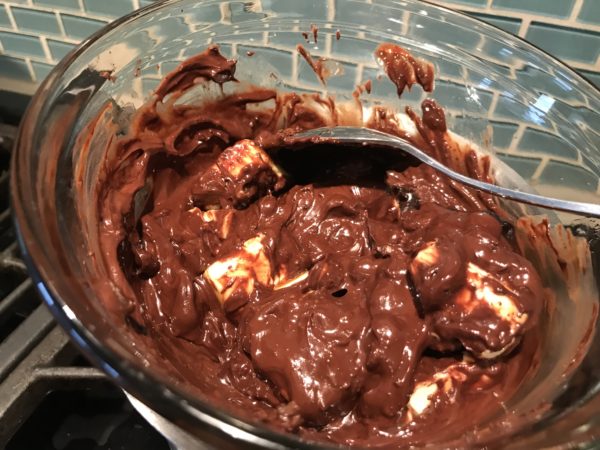
Melting the chocolate and butter over the water.  keep an eye on it.

Almost done and velvety smooth.

Beating the eggs and sugar until frothy and silky, about 5 minutes.

The nuts hit the chocolate.

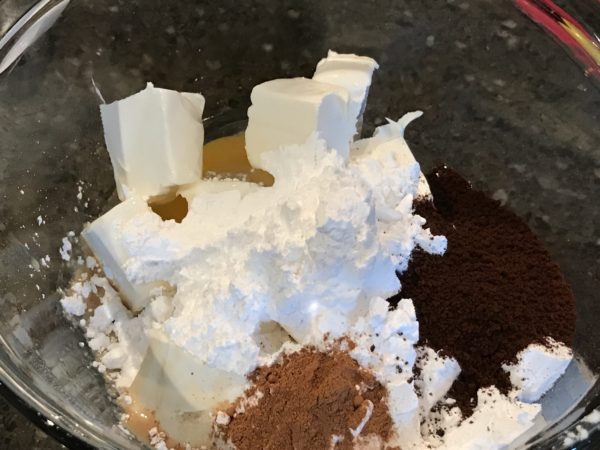
Preparing the topping; today i threw everything in the bowl.

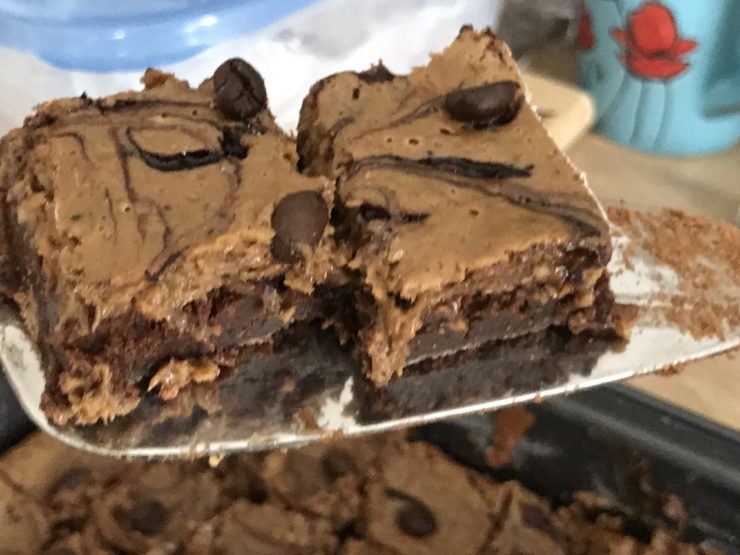
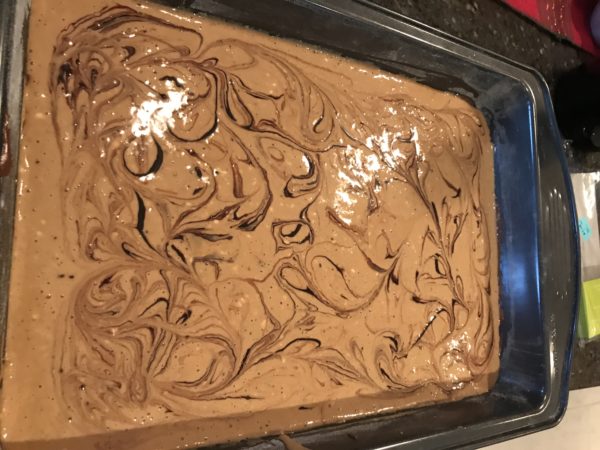
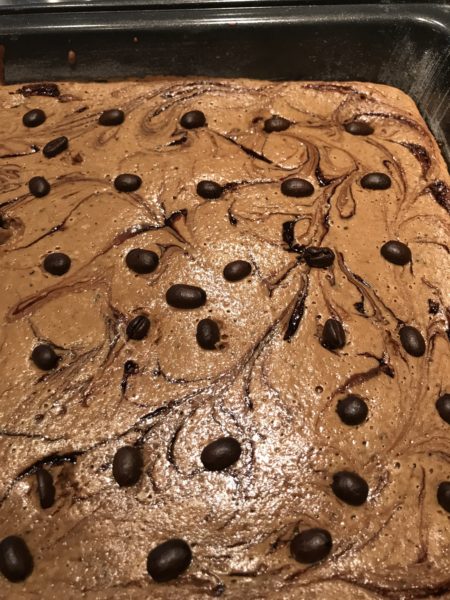
The topping goes over easily and then i swirl in some chocolate syrup.

sticky and gooey as it comes out of the oven.

Coffee Brownie Bars

Coffee Brownie Bars will help you perk-up for the Holiday Season. 

Course Dessert
Cuisine Home Cooking in Canada, Italian
Keyword Coffee Brownie Bars
Author Renata Solski

Ingredients

The Brownie base

  • 1 cup chocolate chips
  • 1 tbsp instant coffee I used instant espresso
  • 1/2 cup butter
  • 2 eggs plus 1 egg yolk
  • 1 1/4 cup packed brown sugar
  • 3/4 cup all purpose flour
  • 1 tsp baking powder
  • 1 tbsp coffee liqueur I used Baileys
  • 1/2 cup chopped pecans optional

The Topping

  • 1 pkg cream cheese softened
  • 1 cup icing sugar
  • 2 tbsp each coffee liqueur and instant coffee
  • 1/2 tsp cinnamon
  • 1 large egg

The Garnish

  • 2-3 tbsp chocolate syrup
  • coffee beans

Instructions

The Brownie Base

  1. Fill a pot 1/4 full of water and bring to a boil. 

    Turn the burner down to low setting.

    Place a medium bowl over a pan. 

    Melt the chocolate chips, butter and instant coffee together.

    Meanwhile beat the sugar and eggs in a bowl on high  for about 3 minutes.  Mixture should be thick and pale. 

    Remove chocolate mixture from pan and stir.

    Slowly pour the chocolate mixture into the sugar and eggs.

    Stir with a spatula and then beat for one minute on high.  

    Now fold in the flour and baking powder.

    Stir in pecans. 

    Pour batter into a 9 X 13 pan that has been greased and dusted with flour.

    Set in the refrigerator for 30 minutes.

The Topping

  1. Combine the softened cream cheese with the icing sugar and blend until smooth.  

    Add the remaining ingredients and beat on low until combined.

    Remove cooled brownie mixture from refrigerator.

    Spread the topping evenly over the brownie base.

    Now dollop the chocolate syrup over the topping and swirl using a toothpick.

    Place in 325 F oven for 30 minutes.

    Remove from oven and garnish with coffee beans.  

    Let cool before cutting. 


Christmas Granola Bars: recipes at my table

Christmas Granola Bars

Christmas Granola Bars

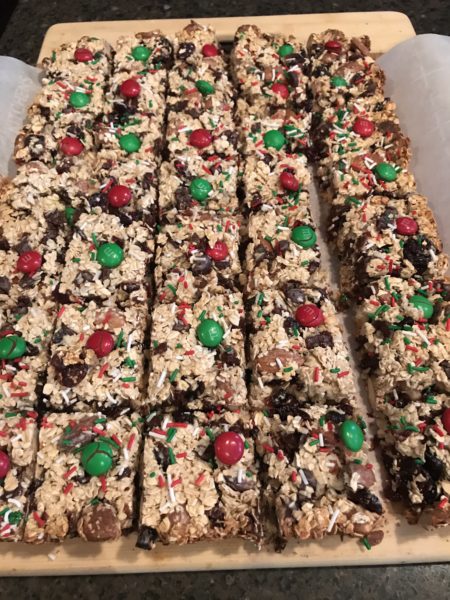
Christmas Granola Bars are a nutritious snack for the Holidays. Easy to make and store, these granola bars bring oats to your table. These bars are for Owen and I try to keep him healthy, most of the time.  The treat in these bars will be chocolate chips and Owen loves almonds.  You can also substitute peanuts in this recipe if you like.

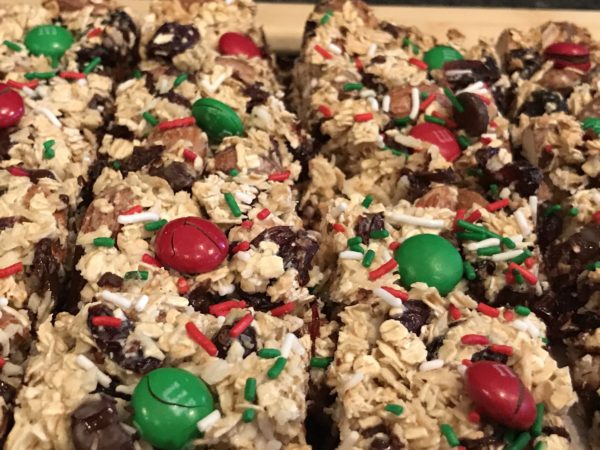
These Christmas Granola Bars freeze well and you can cut them into the perfect size for quick bites.  I like to cut them into squares.  Today I use green and red smarties for decorations.  Owen loves smarties and I do too.

Health benefits of almonds:https://www.healthline.com/nutrition/9-proven-benefits-of-almonds

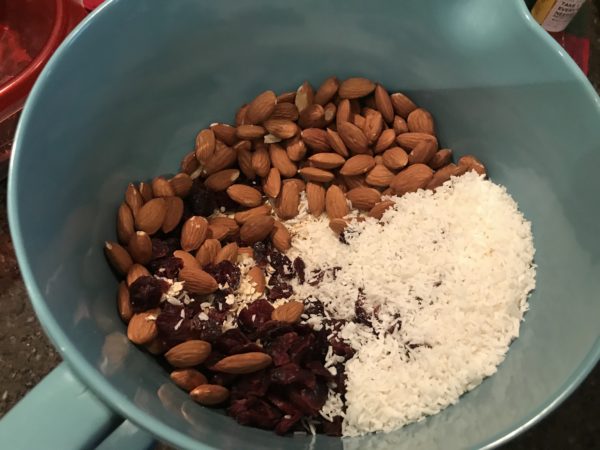
I assemble all the dry ingredients for these Christmas Granola Bars.

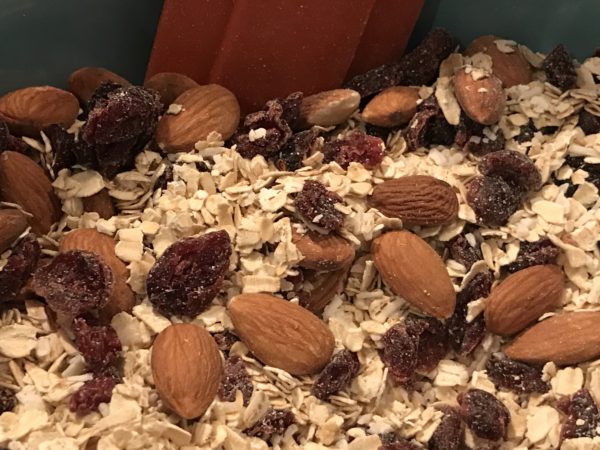
All mixed and up close.

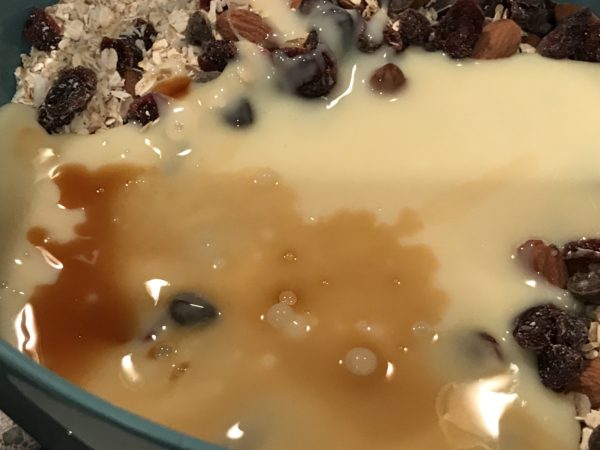
The vanilla hits the condensed milk and that makes me happy.

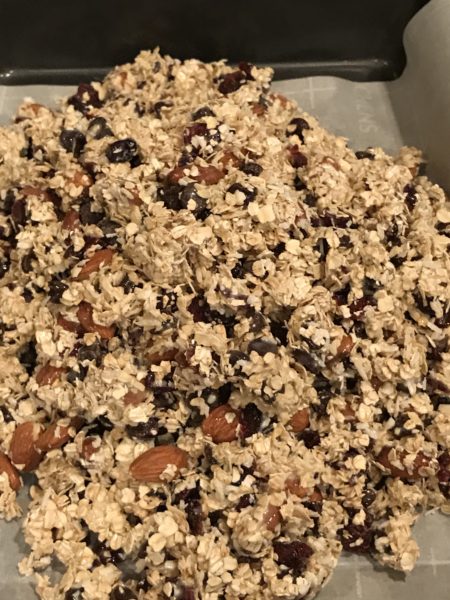
Everything mixes easily and I put it into the pan.  Notice my parchment paper; this will make removal super easy.

Plastic wrap and a measuring cup make it easy to spread to the edges.  I love using plastic wrap to spread anything sticky.

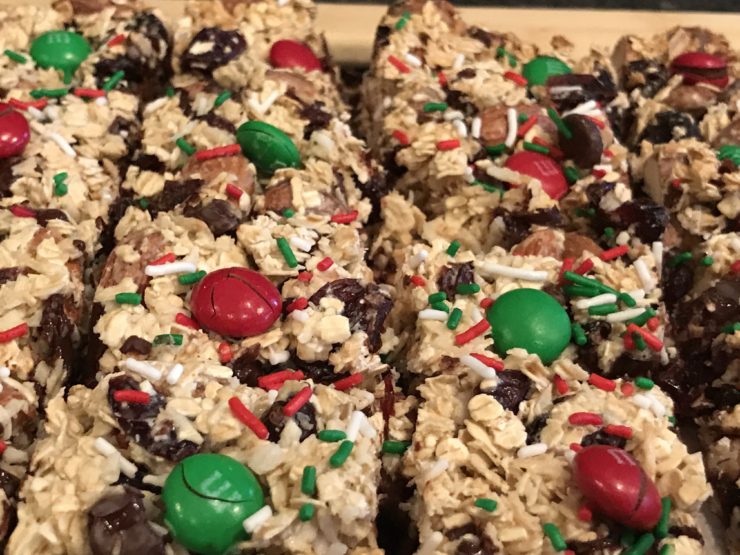
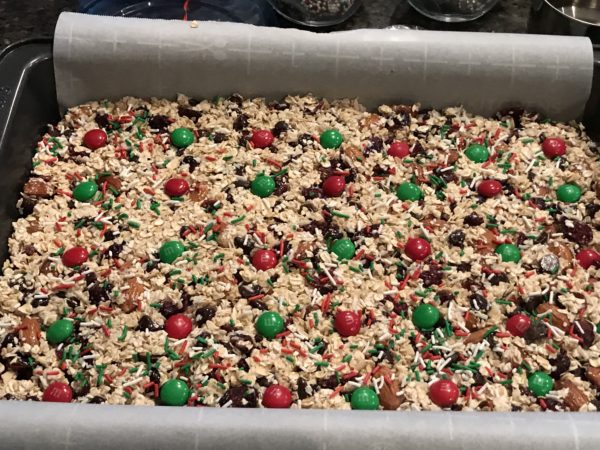
Owen loves smarties and these are the colours of Christmas.  A few more sprinkles and we finish these granola bars.

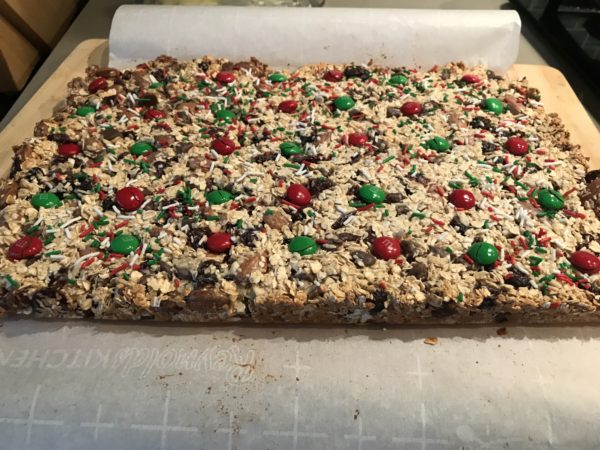
Cooked and I use the edges of the parchment and pull them out of the pan.

Cool and cut into bars; I like squares.

Up close with the Christmas Granola Bars.

Christmas Granola Bars

Christmas Granola Bars keeps your family healthy with a sweet taste.  

Course Dessert
Cuisine Home Cooking in Canada
Keyword Christmas Granola Bars
Author Renata Solski

Ingredients

  • 1 cup coconut flakes
  • 3 cups oats
  • 1 cup chopped or whole almonds
  • 1 can sweetened condensed milk
  • 1/2 cup melted butter
  • 1 cup cranberries
  • 1 cup chocolate chips
  • 1/2 tbsp vanilla extract
  • 2 tbsp Christmas sprinkles for garnish

Instructions

  1. Line a 9 X 13 Pan with parchment paper. 

    Combine all the ingredients in a large bowl.  

    Mix well.

    Press evenly onto the pan. 

    Bake at 325 F for 25 to 30 minutes.

    Let cool for about 10 minutes.

    Slide Bars with parchment paper onto cutting board.

    Cut with a sharp knife.

    Choose your size.

    These freeze well.  

Recipe Notes

If you want thinner bars use a jelly roll pan and line it with parchment paper. 

Substitute the cranberries with raisin, chopped dried apricots, candied cherries or your choice of fruit.